


What is Git And GitHub ?
Imagine you are working on a school project, like writing an essay. As you progress, you make changes to your essay regularly. But sometimes, you might want to go back to an earlier version of the essay, just in case you want to undo some recent changes or see what it looked like before.
Git is like having a magical time machine for your essay. It keeps track of every change you make, so you can easily go back in time and see previous versions. This way, you can experiment and make changes with confidence, knowing you can always go back to a previous point if needed.
Now, let's talk about GitHub. Think of GitHub as a special folder in the cloud where you can store your essay and its time-traveling history. It's like having a backup of your essay online. Not only that, but GitHub also allows you to share your essay with others, like your classmates or teachers, and they can even suggest changes or work on the essay together with you.
In summary:
Git is the magical time machine that keeps track of changes in your project, so you can easily go back to previous versions.
GitHub is like a cloud folder that stores your project and its history. It also lets you share your project with others and work together as a team.
Why we are using Git and GitHub ?
Keep Track of Changes: Git allows us to keep a record of all the changes we make to our projects. It's like a time machine that lets us go back to previous versions if something goes wrong or if we want to see how our project evolved over time.
Undo Mistakes: With Git, if we make a mistake or accidentally delete something important, we can easily revert back to a previous working version. It's like having a safety net for our work.
Collaborate with Others: GitHub is like a sharing platform for projects. We can upload our projects there and share them with friends or teammates. They can see our work, suggest changes, or even work on the project together with us. It's a fantastic way to work as a team without sending files back and forth through email.
Backup in the Cloud: GitHub stores our projects safely on the internet. This means even if something happens to our computer or if we lose our files, the project is still safe and accessible on GitHub.
Open Source Community: GitHub is home to many open-source projects. These are projects where developers from all around the world work together to create amazing software that is free for everyone to use. By using GitHub, we can join this vibrant community, learn from others, and contribute to exciting projects.
Downloading Git
Go to git-scm.com and download the version suitable for your operating system.
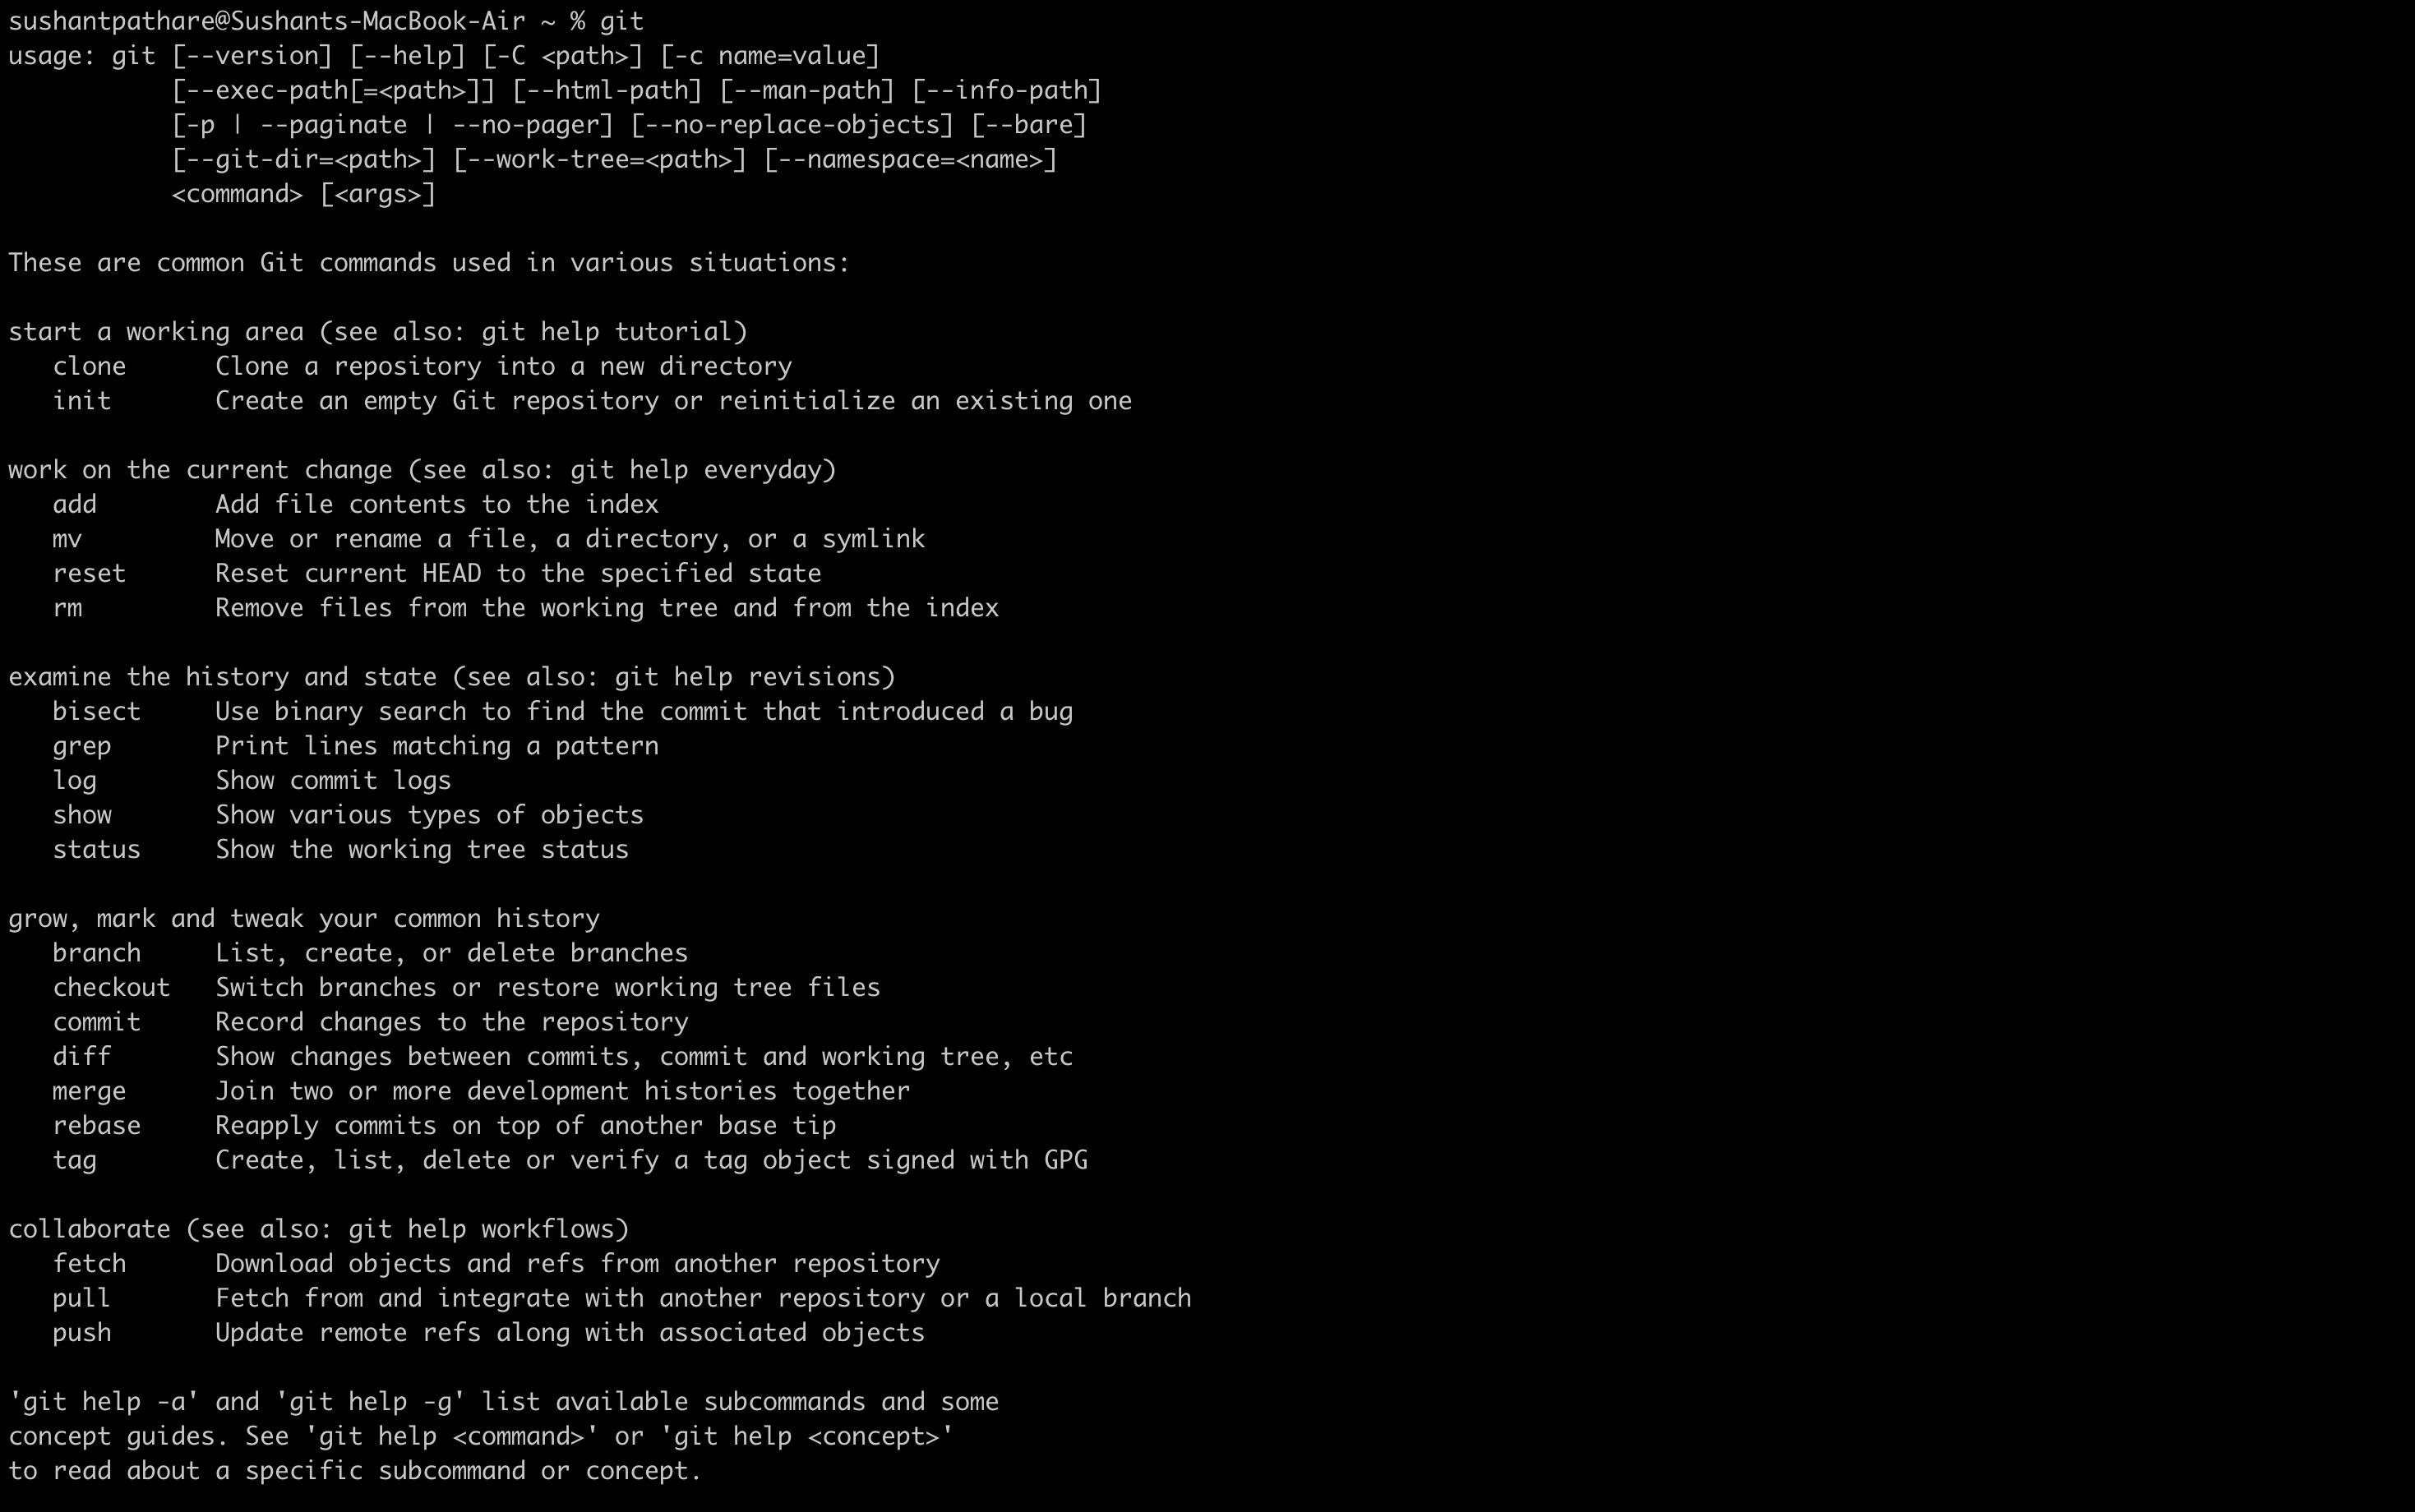
To check whether Git is installed on your system or not, open the terminal and type the git command. If Git is installed, it will show you a list of available Git commands, which confirms that Git is installed.
Some Basic Linux Commands
Follow along to get a grasp of the topic
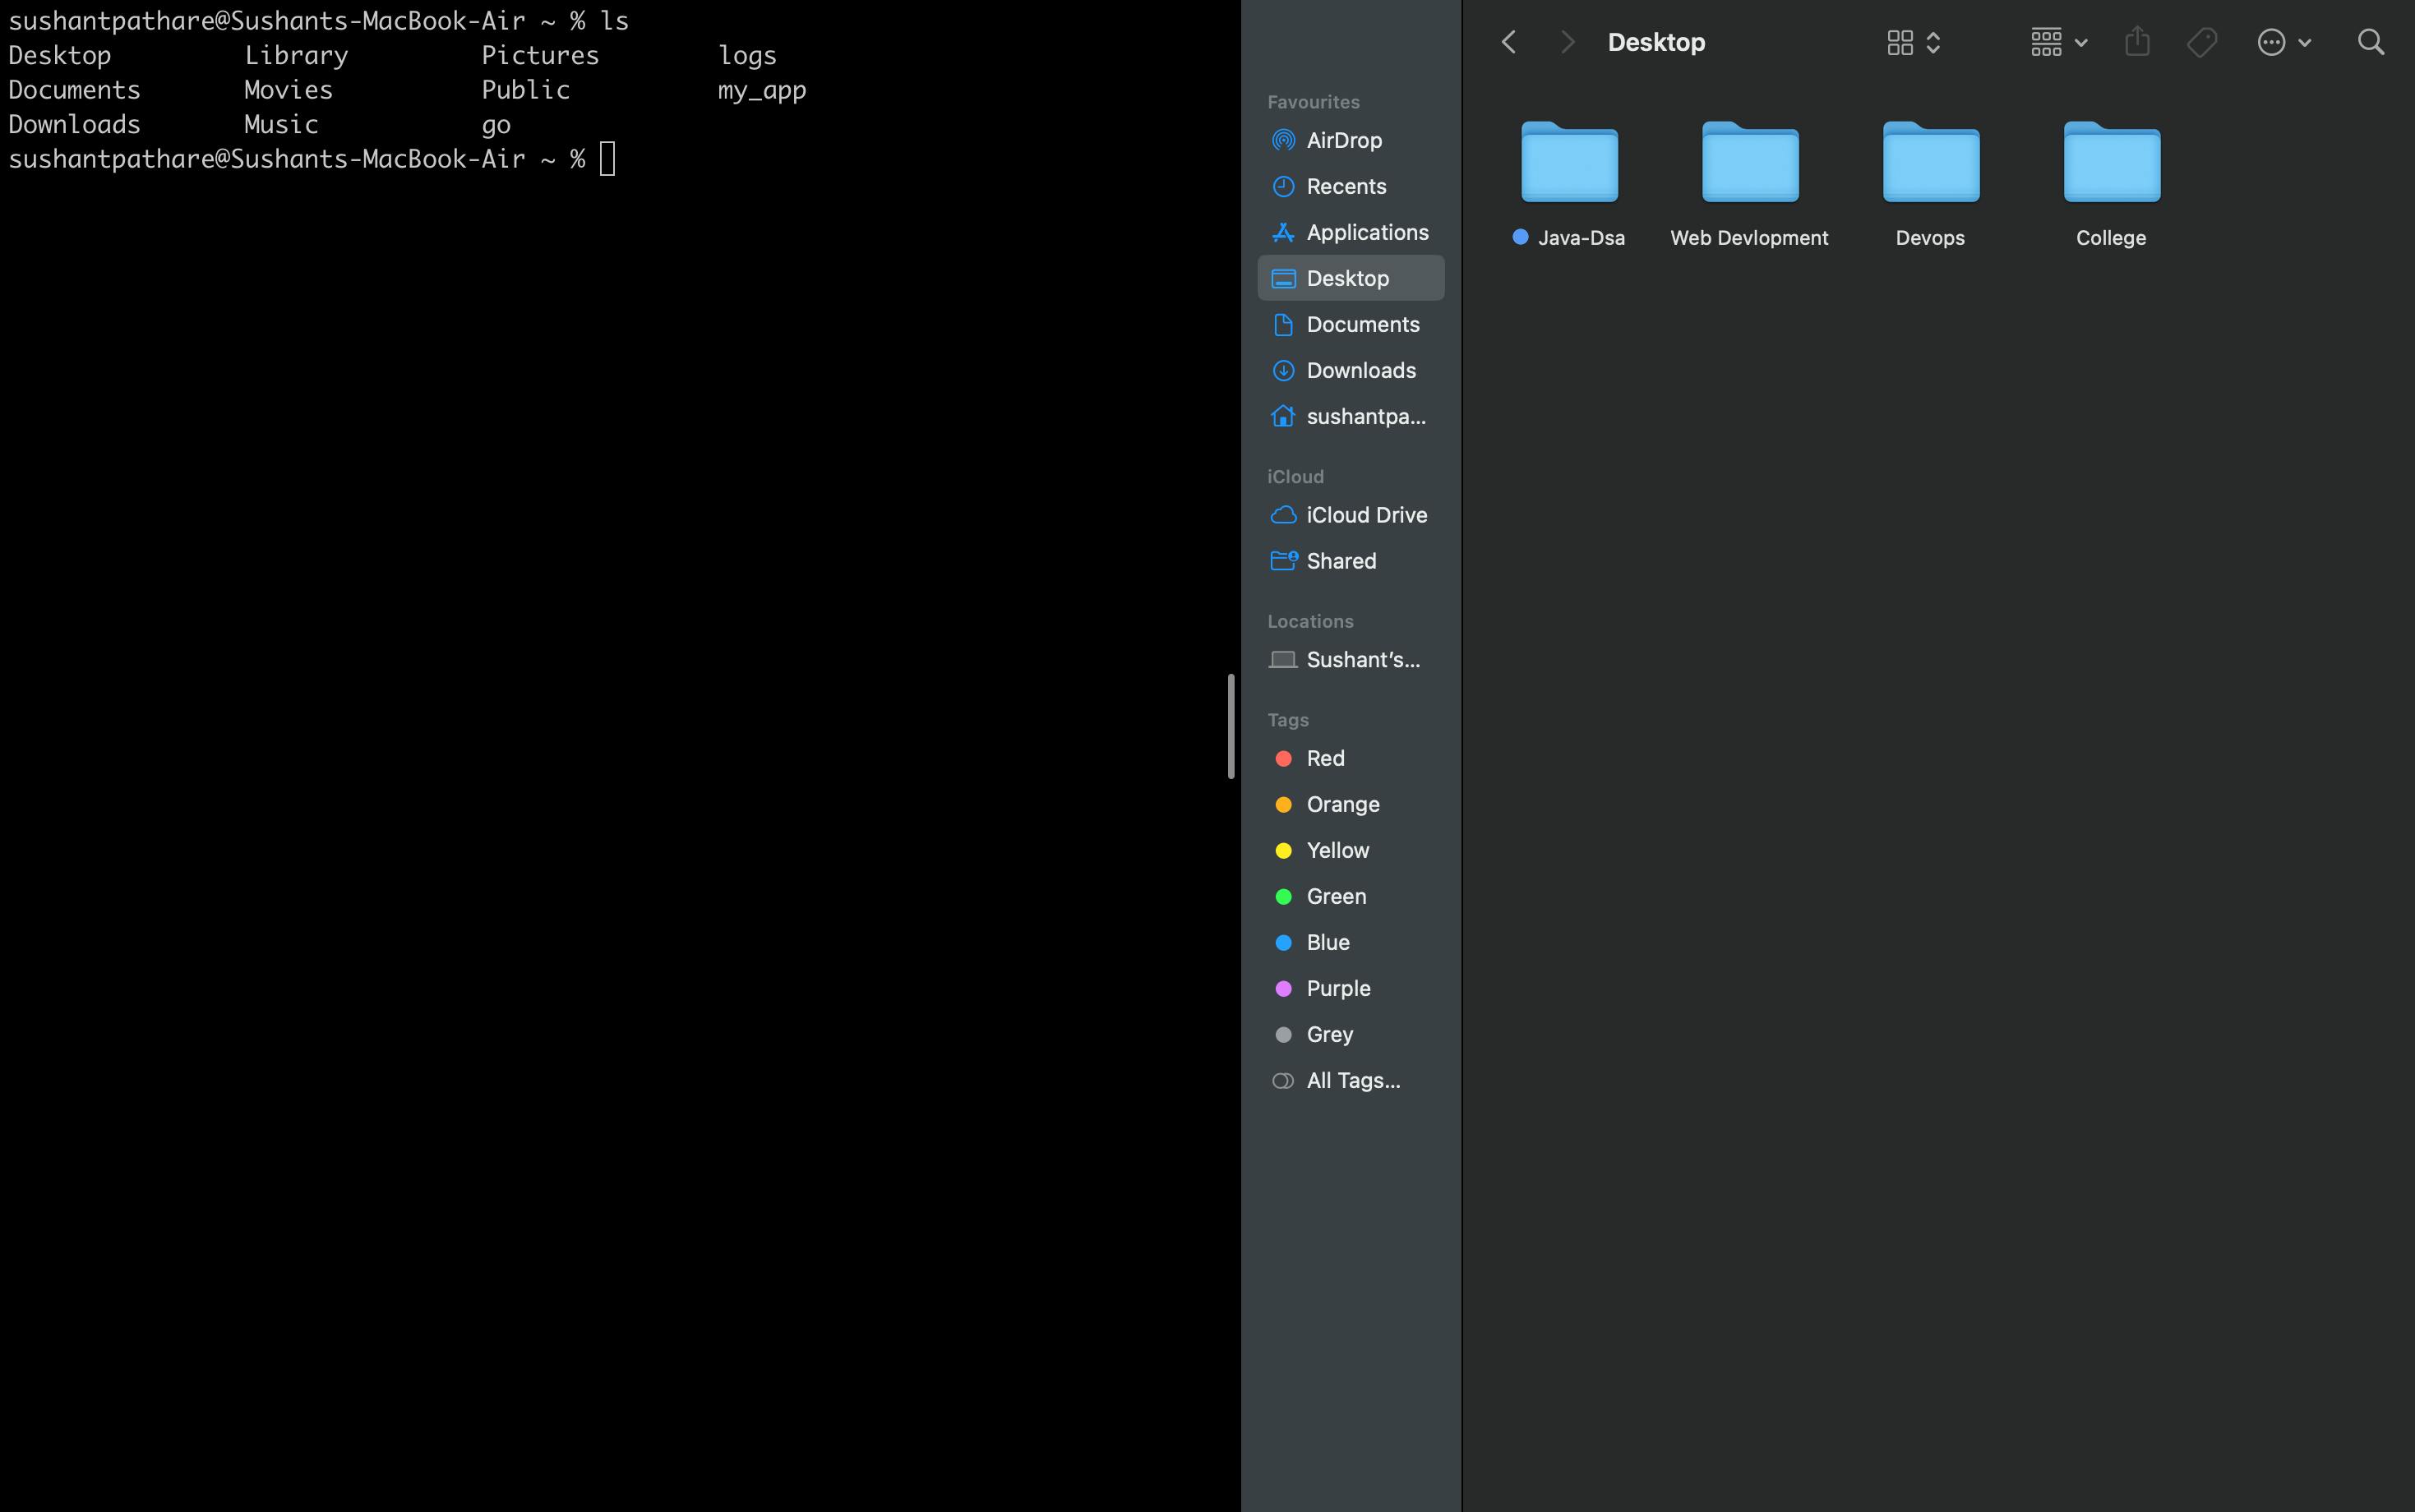
Open the terminal and type the ls command. You may see a list of files and folders. First, let's understand what a terminal actually is. A terminal is a command line interface from which we can manipulate the file structure.
Then type cd Desktop in the terminal, and after that, type ls now, you will see a list of all the files and folders that are present on the desktop.
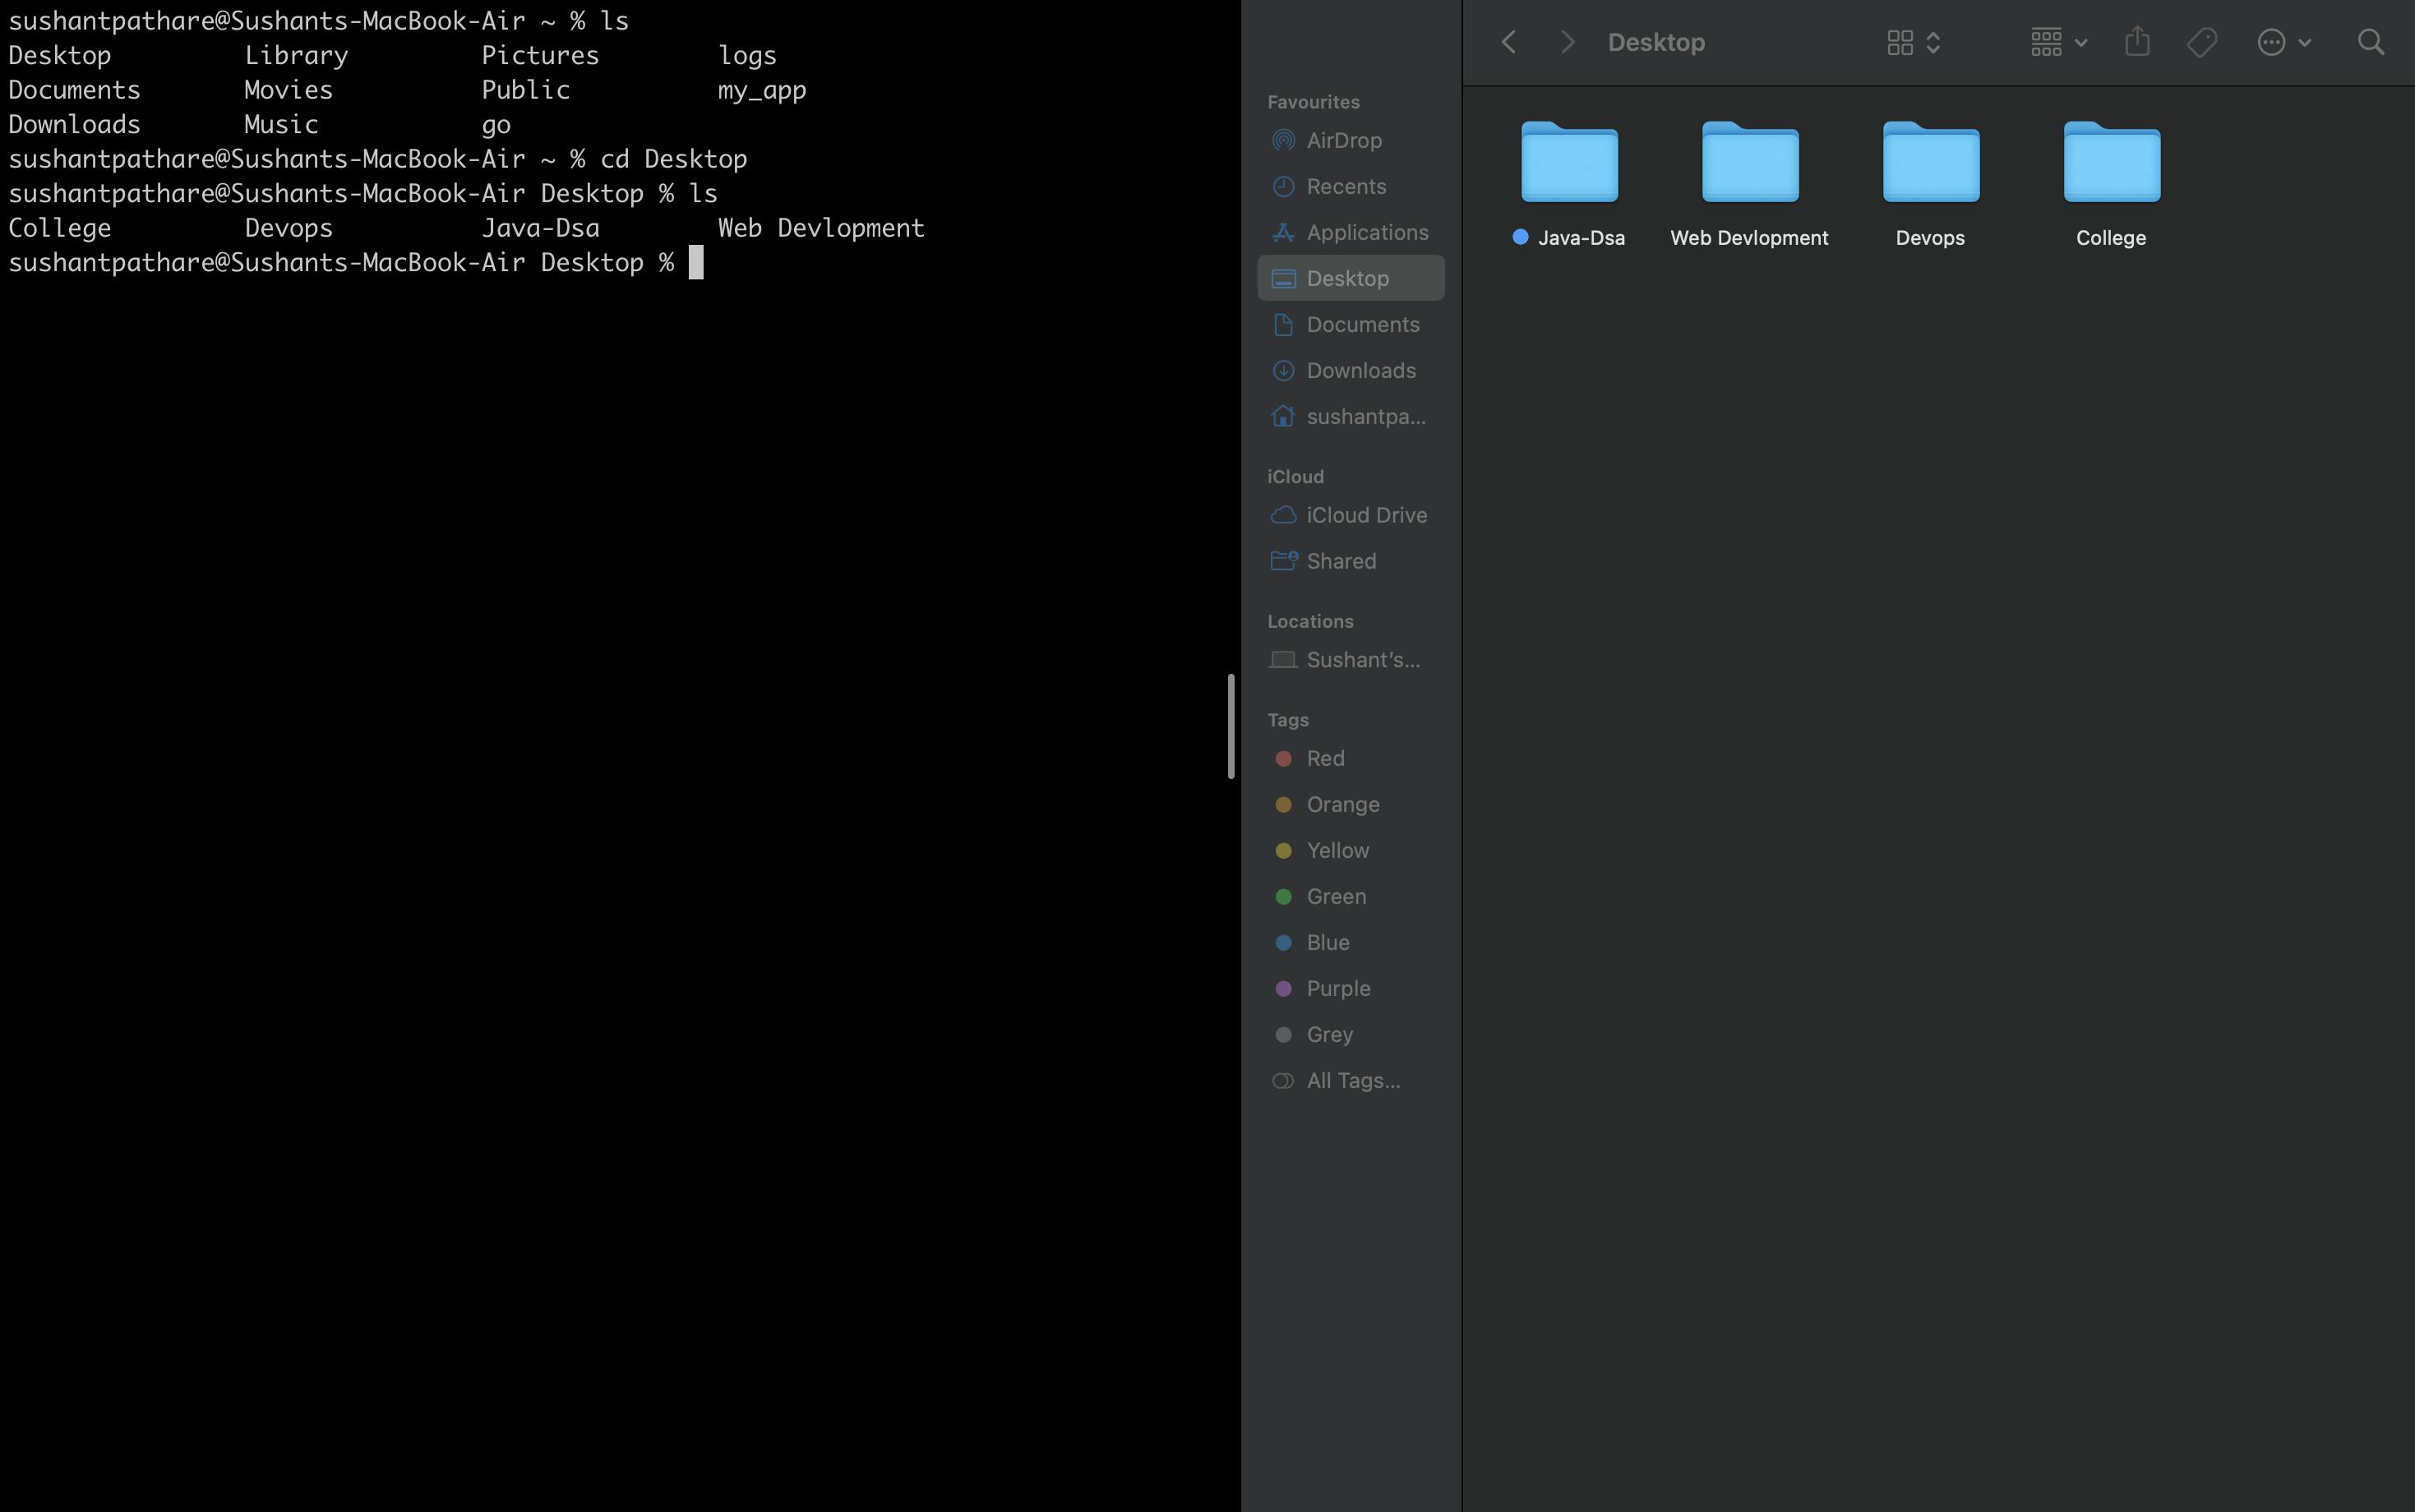
So basically, this command stands for:
ls: Lists all the files and directories of the current directory.cd: Stands for change directory.
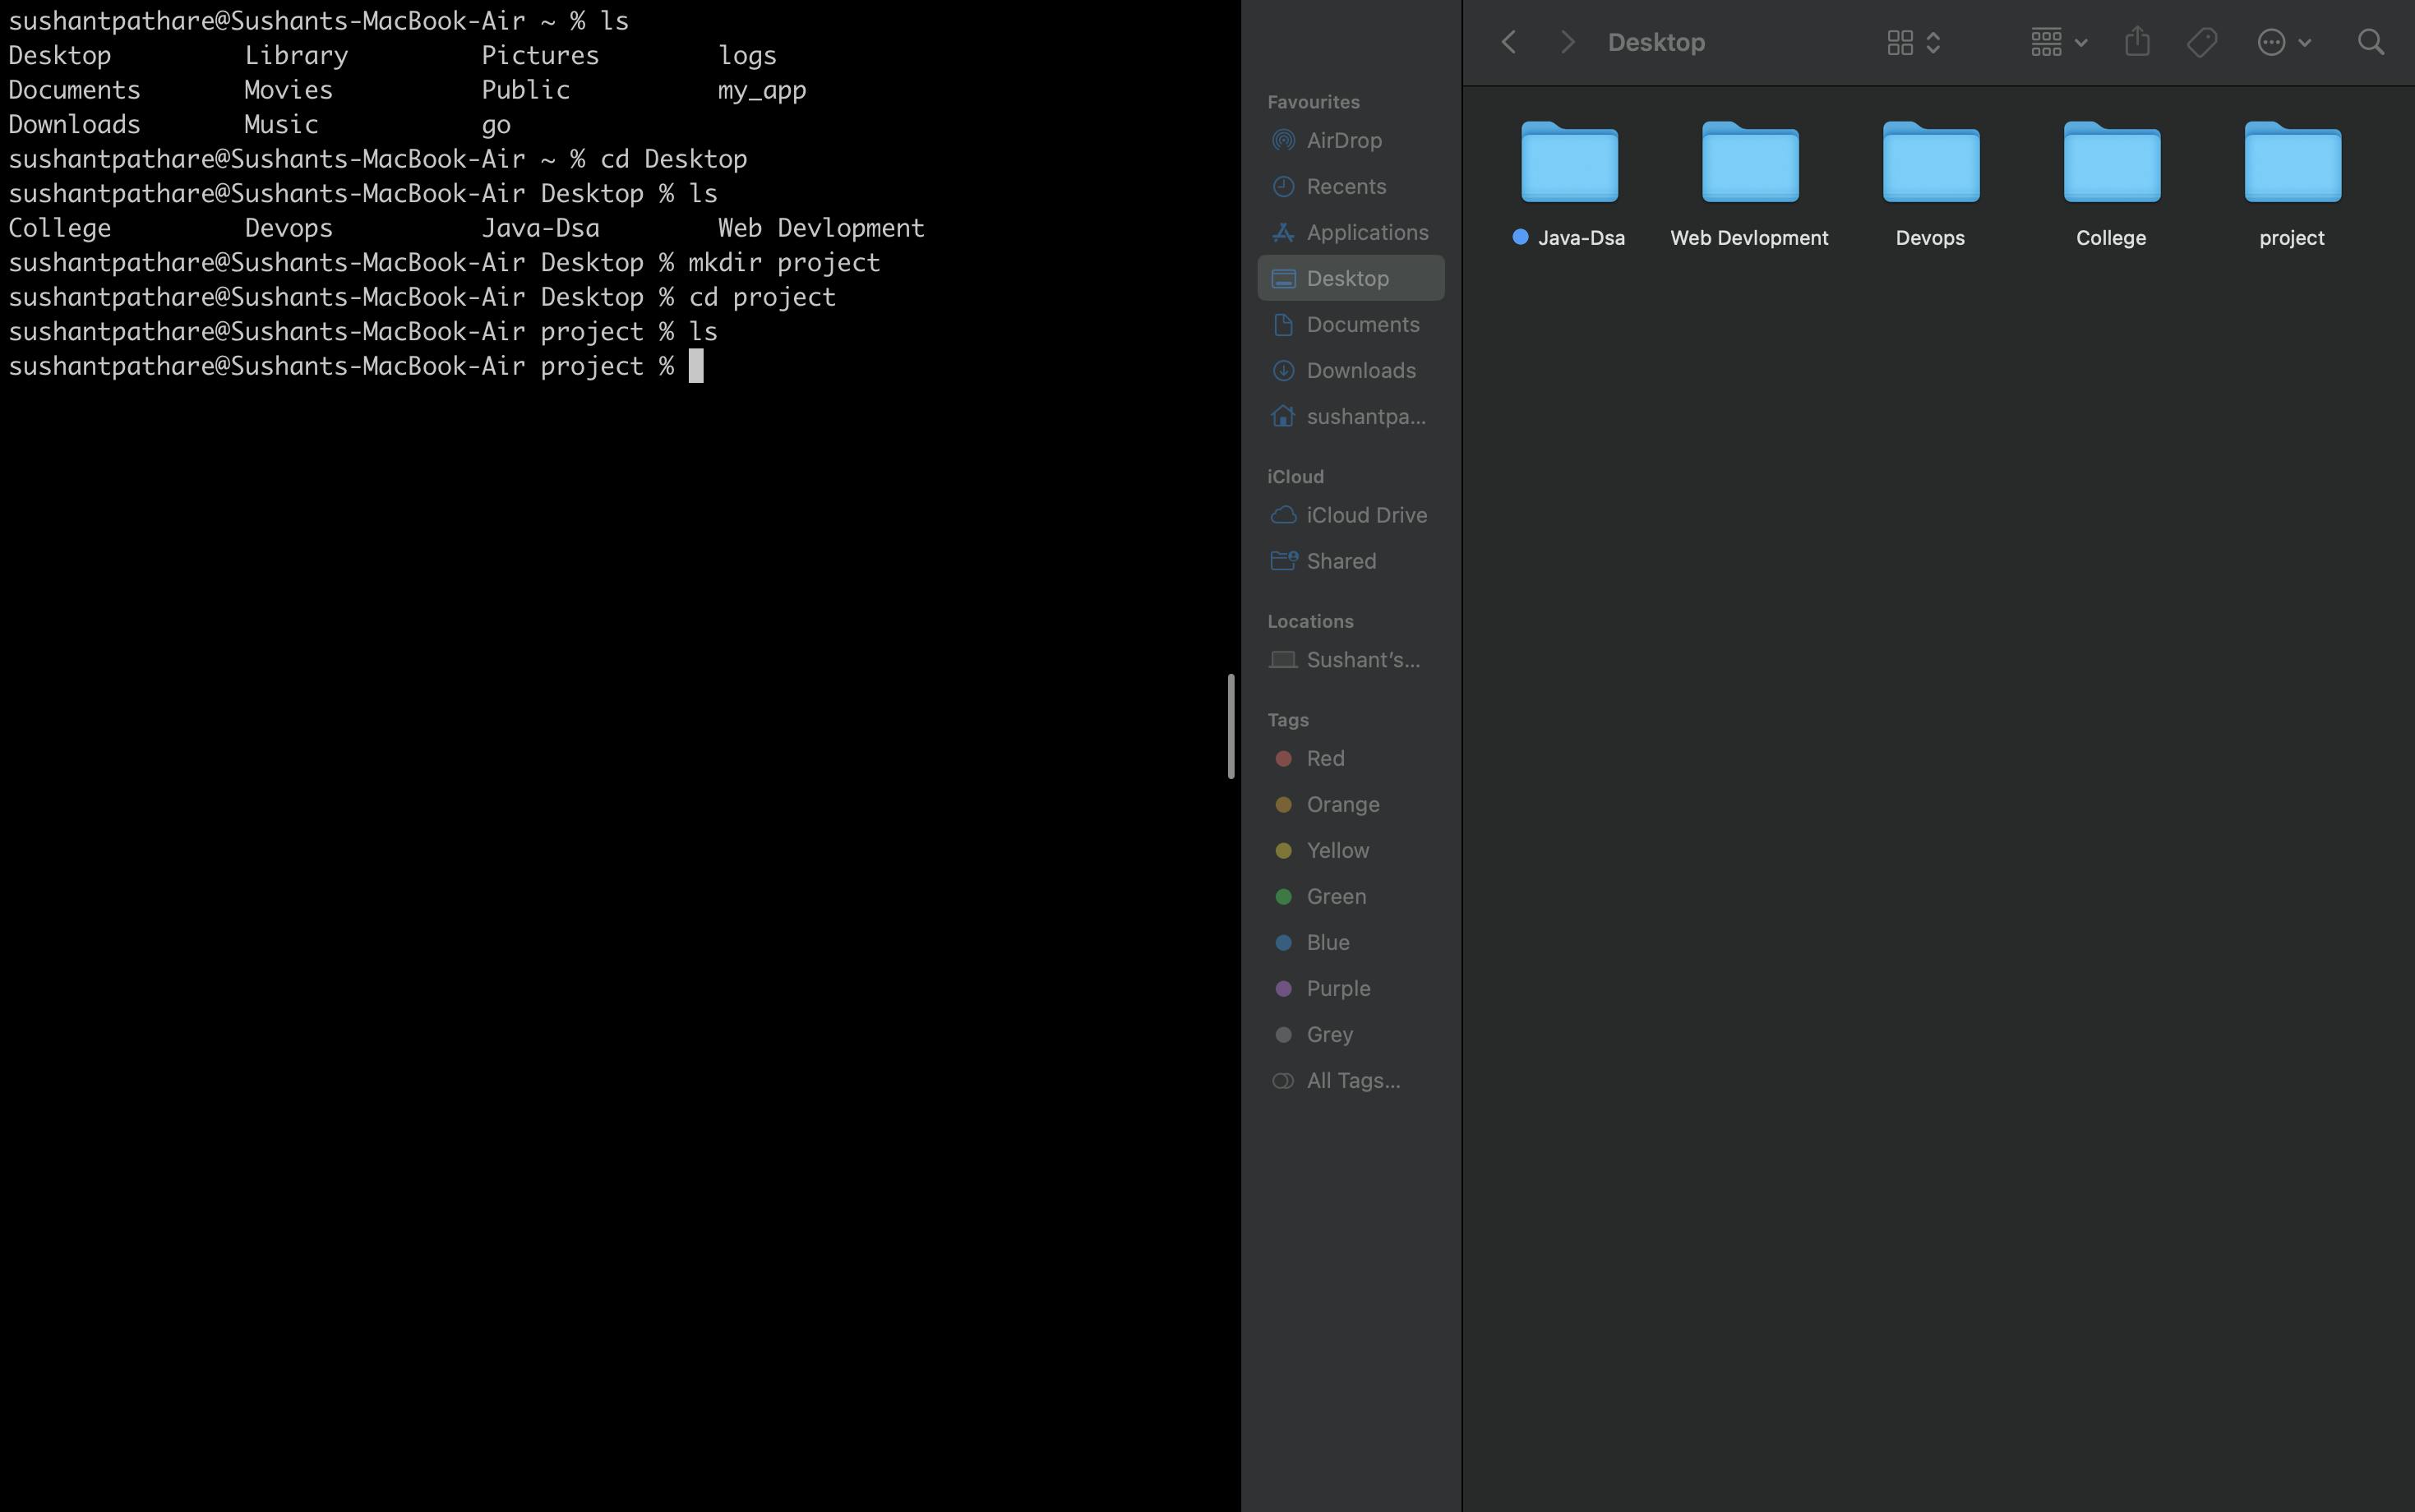
Now, type mkdir project in the terminal, and you will notice that a new folder/directory named 'project' is created on the desktop.
mkdir: stands for 'make directory,' which means it creates a new folder.
To go inside the project directory, type cd project , and then use ls to list the folders/files inside it. At this point, the 'project' directory will be empty.
Initializing a Git Repository
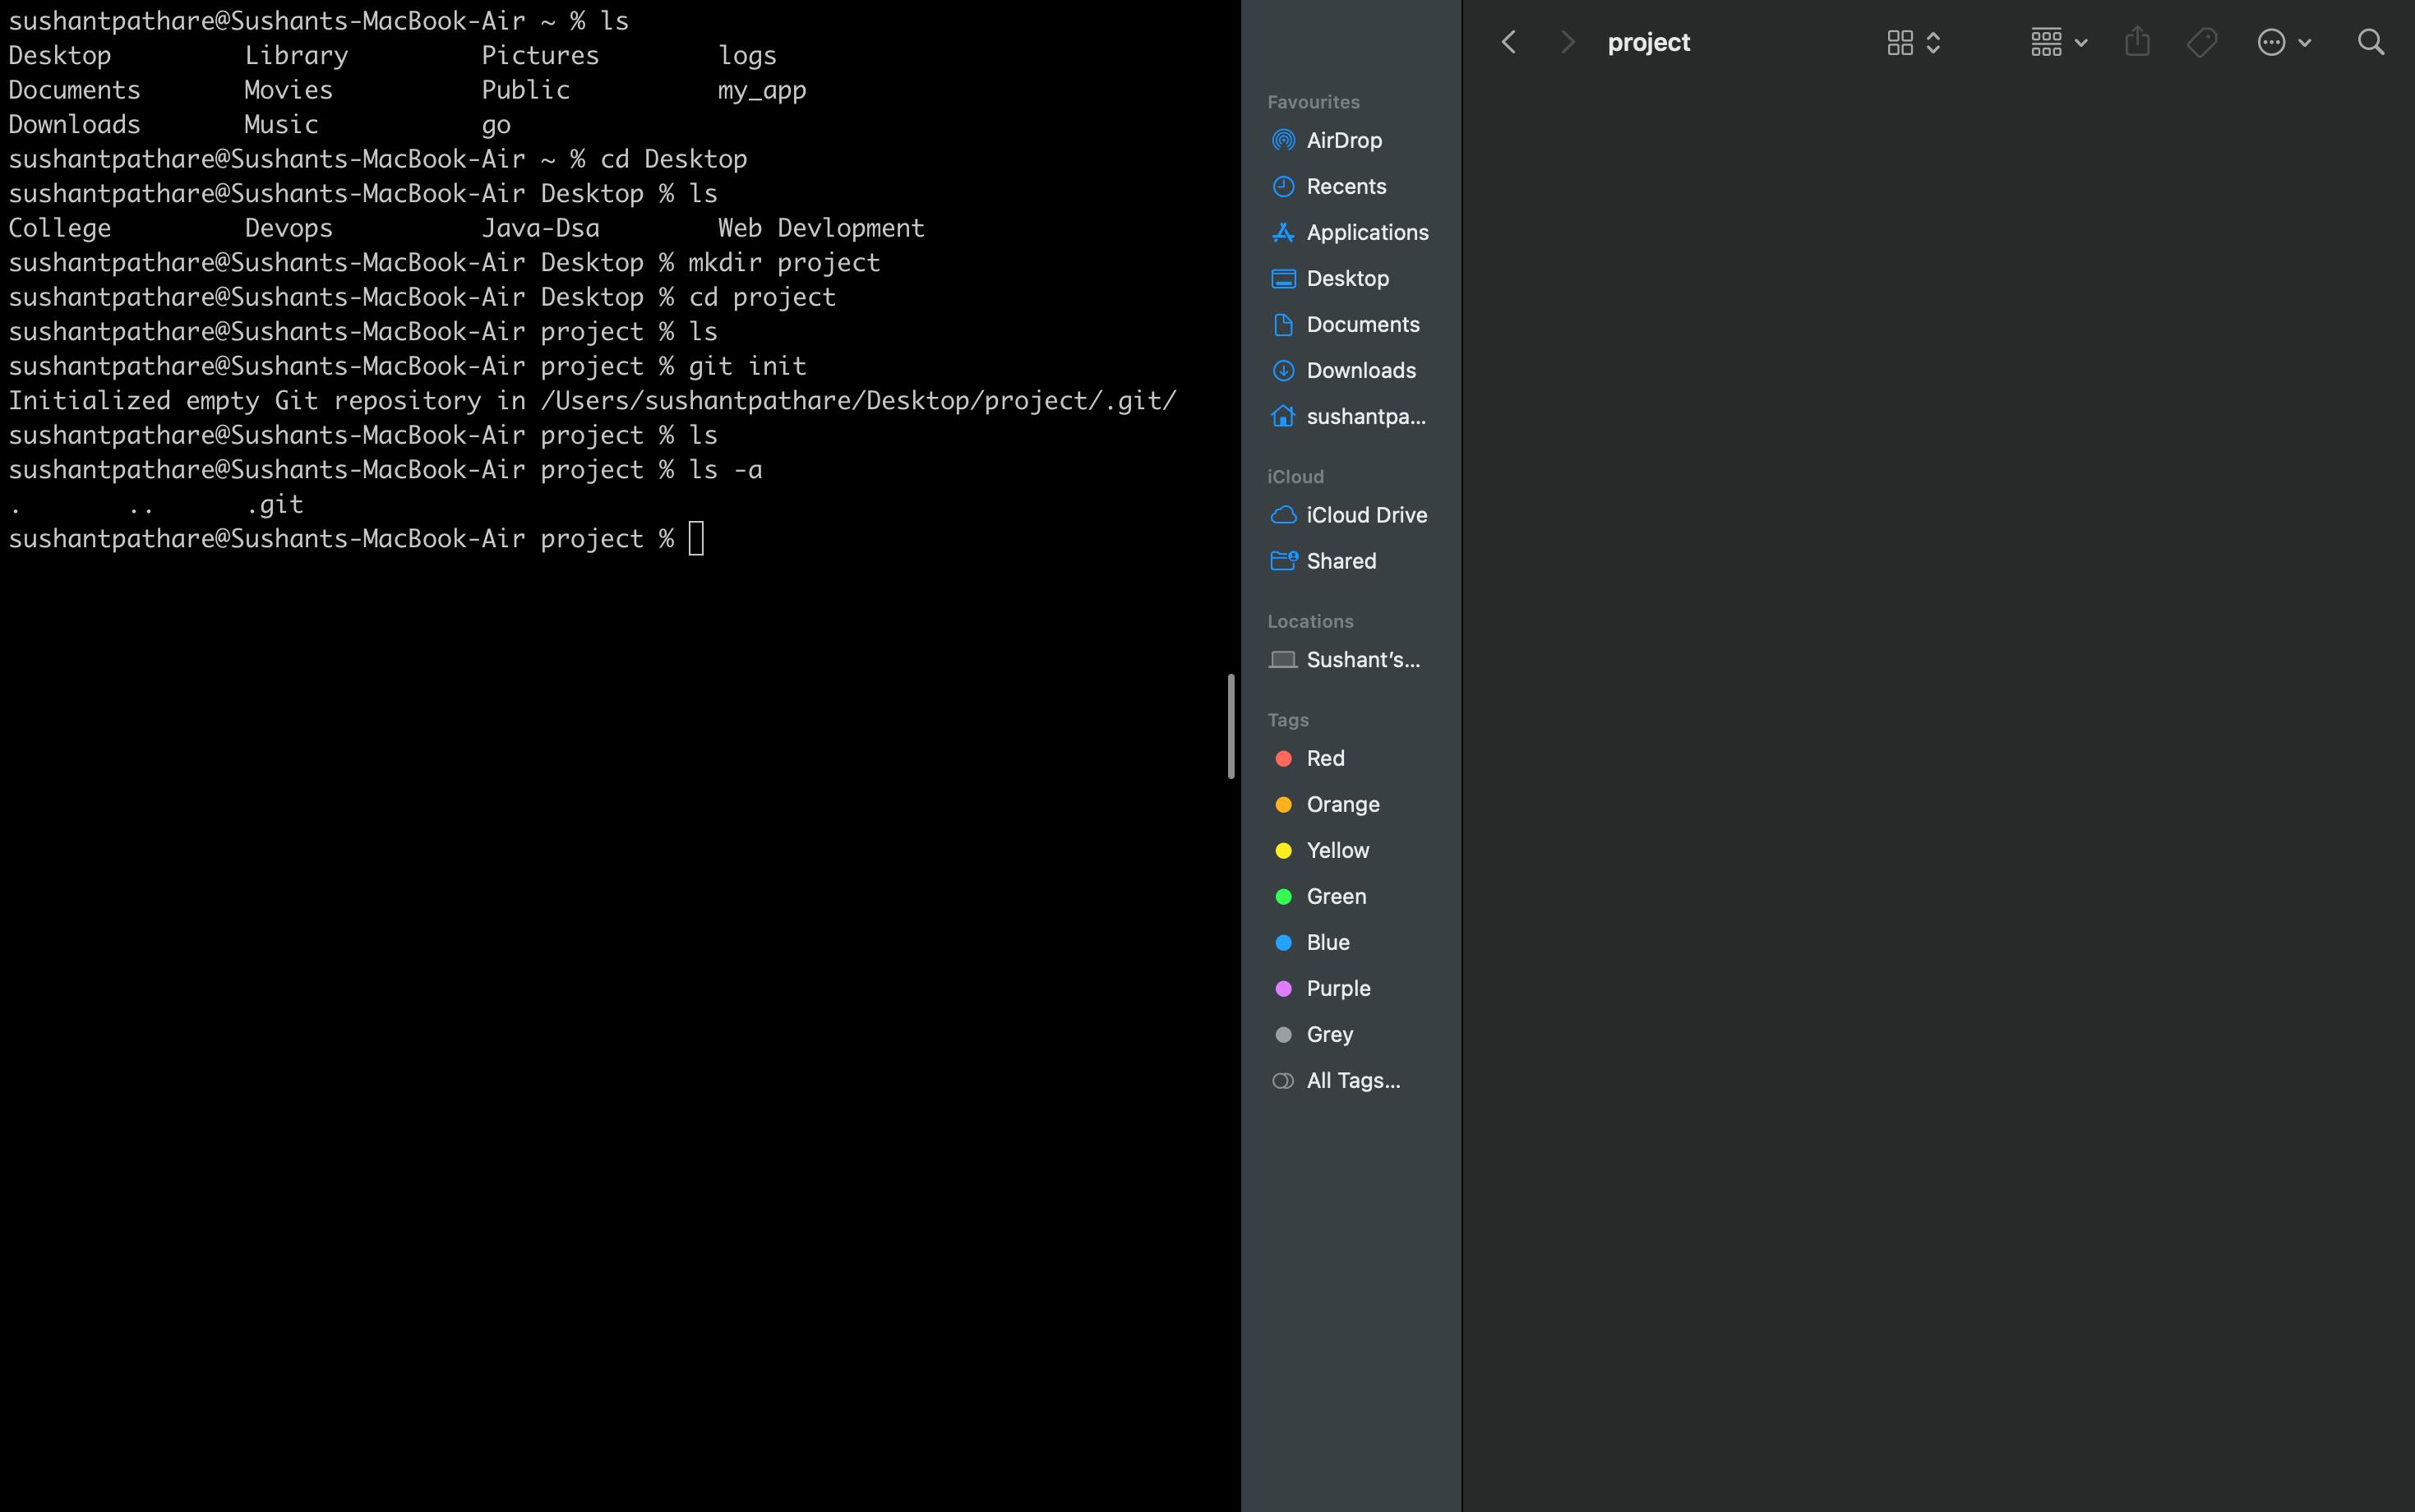
Now, as we learned above, Git stores the history of our project, including all the files we modified and deleted. This history is stored in another file known as the .git directory, which Git provides when we initialize a repository using the git init command.
git init- Initializes the Git repository.
To initialize the ".git" directory, type the git init command inside the project directory.
But when you type or look at the project file, there is no file named .git. Basically, in Linux and macOS, all files that start with a period (.) are hidden. To see such files, we have to use the option with the ls command, ls -a.
Note: In the
ls -acommand, the option 'a' stands for 'all,' which means it lists all hidden files and folders.
Now, imagine a scenario of a wedding photoshoot. There is one couple on stage, and relatives want to take pictures with the couple. Just like that wedding scenario, we also need to take photos or snapshots of our project to store them in history.
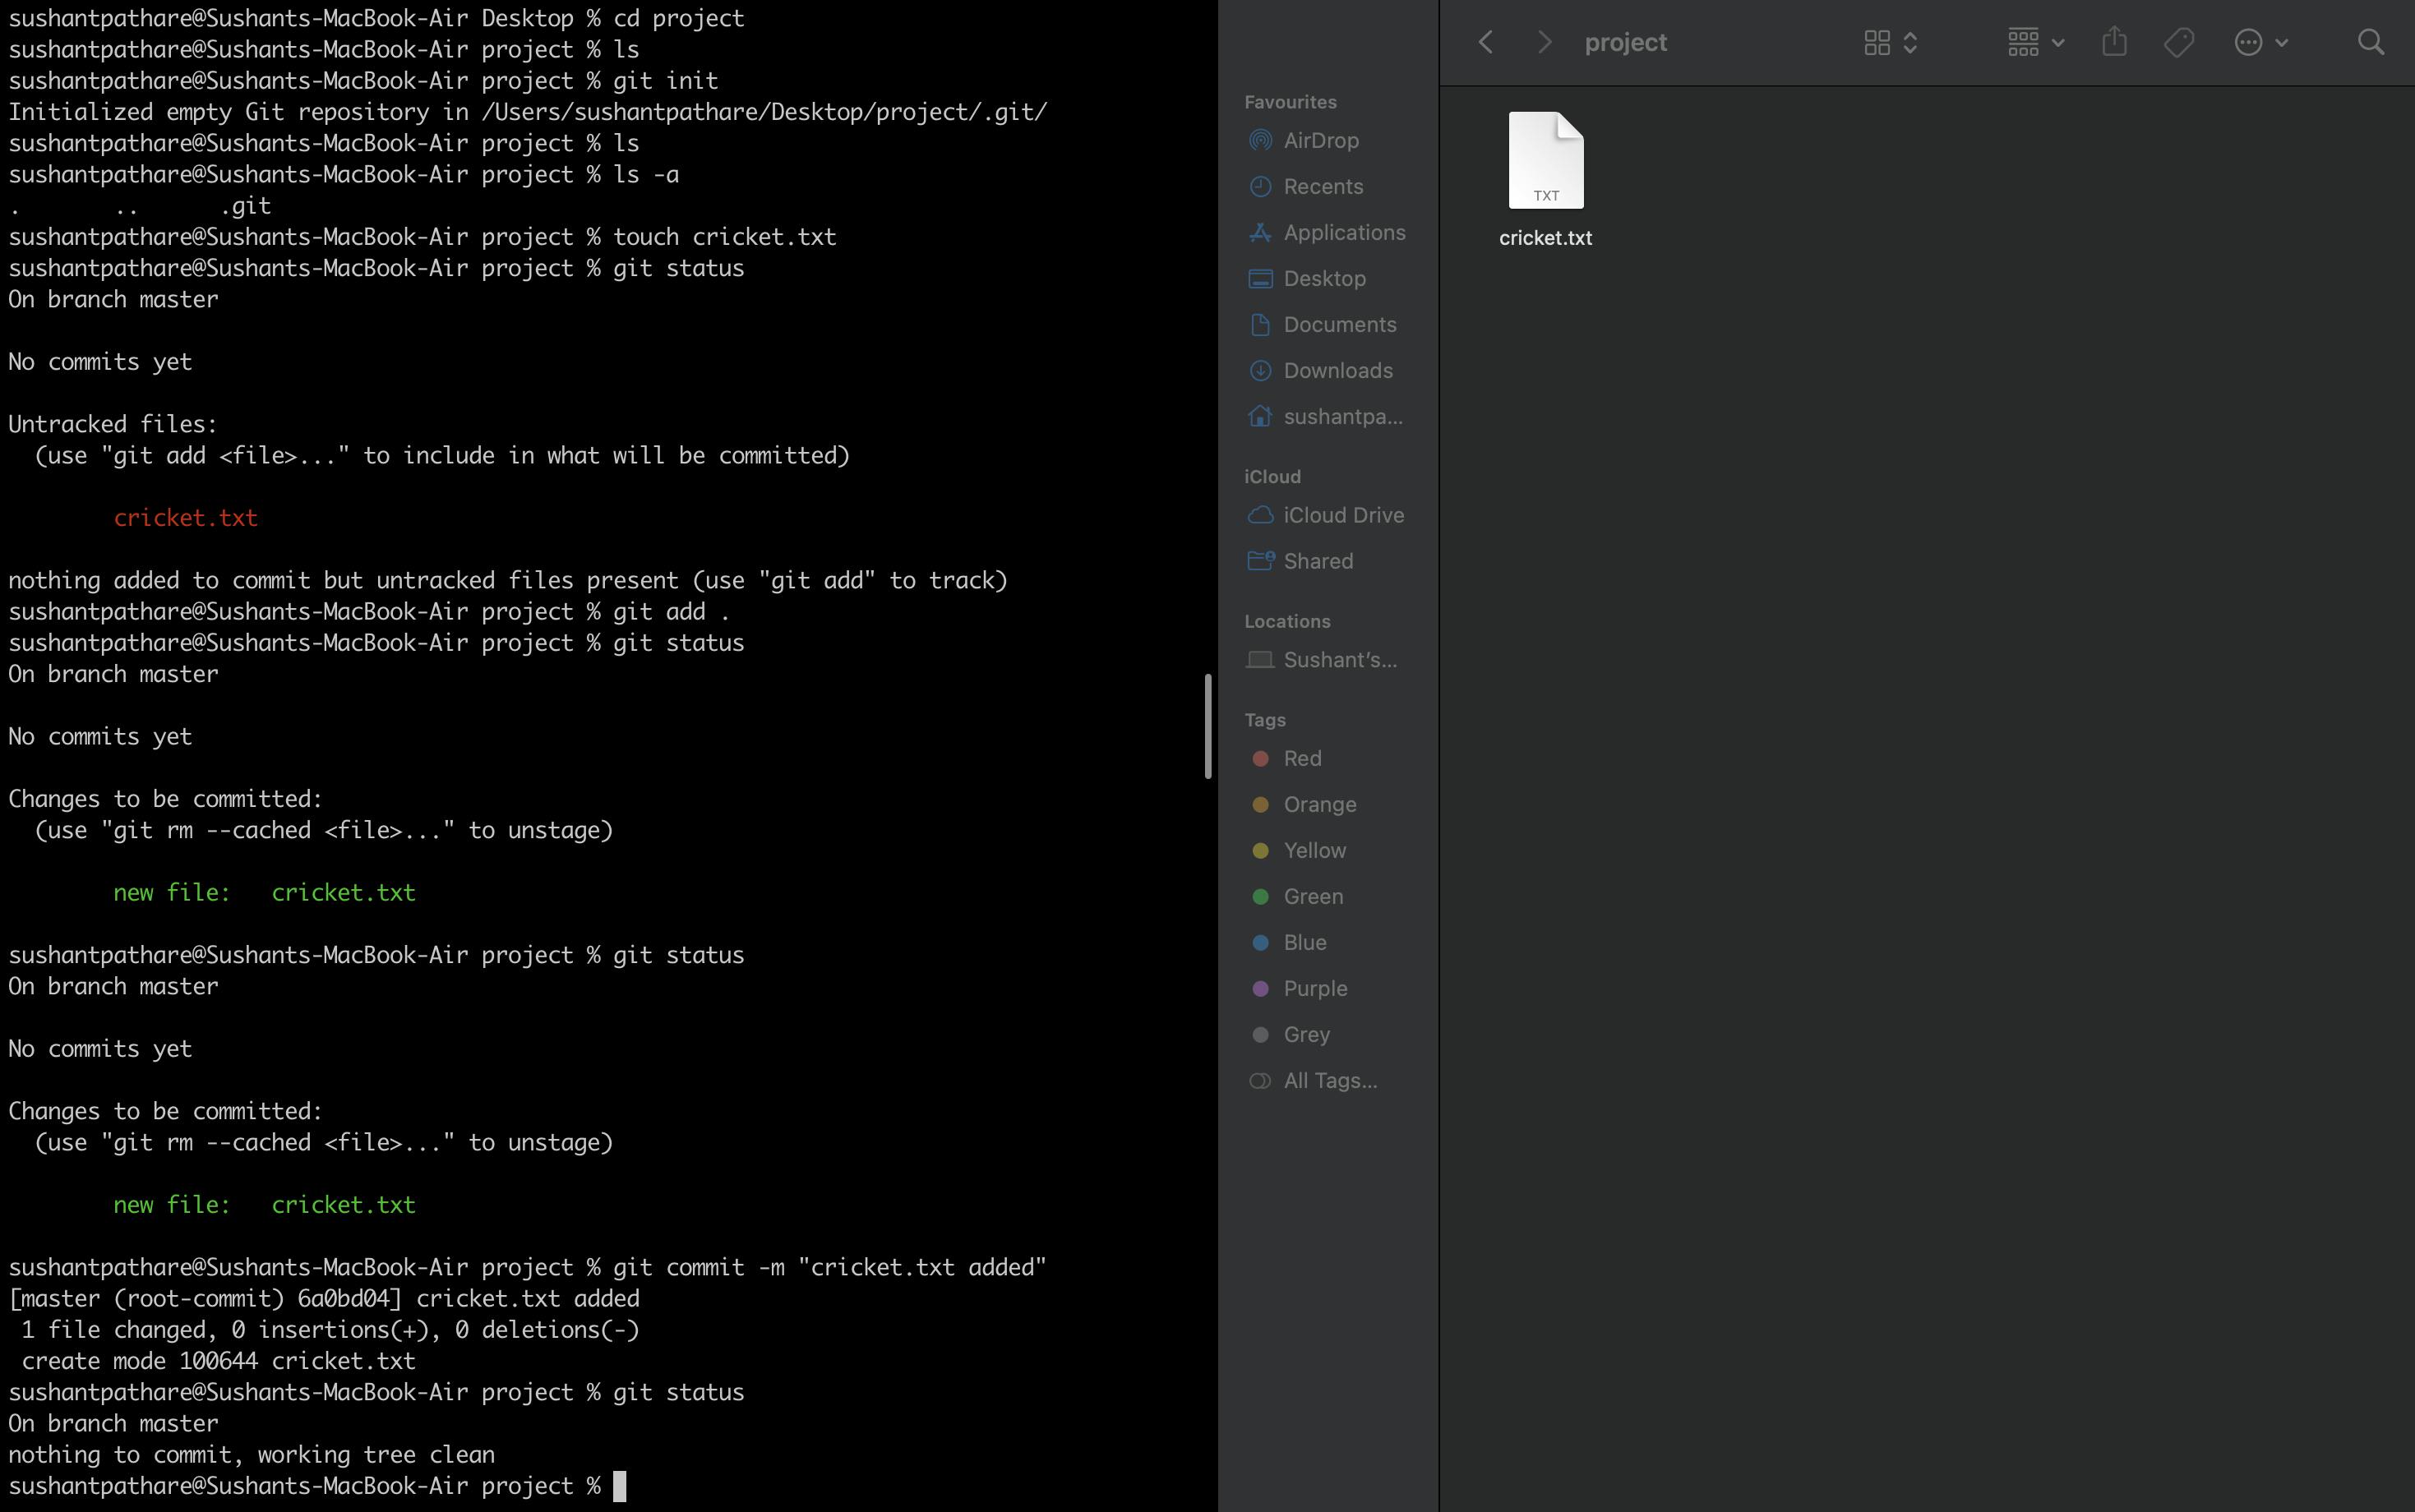
Let's imagine it together. First, we have to make a change in the project folder. So, go to the project folder and create a file named 'cricket.' To create a file, we use a command called touch In the command line, type touch cricket.txt.
touch: Used to create a file.
Now, we have created a file, and to store it in the history of .git, we imagine it with our scenario. But before that, to check what changes have been made and whether they are added or not, we have a command called git status.
git status: gives the current status of the repository.
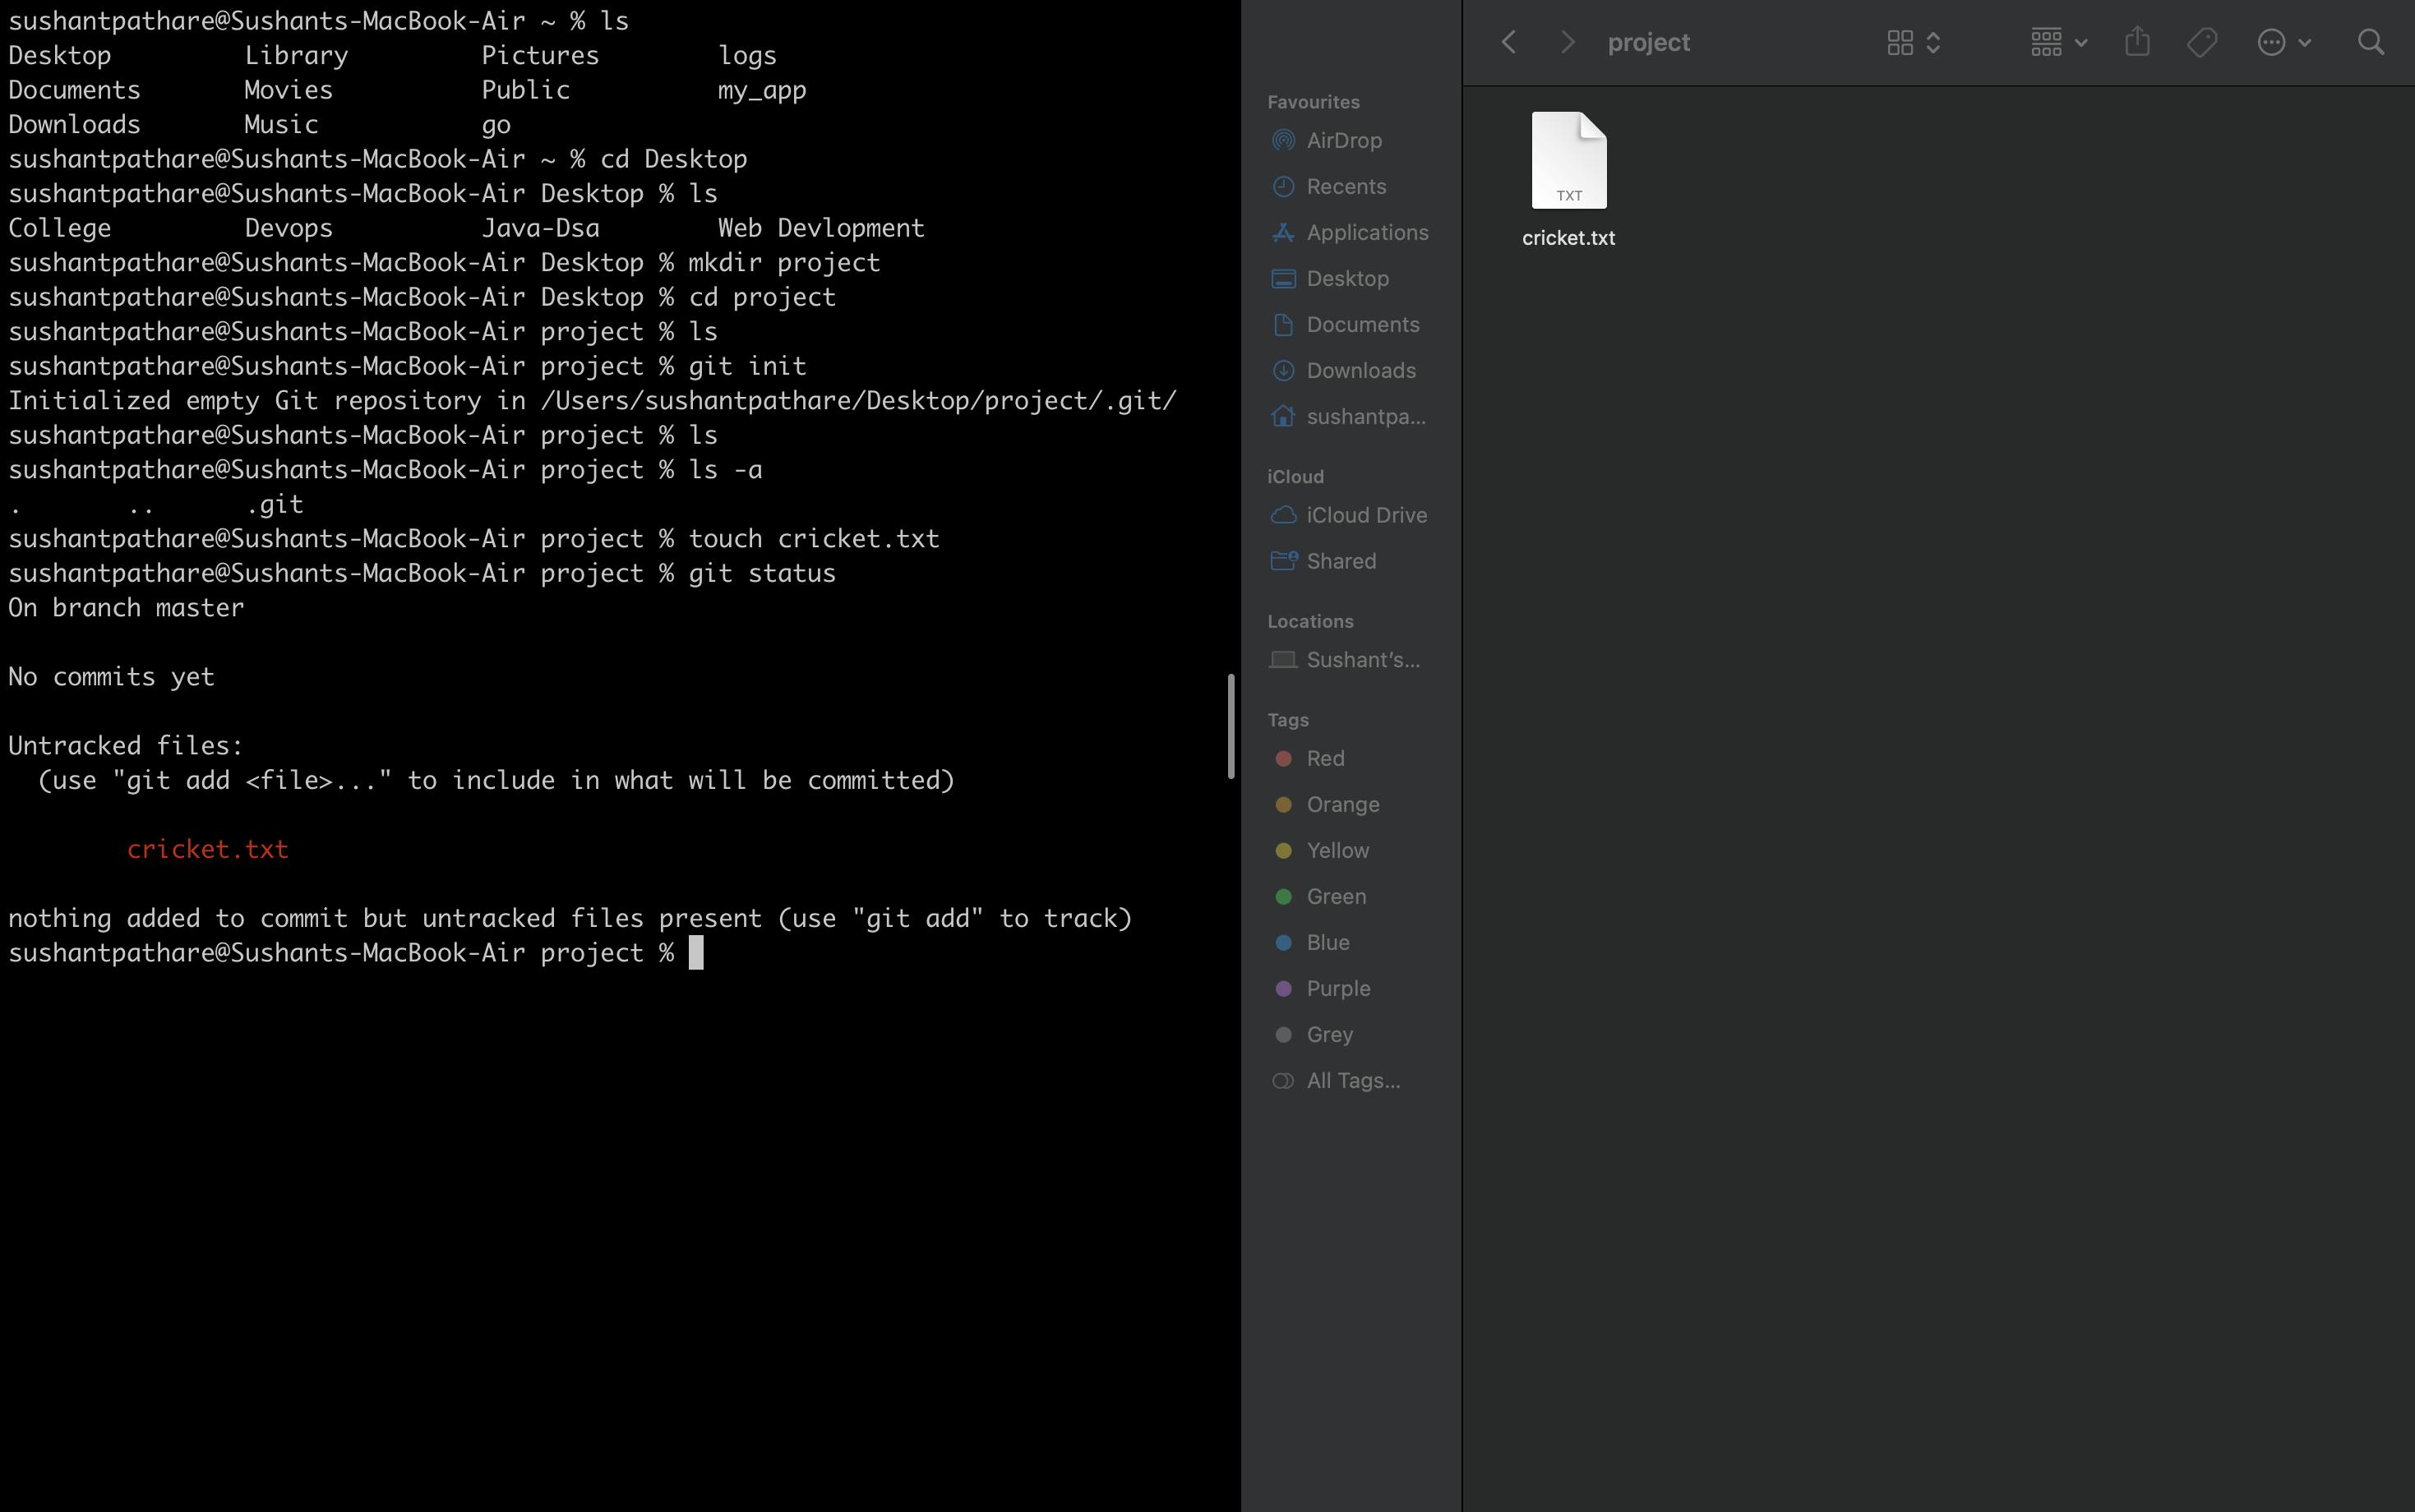
We can see that it gives us untracked files with filenames in red color. Comparing it with our wedding scenario, these untracked files are like the relatives who haven't taken photos with the couple yet. To take photos of them with the couple, the relatives have to go to the stage. Similarly, to store snapshots of our project's changes in history, we need to put our project on the stage. The command to add a specific file is git add <file name> , and to add all files, we use git add ..
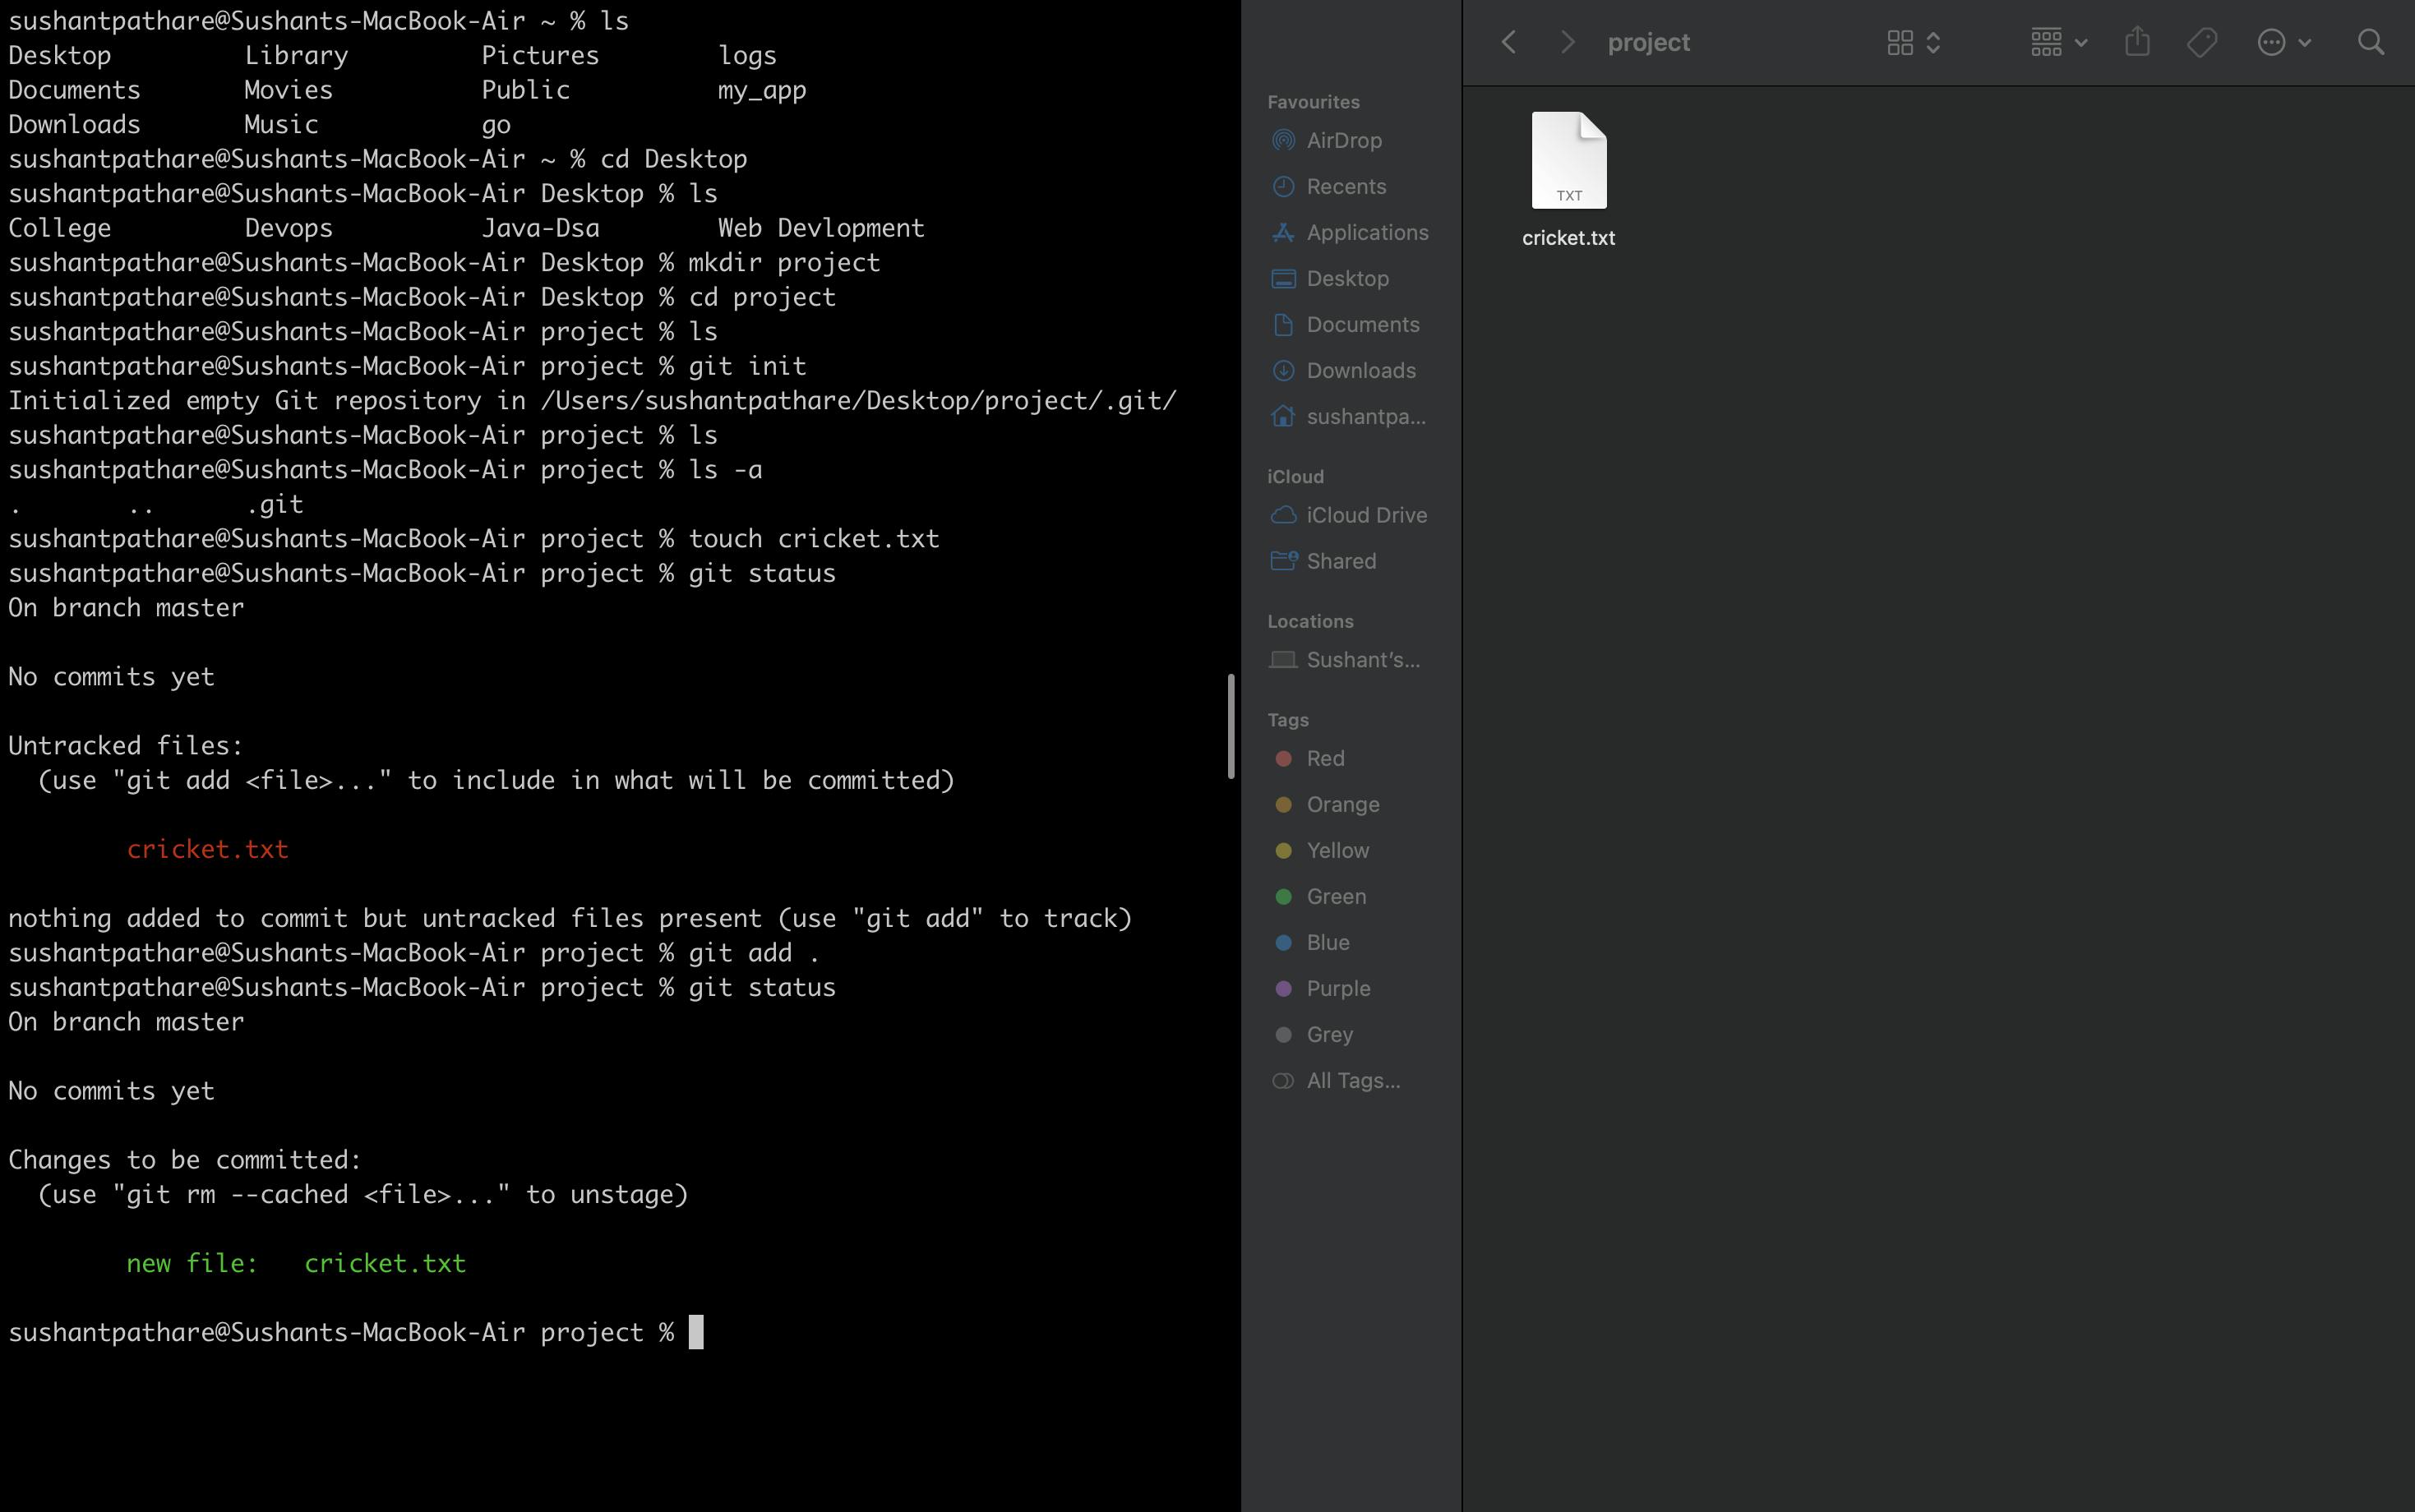
Now, when you type git add . and then, when you type git status, you'll see that the file is now in green color, which means that its photo has been taken.
Now that the photo has been taken, we can save the photo in our photo album. Similarly, we use the git commit command to store a snapshot of our project in its history.
Syntax:
git commit -m "message"(where-mstands for "message").
As we added a new file, type git commit -m "cricket.txt added".
Now, after that, when you type git status again, it will check whether there are any other changes made in the project. If not, it will show the working tree clean.
Now, let's make a new change. Open the cricket.txt file using another command known as Vim. Type vim cricket.txt to open it. Now, as you've opened the file, type some random stuff inside it. To save, type ESC followed by Shift, and : together, and then press x. After saving, guess what happens when you type git status again. So, what have we done? We added some text, right? Therefore, it shows that cricket.txt was modified.
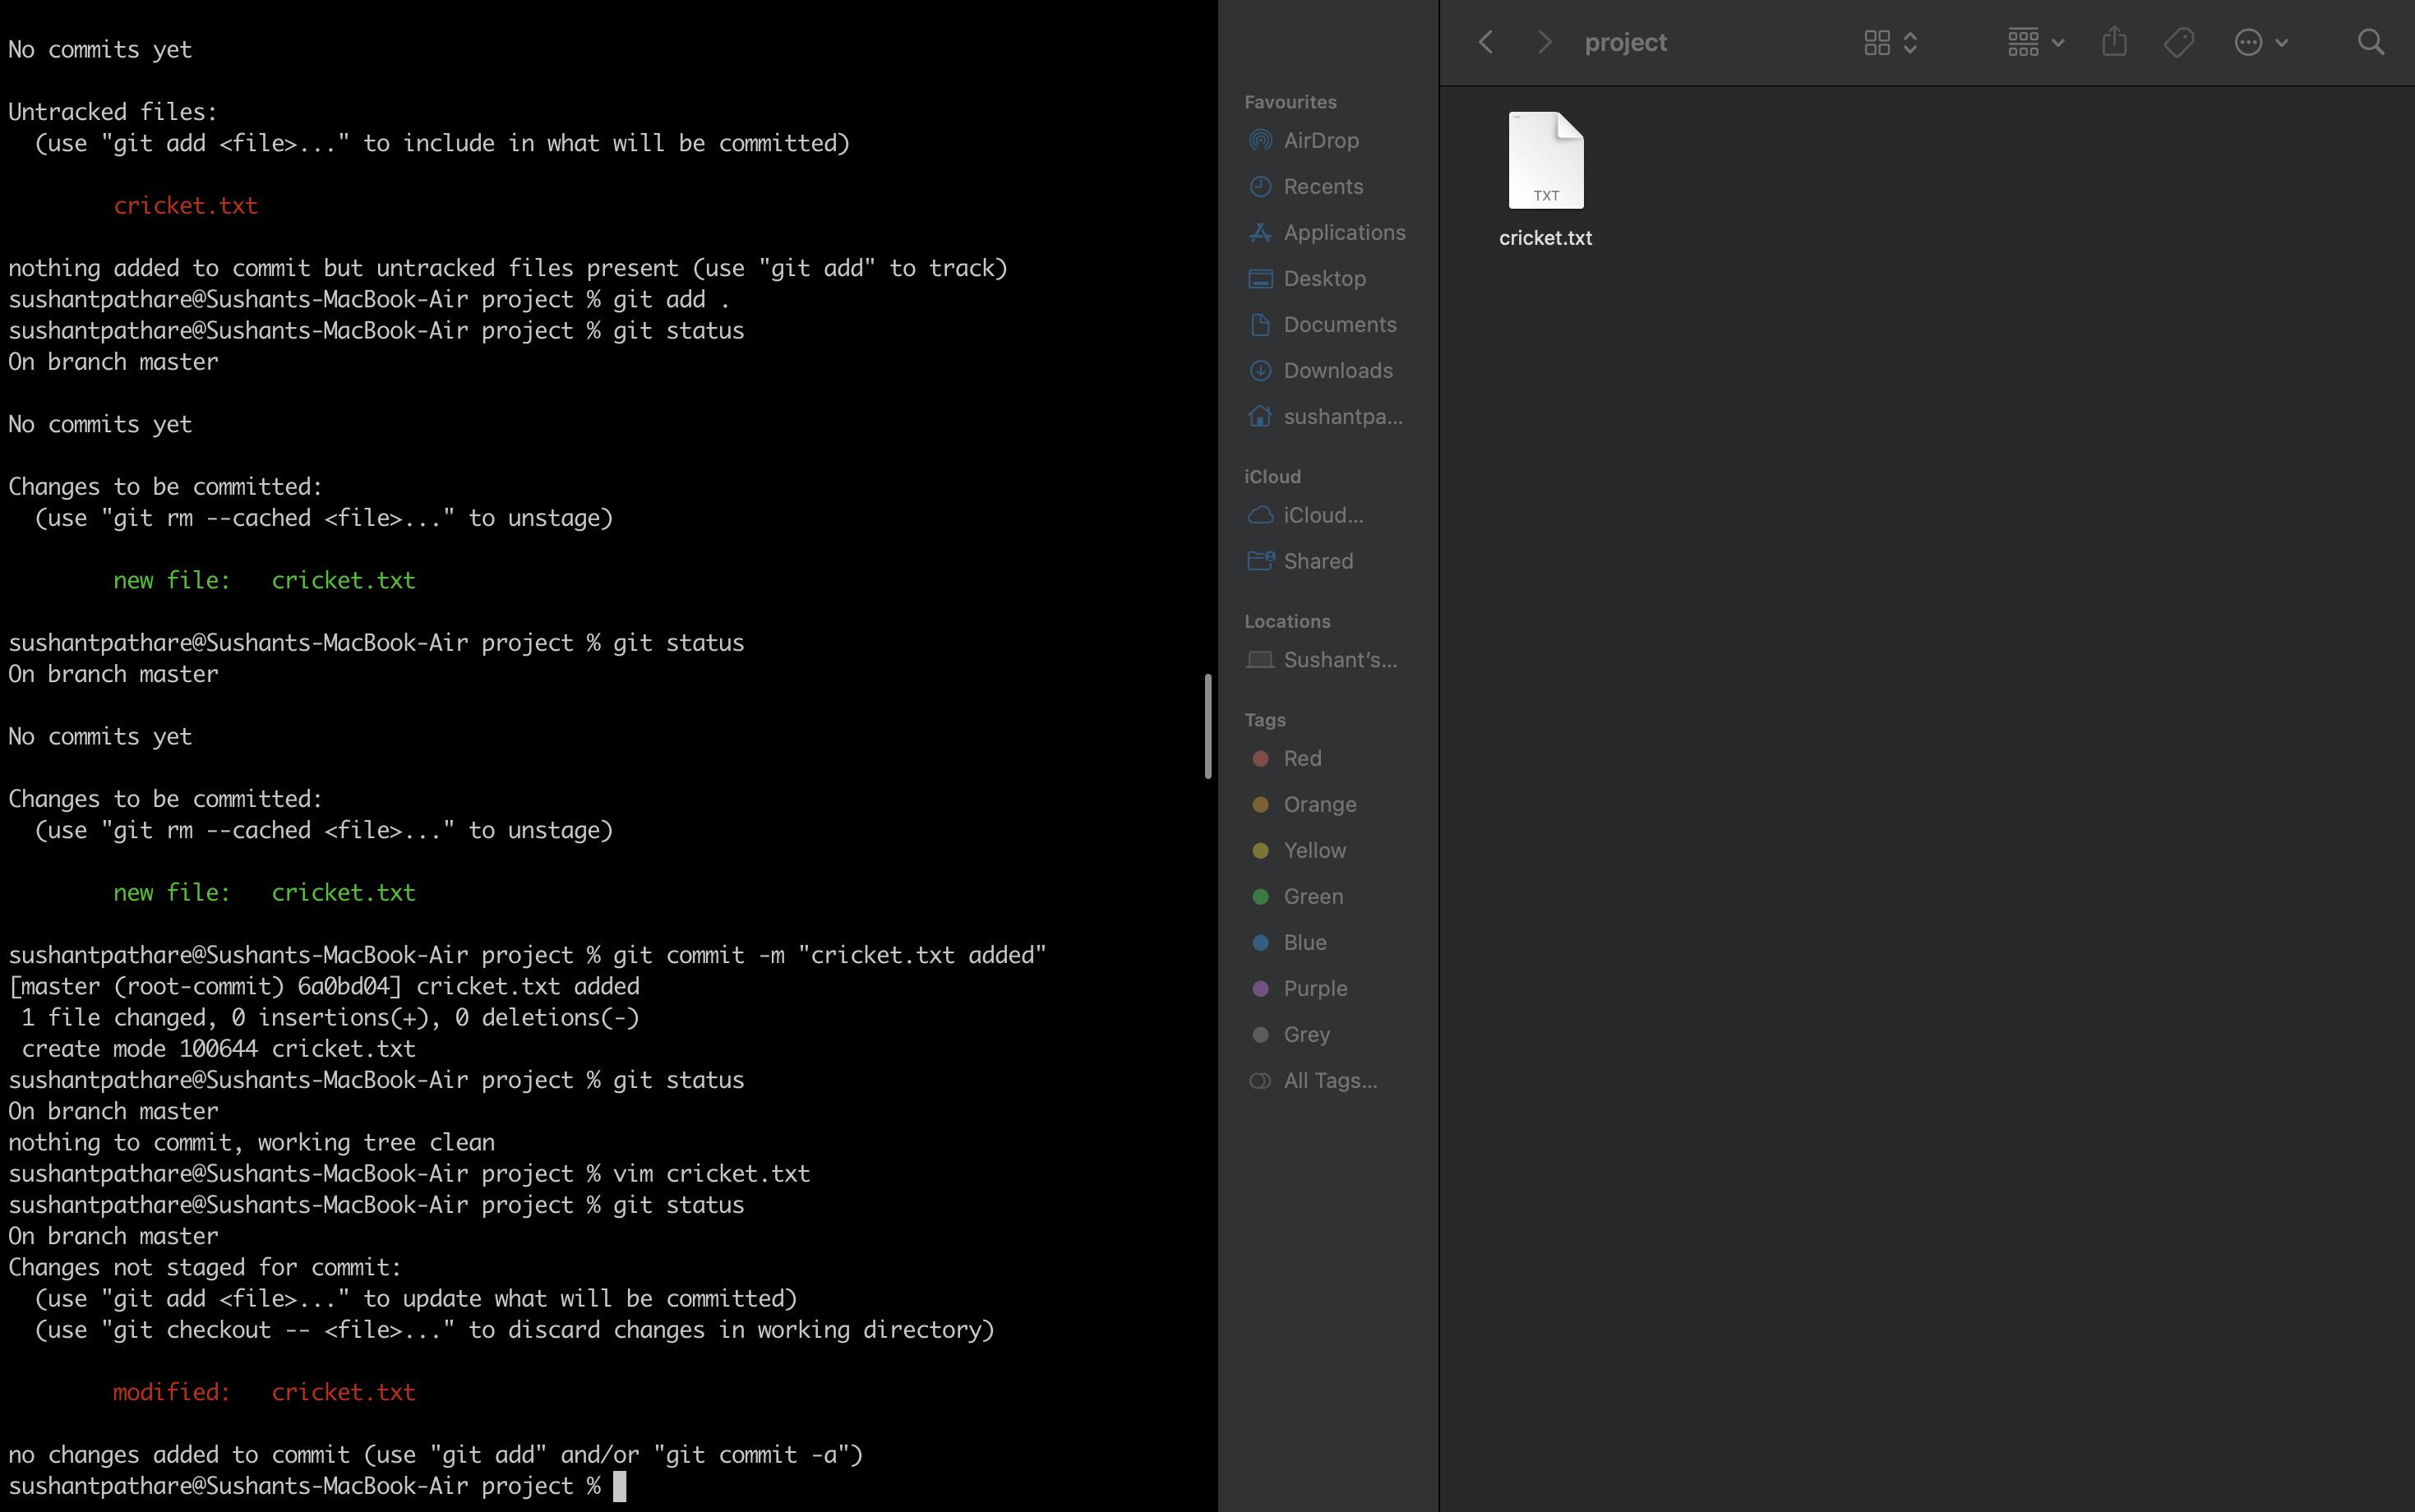
To add a snapshot of this photo, we need to get them on stage again. As we already know, we have to type 'git add .' to do so. Now, imagine we accidentally get them on stage, and we don't want to take a picture of them. In order to unstage them, we use git reset cricket.txt.

Now, let's take a snapshot of the project and add it to the history. Now, a question has arisen: where is the history of our project stored? To check the history of the project, we have the 'git log' command, which logs all the commits we made to that file.
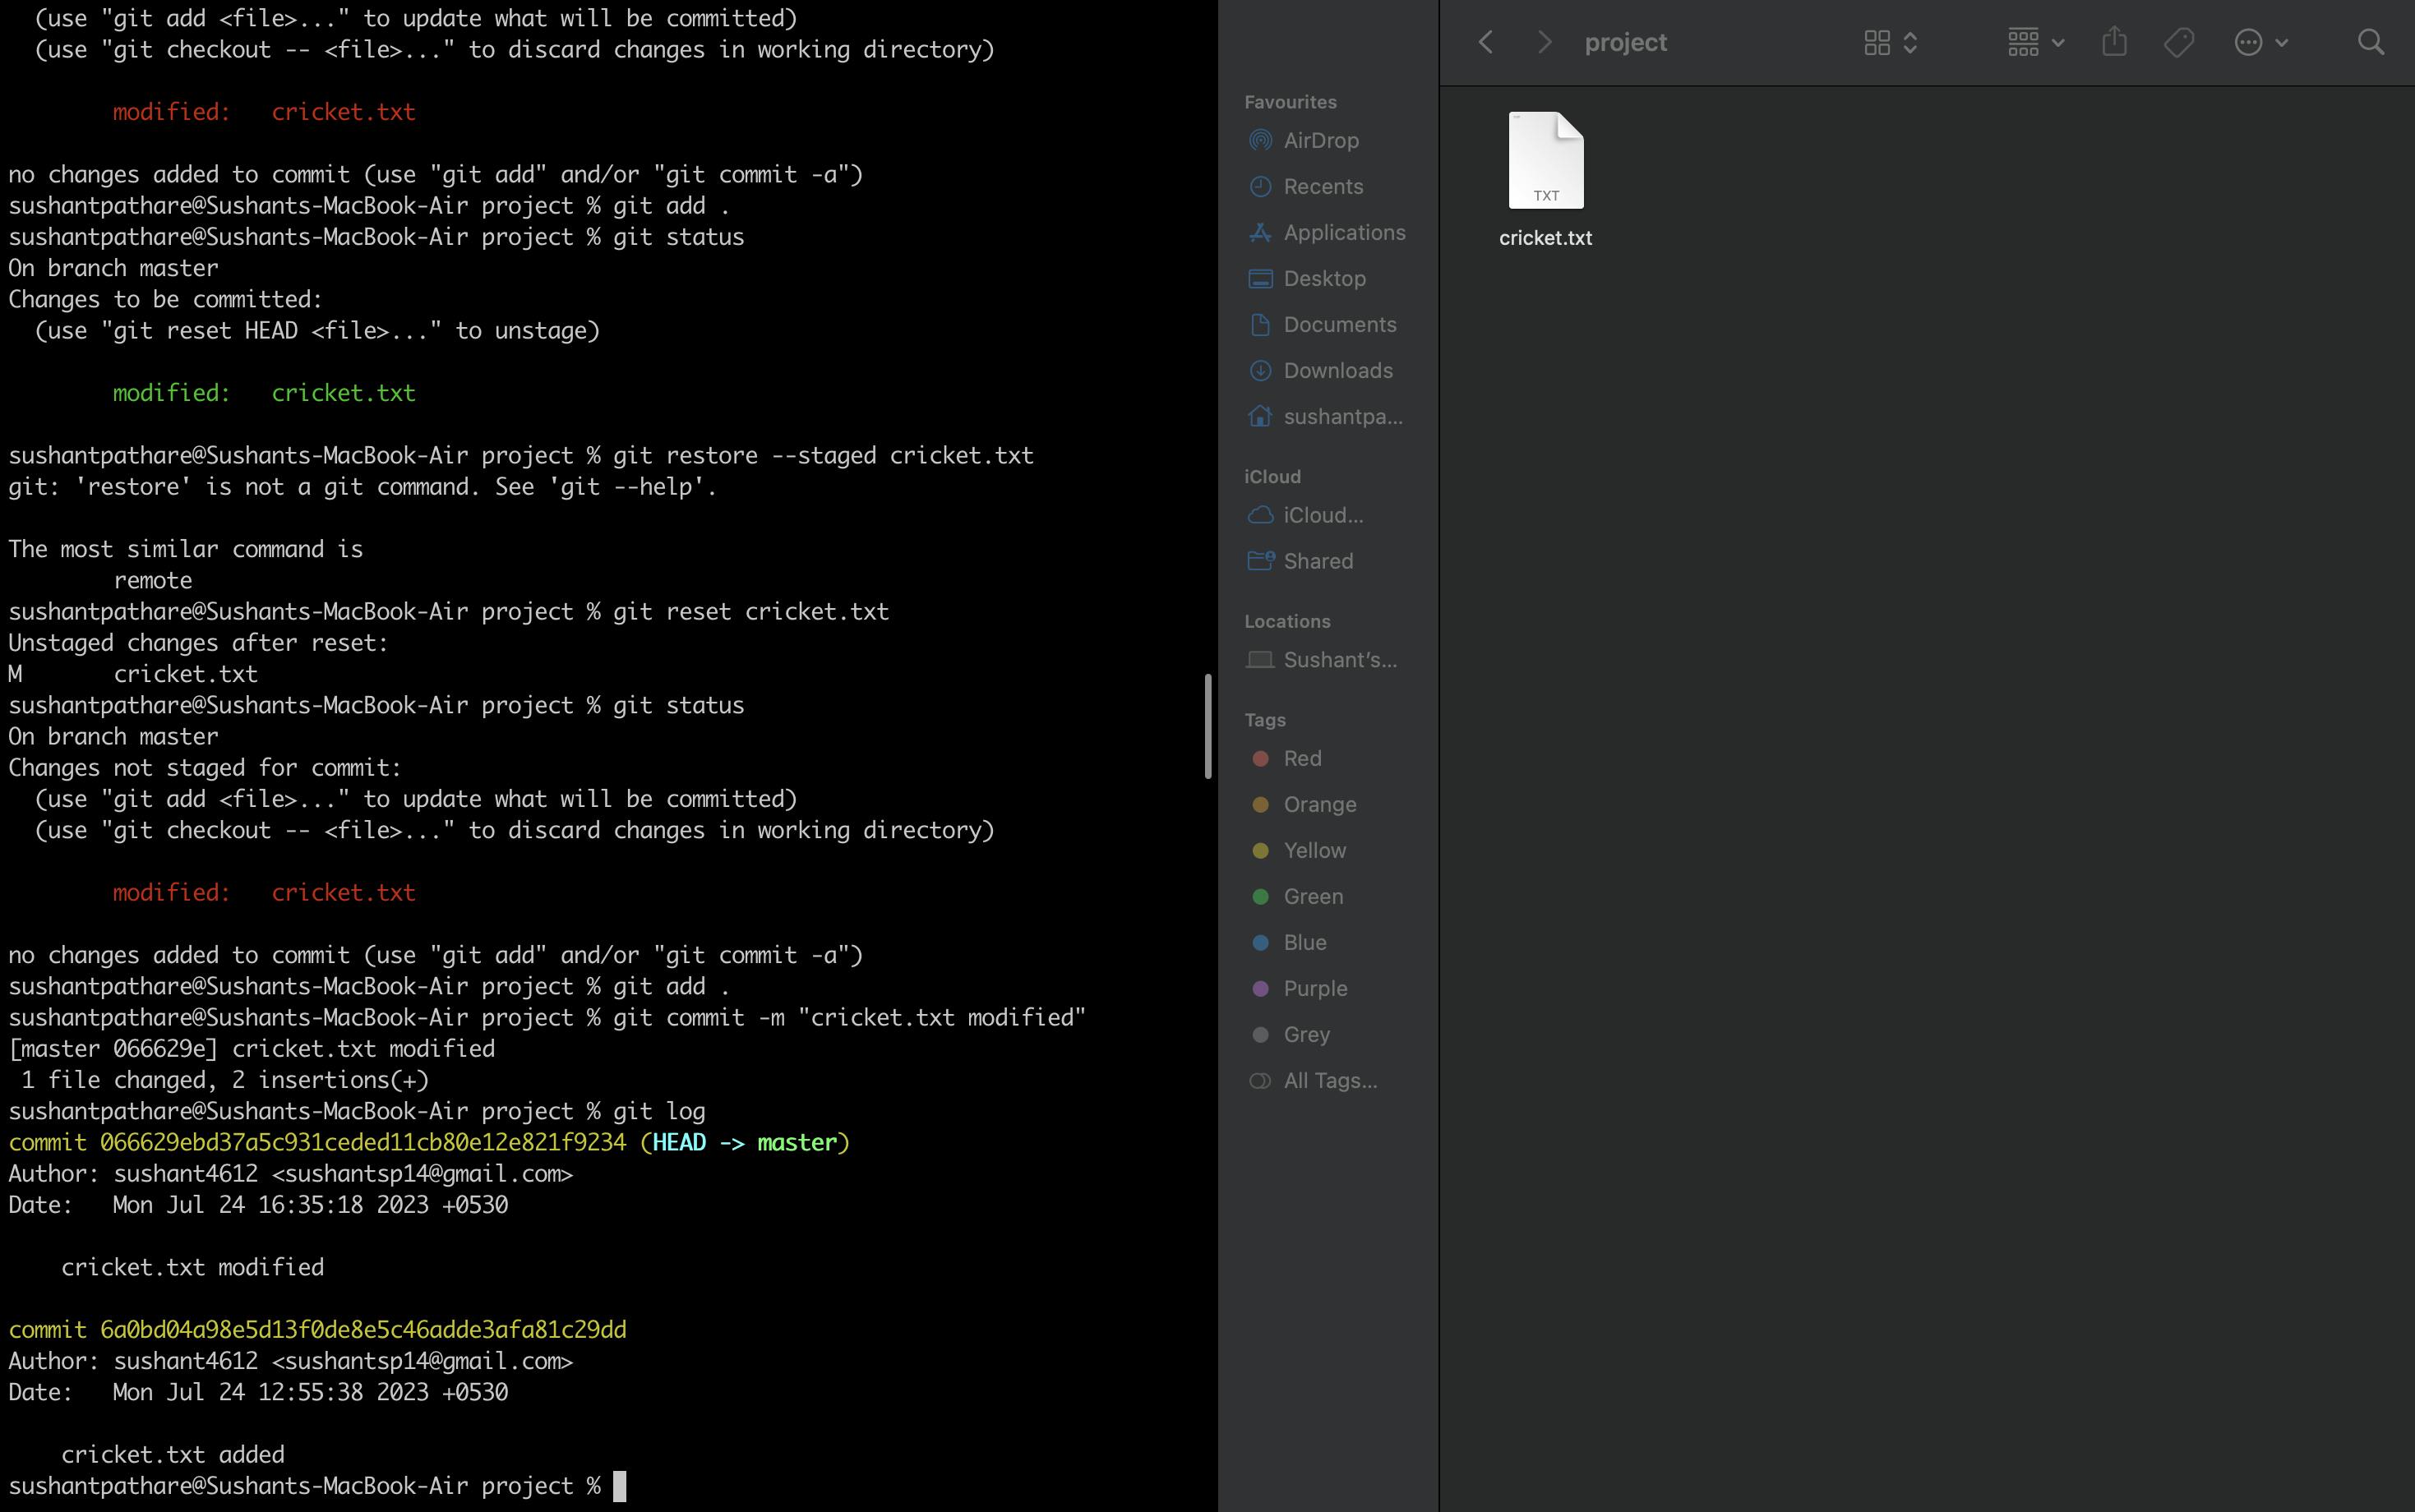
Here, we see that there are two commits which we made earlier: one is for adding the file, and the second one is for modifying the file. Now, let's add a few more commits. Let's add one more file and make some changes to it, then commit those changes.
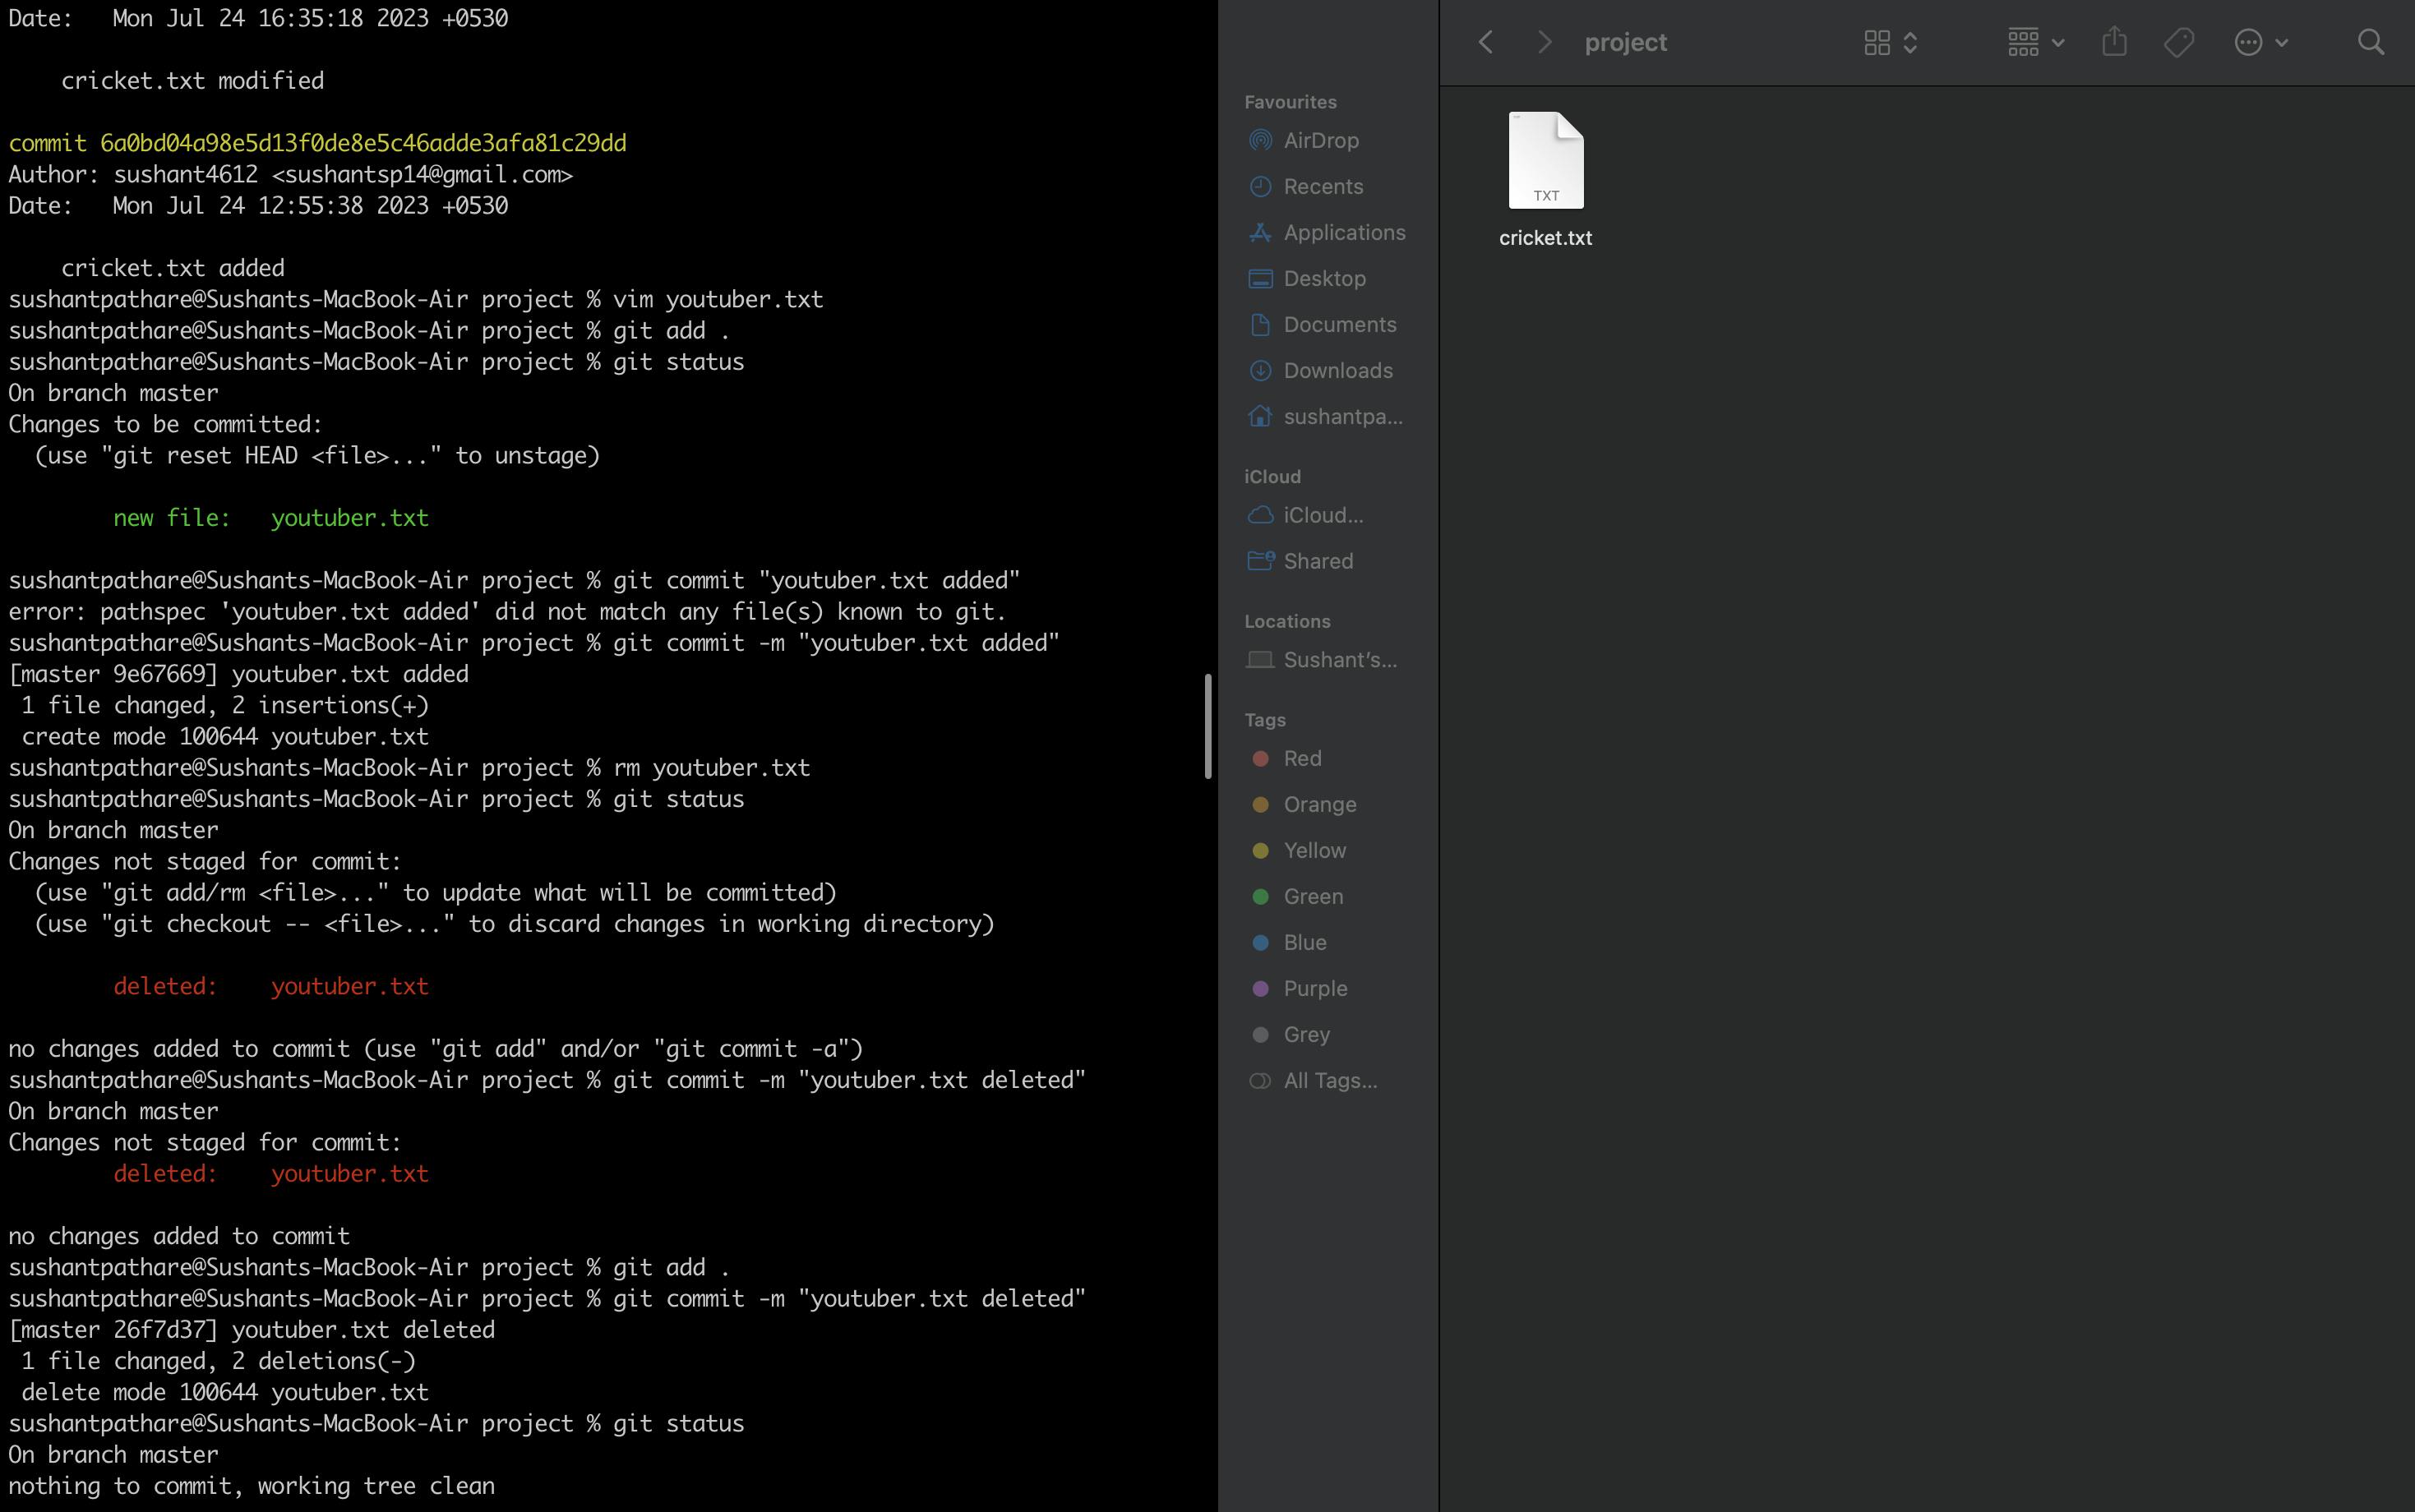
I added a file named youtuber.txt, added some text inside it, then deleted that file, and committed those changes.
Now, let's assume you accidentally deleted that file, and you want to restore that change. In short, we want to go back to the state of our project two commits earlier. To do so, we'll use the 'reset' command. First, type git log to see the commit history.
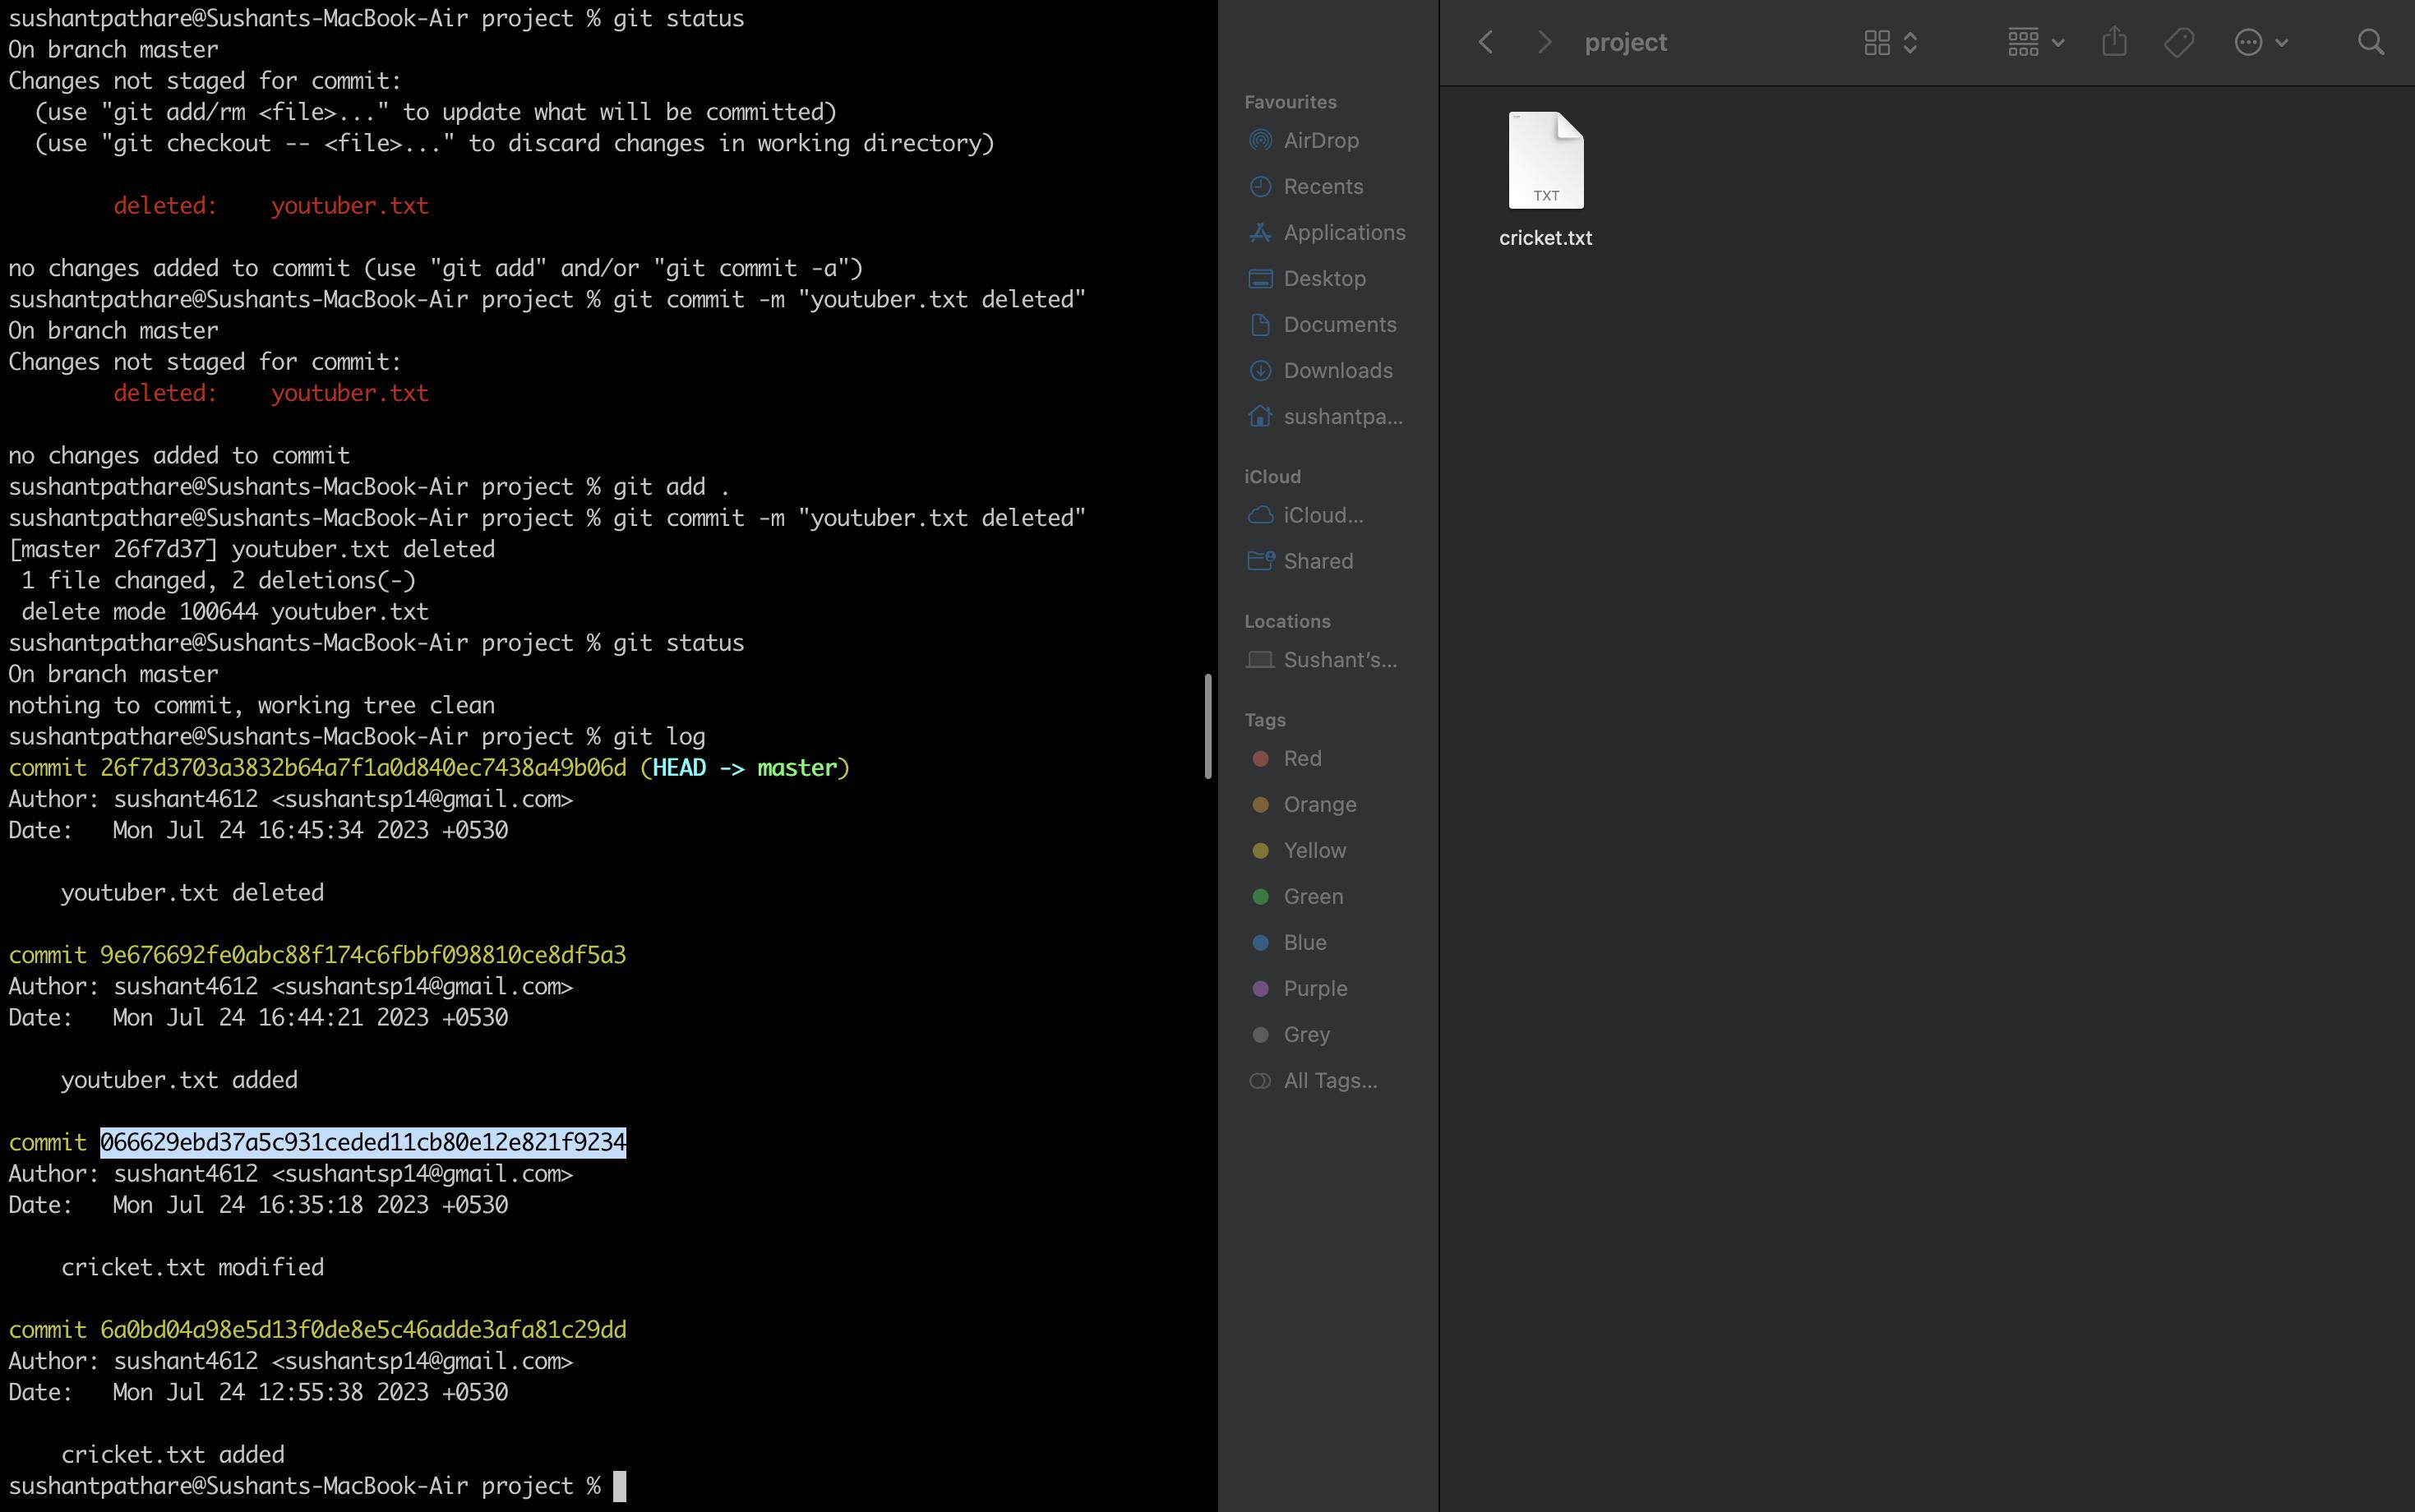
We want to see how our project looked like on Mon Jul 24, 2023, at 16:35:18 +0530. To do so, we just have to copy the commit ID and type git reset <commit ID>. Then, you will see our project changes to how it looked 2 commits earlier. Now, when you type git log, you will see that 2 commits have gone, and there are only 2 commits remaining.
Our terminal looks too messy. To clear the terminal, type the 'clear' command.
Stashing changes
Now, let's imagine you've made some changes, but you don't want to commit them yet. You want to go back to an earlier commit without losing those changes, so you can work with a clean code. Whenever you need, you can retrieve those changes. For this purpose, there is one command called git stash.
In our example, 'git stash' can be likened to taking a photo of the changes you have staged, and then removing them backstage (unstaging). Whenever you want, you can bring them back on stage (staging) and take the photo (commit) later.
To get them back, the command is git stash pop.
To delete it, use git stash clear.
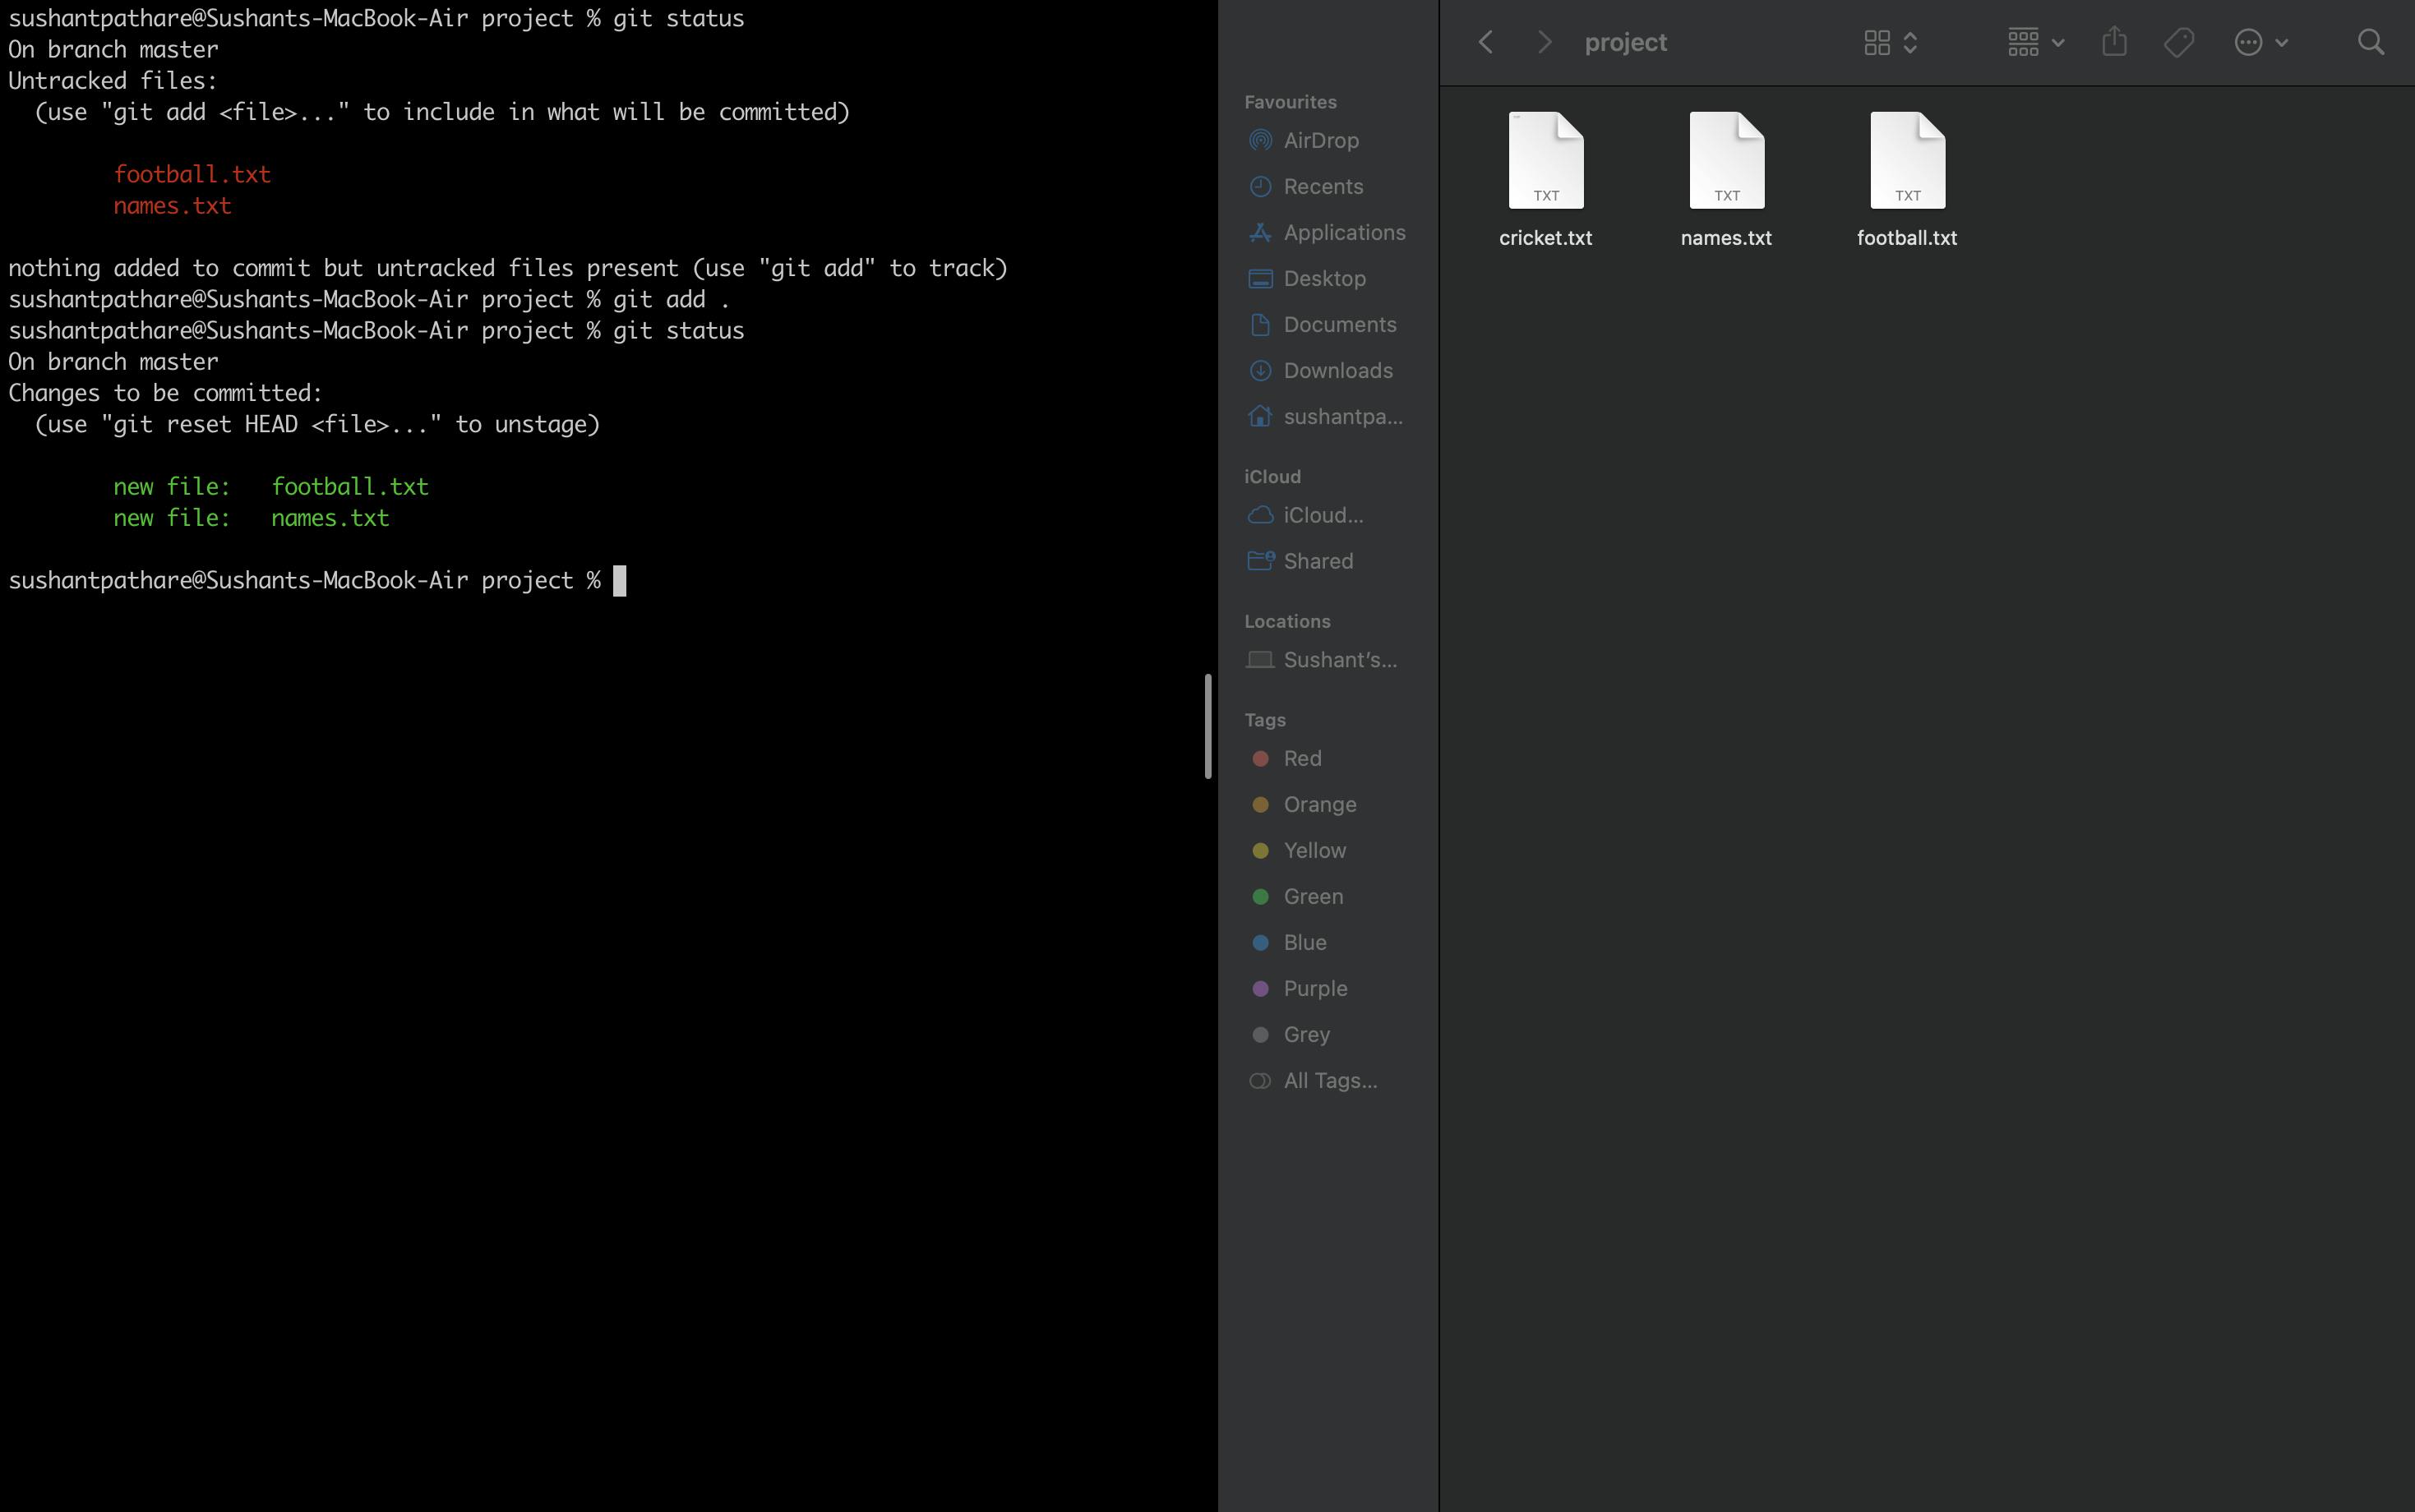
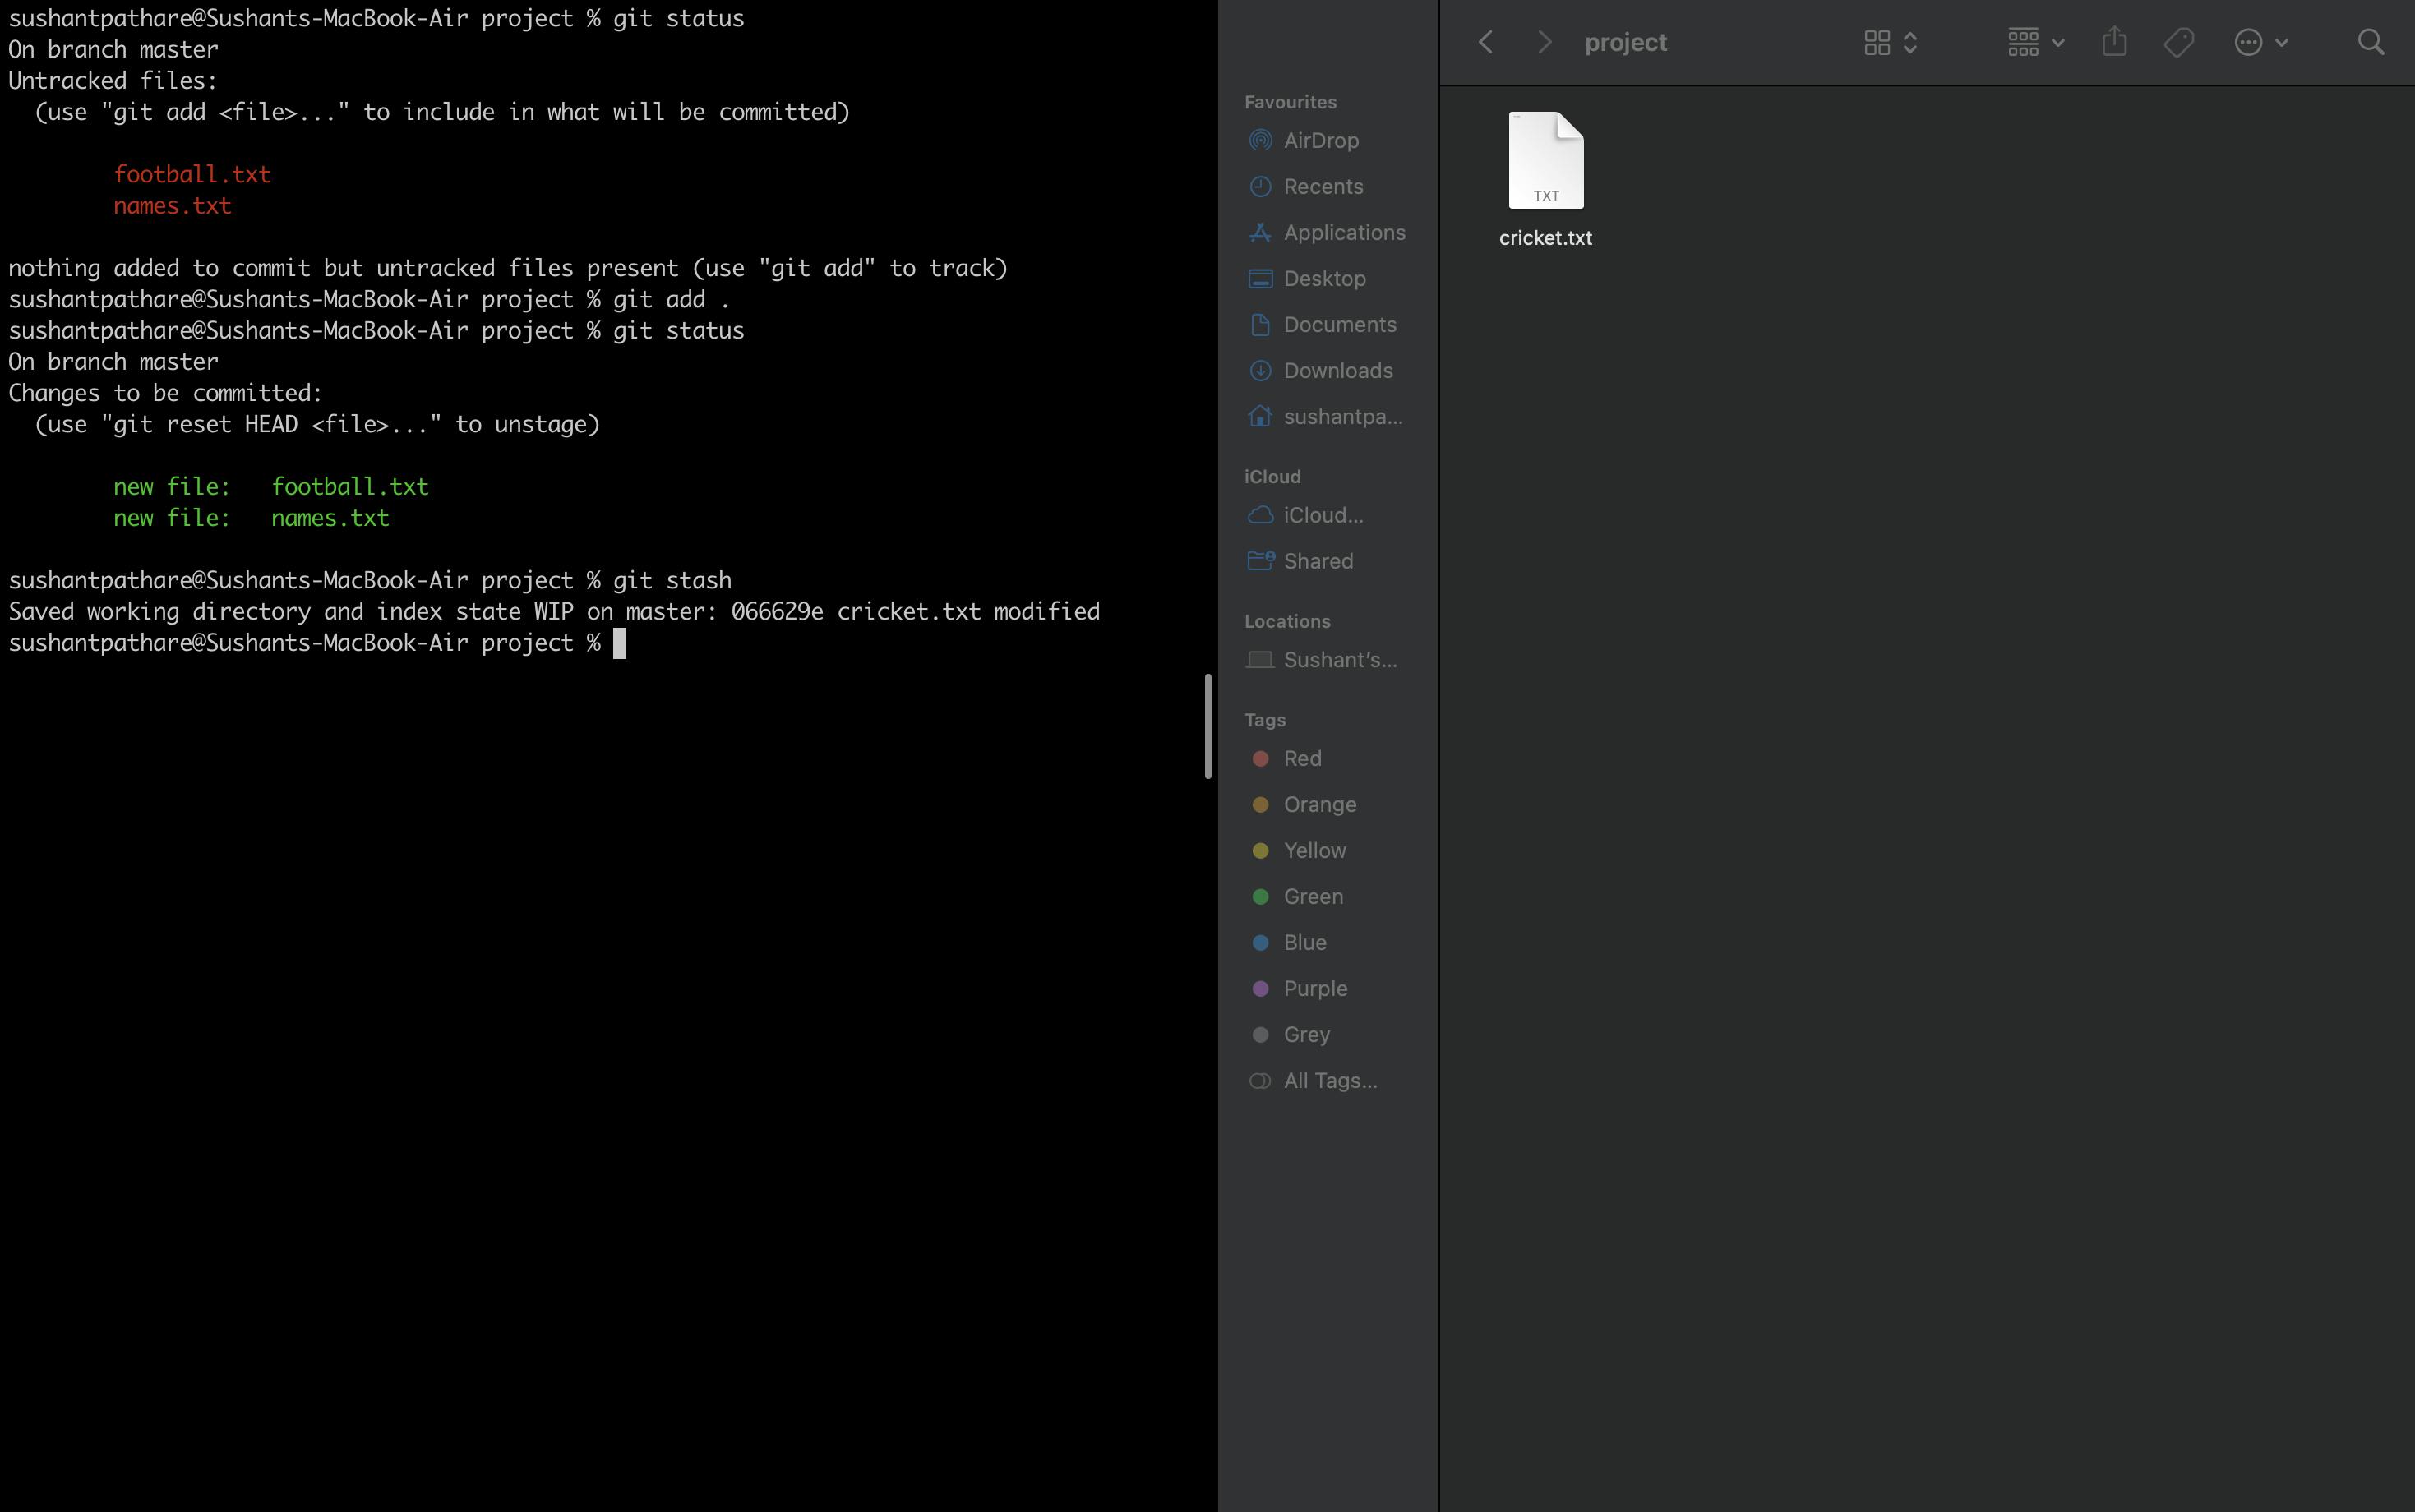
Let's practice it. Create some files and commit them. To use the stash command, we first have to add the changes with git add .. After that, use 'git stash'. Now, you'll see that the files are gone. When you type git status again, it shows the working tree clean.
And now, type git stash and then see that the files have gone.
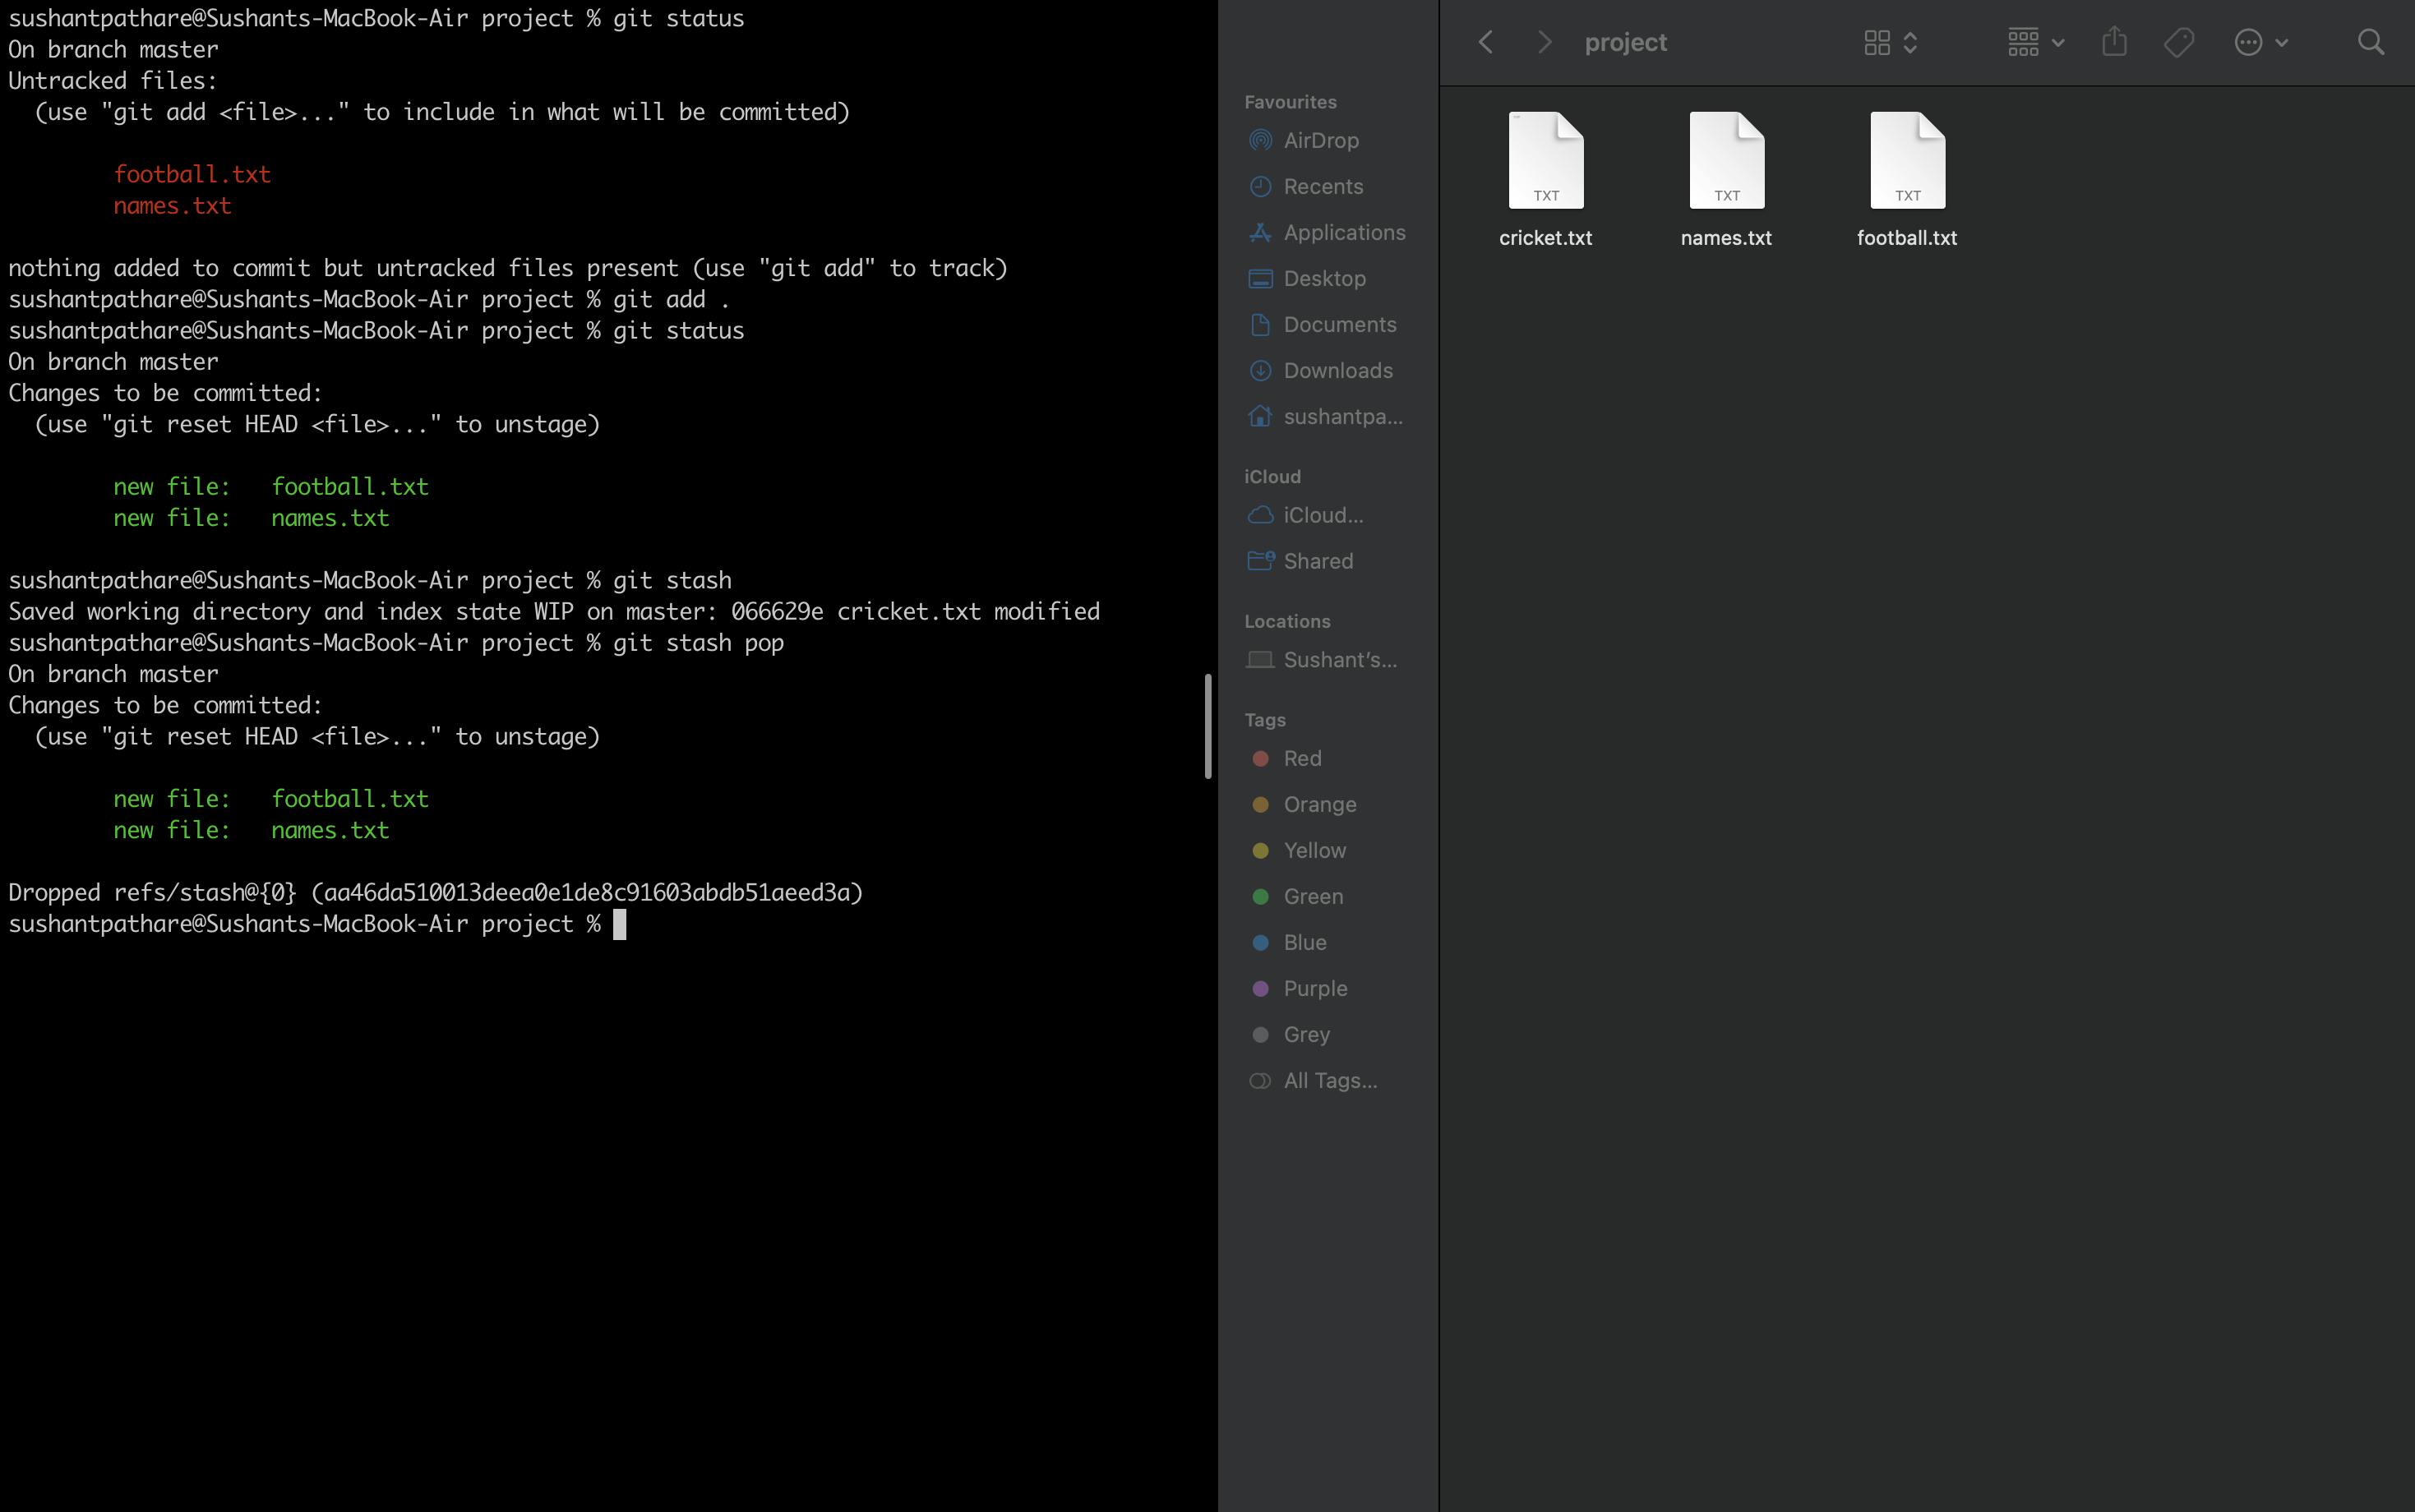
To get it back, type git stash pop.
And to delete them, first, add them to the stash, and then type git stash clear .
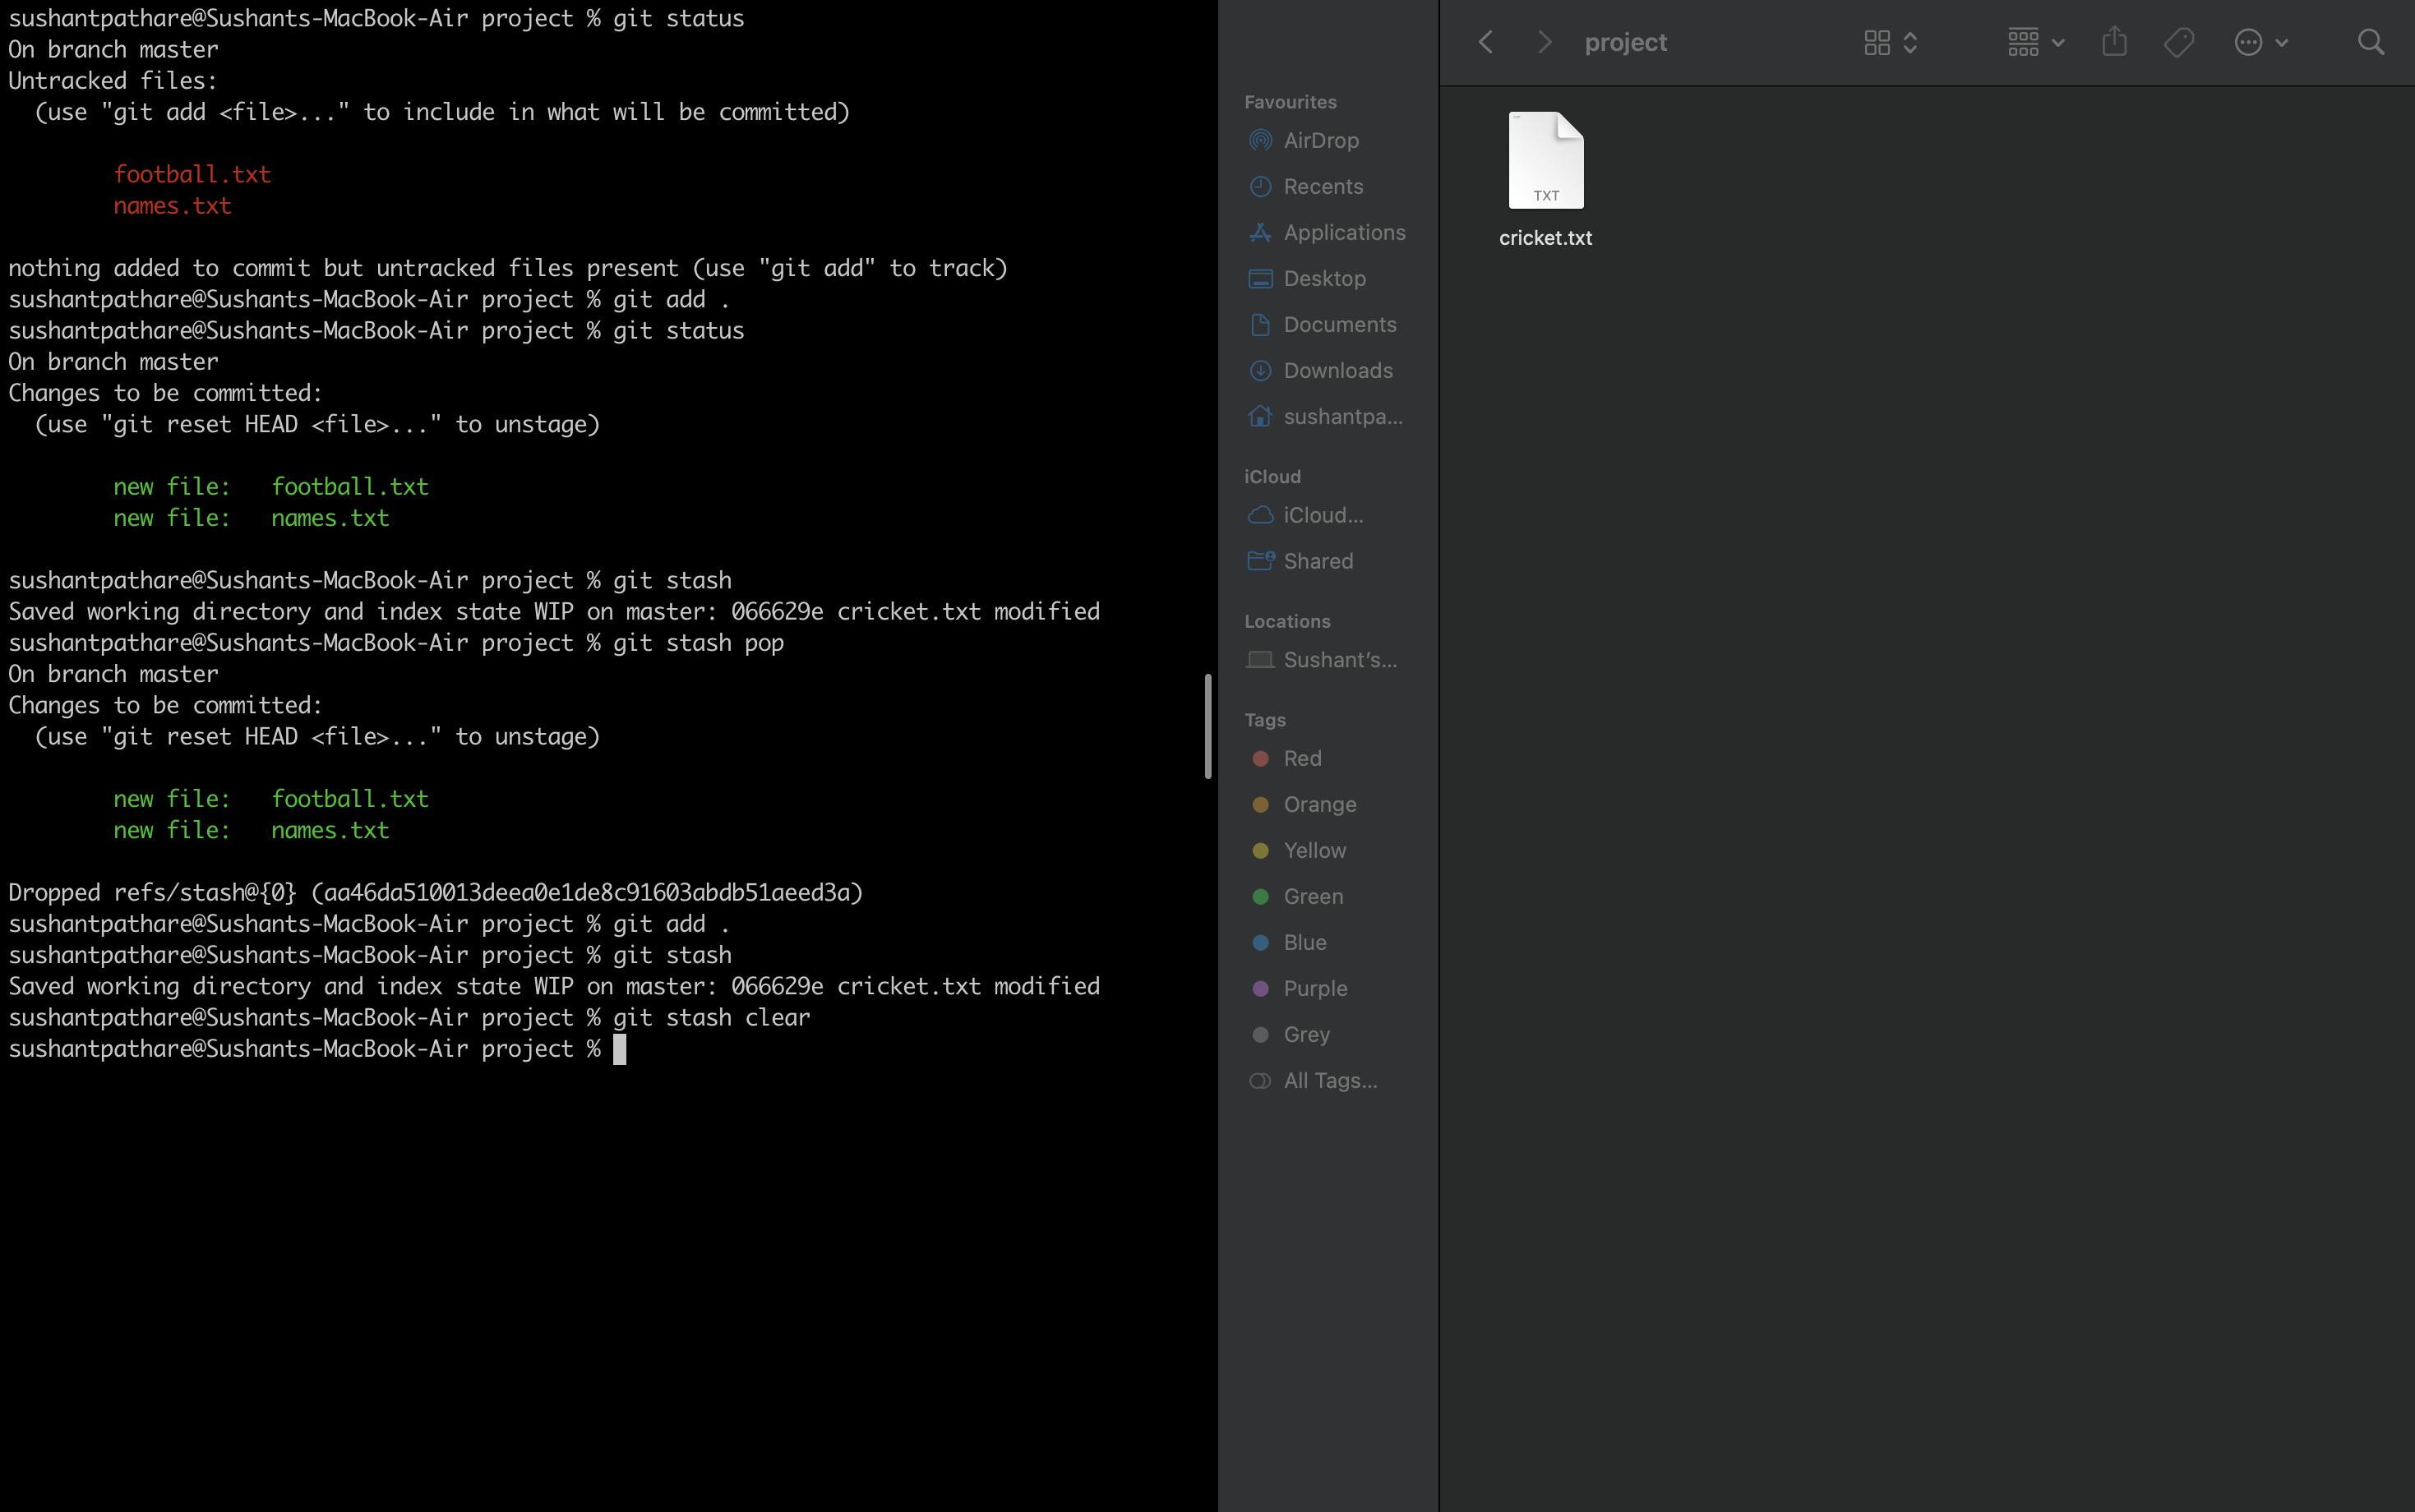
Note: When you clear the stash, it is deleted permanently.
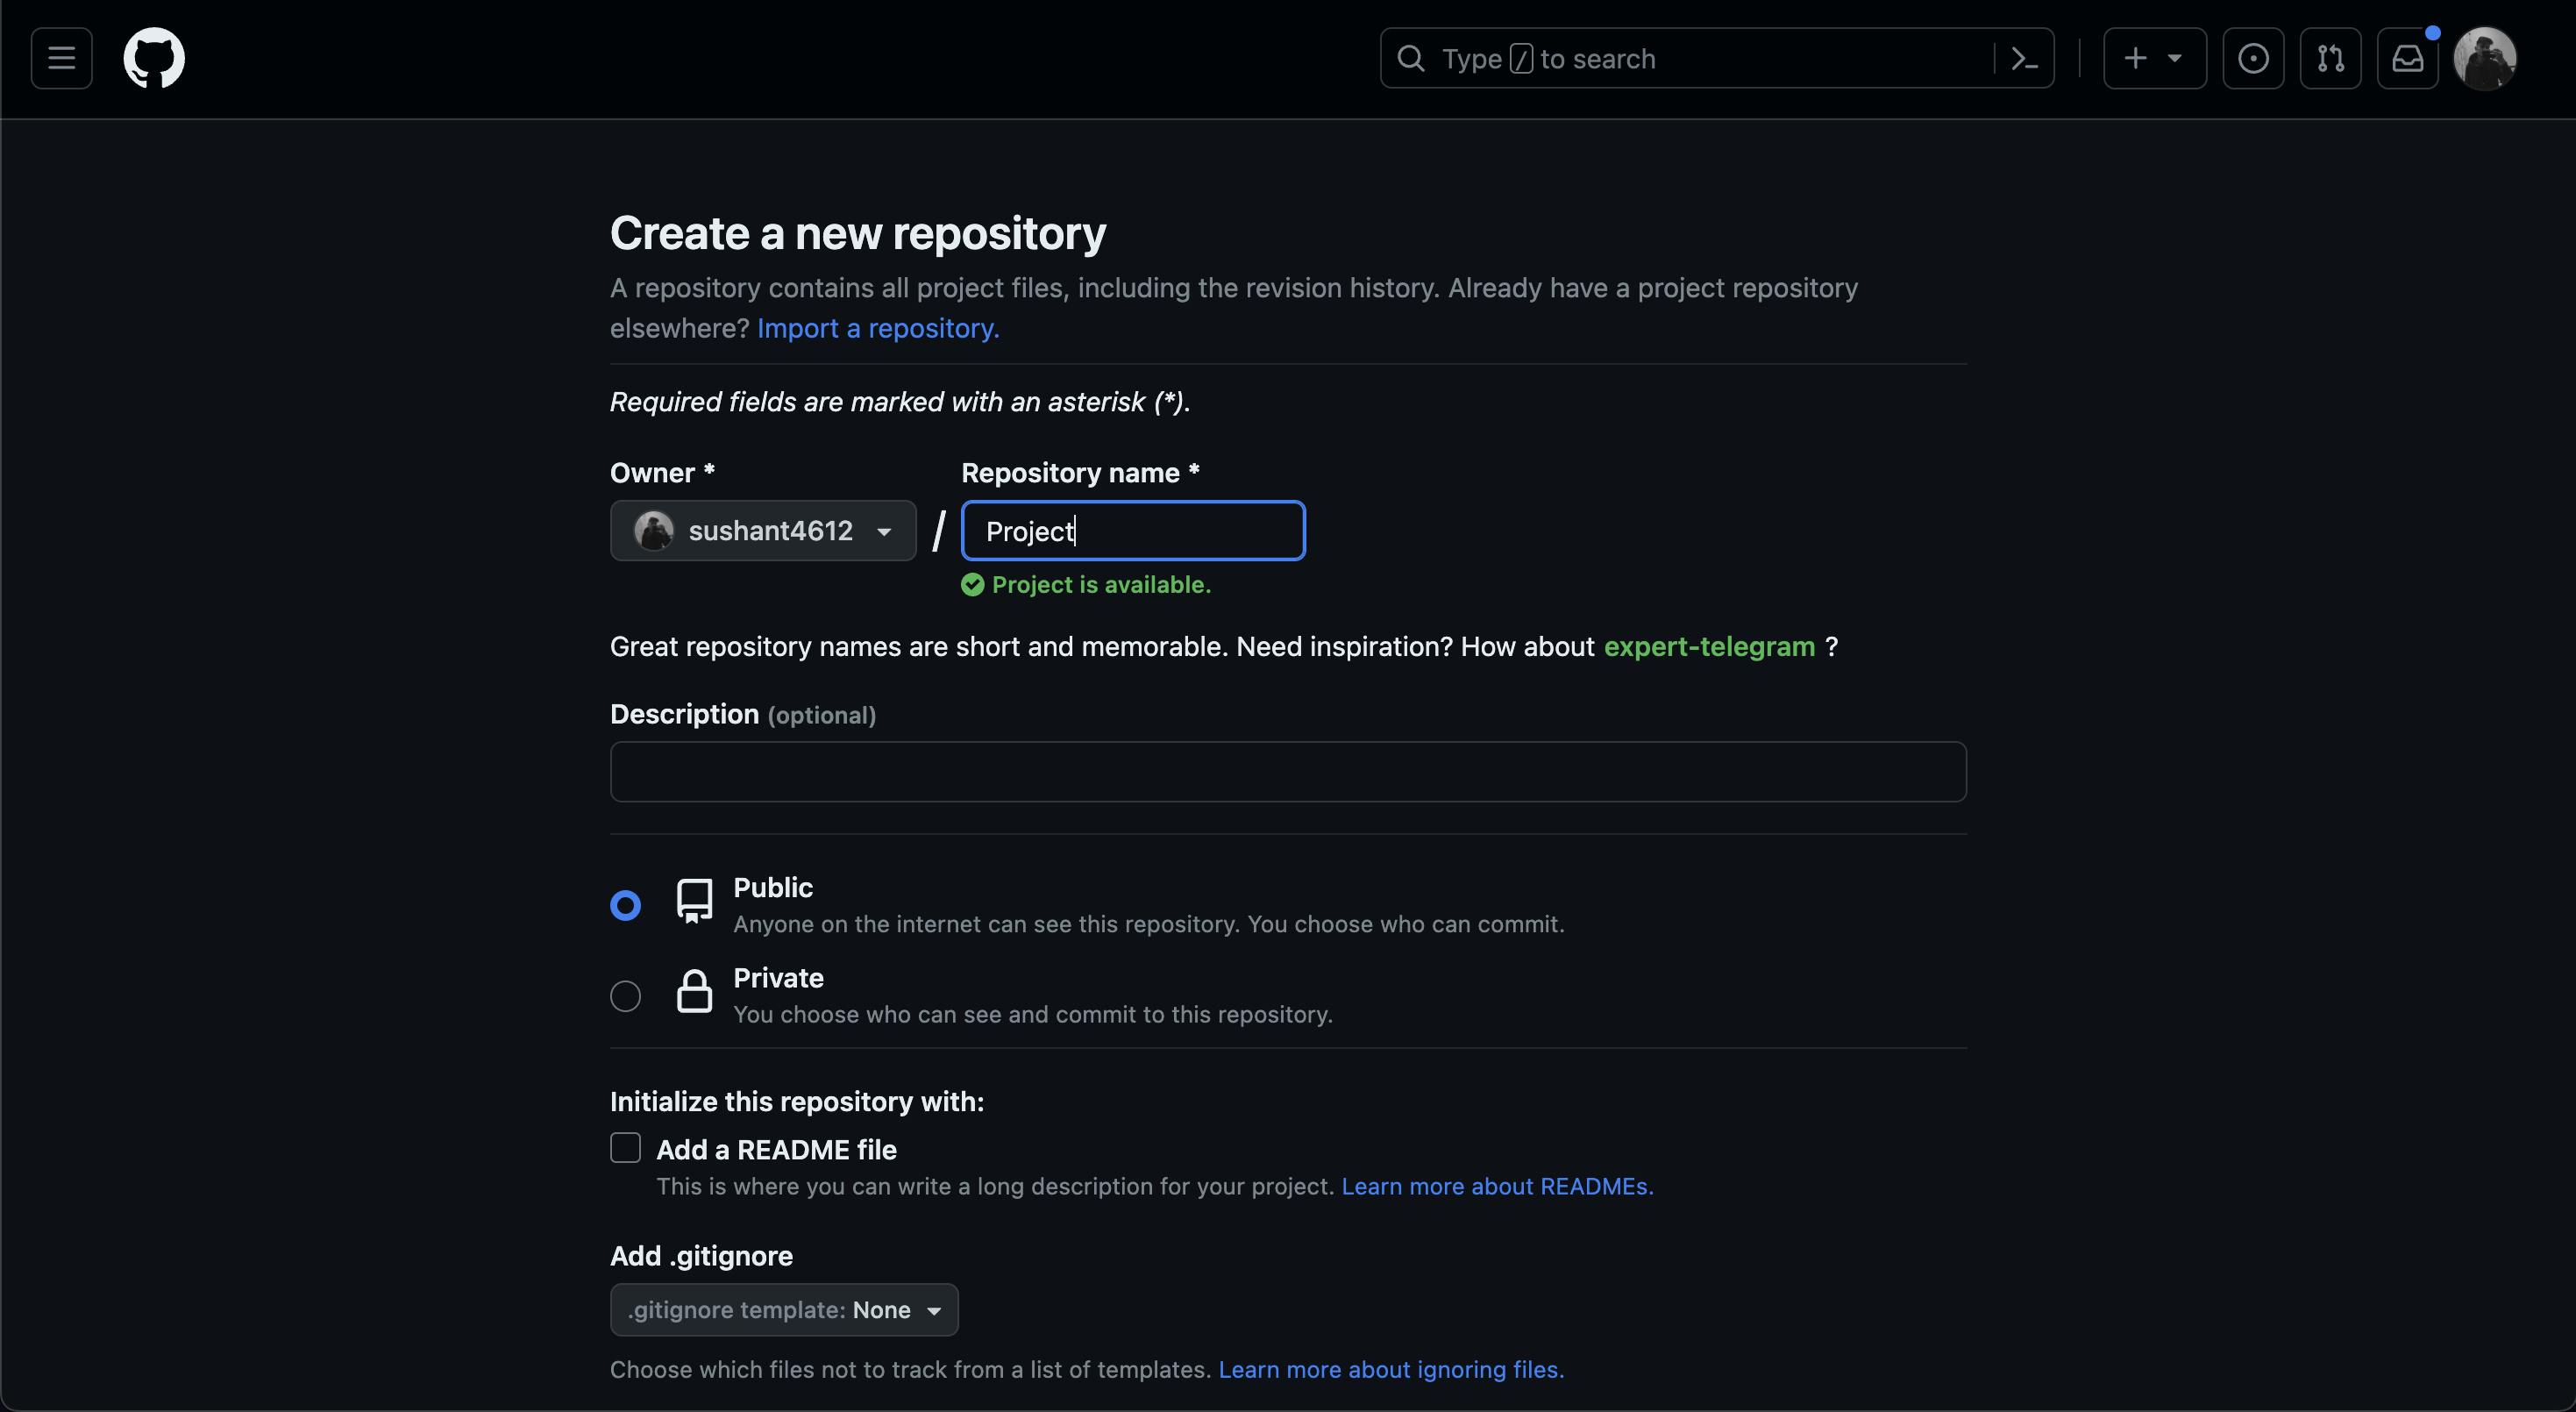
Creating a repository on GitHub
Now, we've learned much about Git. Let's move on to GitHub and upload our project there. To do so, first, we need to create our account on GitHub. It's simple; just go to the official GitHub website and create your account. After that, let's create our own repository:
Click on the profile icon in the top right corner.
Click on the 'Your repositories' section.
In green color, there will be an option. Just click on it to create a repository with whatever name you want.
Now we have created our repository. Let's connect it to our project by copying the link of your project and typing the command git remote add origin <URL>.
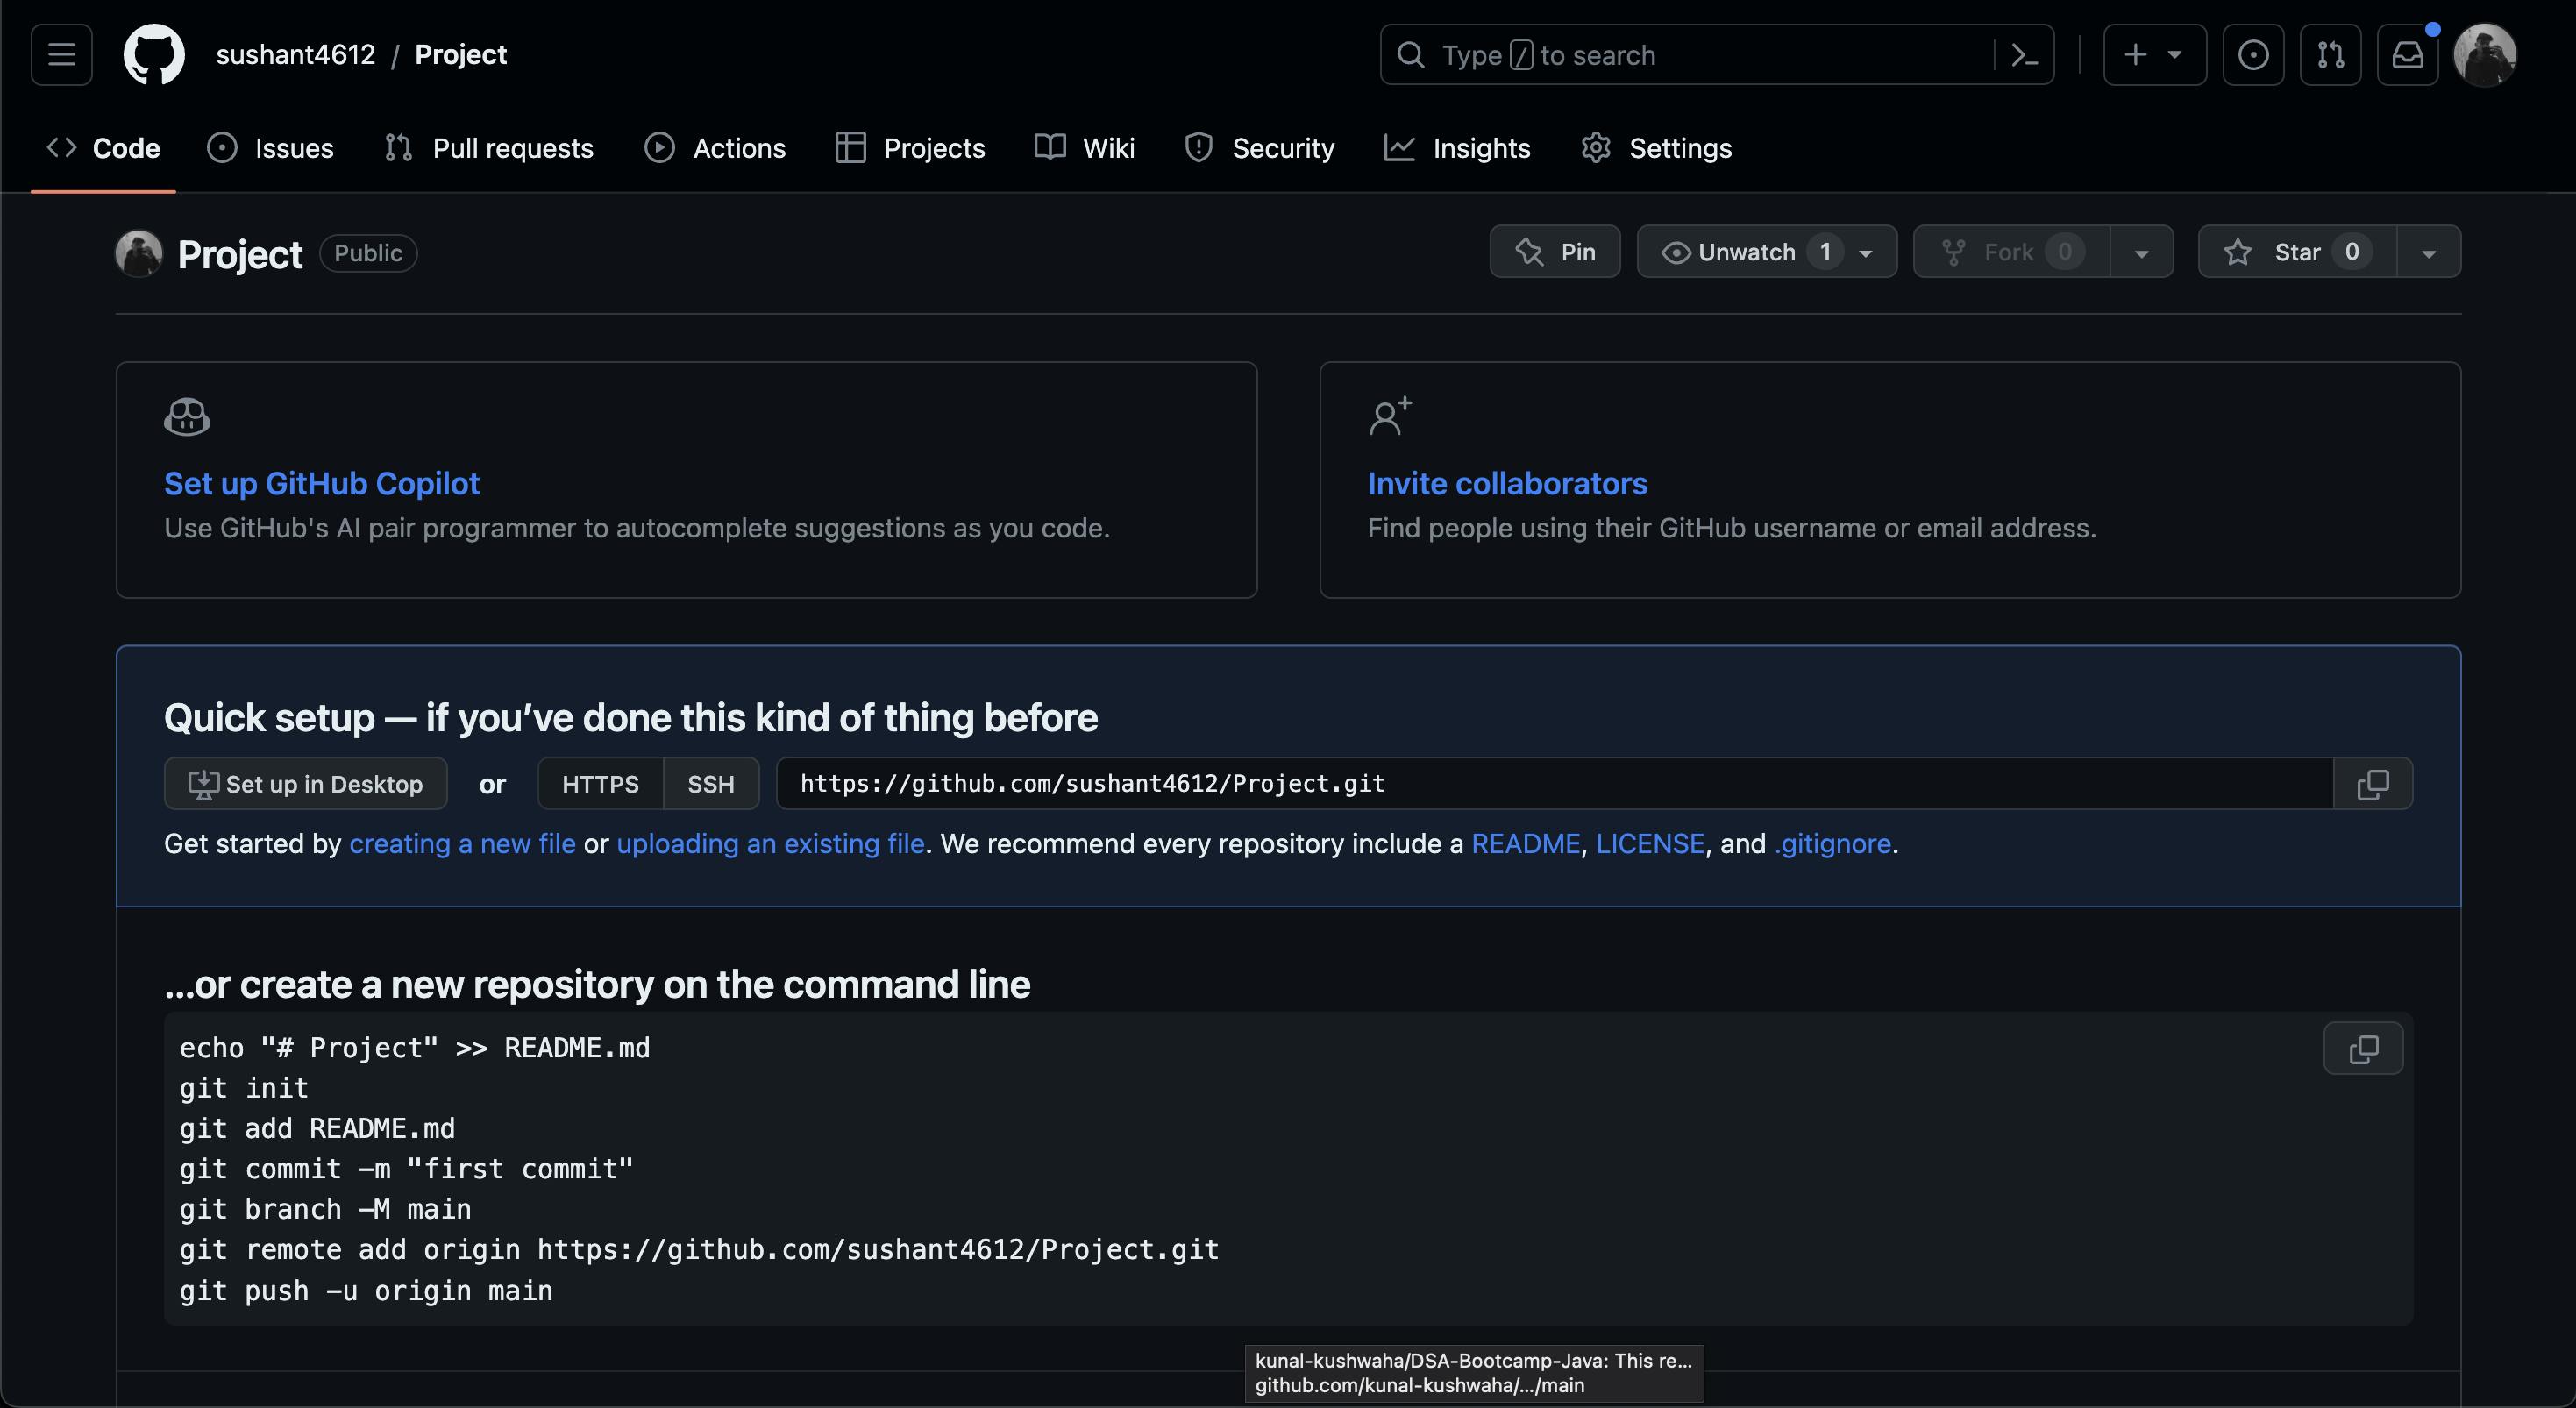
The git remote add origin command is like telling Git where your project's online home is. It connects your local project to a remote location, such as a repository on a website like GitHub. By adding the "origin" remote, you can easily push your local changes to the remote repository and pull the changes made by others back into your local project. It's a way to link your local work to a central place where you and your collaborators can store and share the project's code
Now, go to your project and type the command. After entering this command, your local folder is linked to the online repository on GitHub. To view how many links are attached, there is one command called git remote -v , which lists all the URLs attached to the folder.
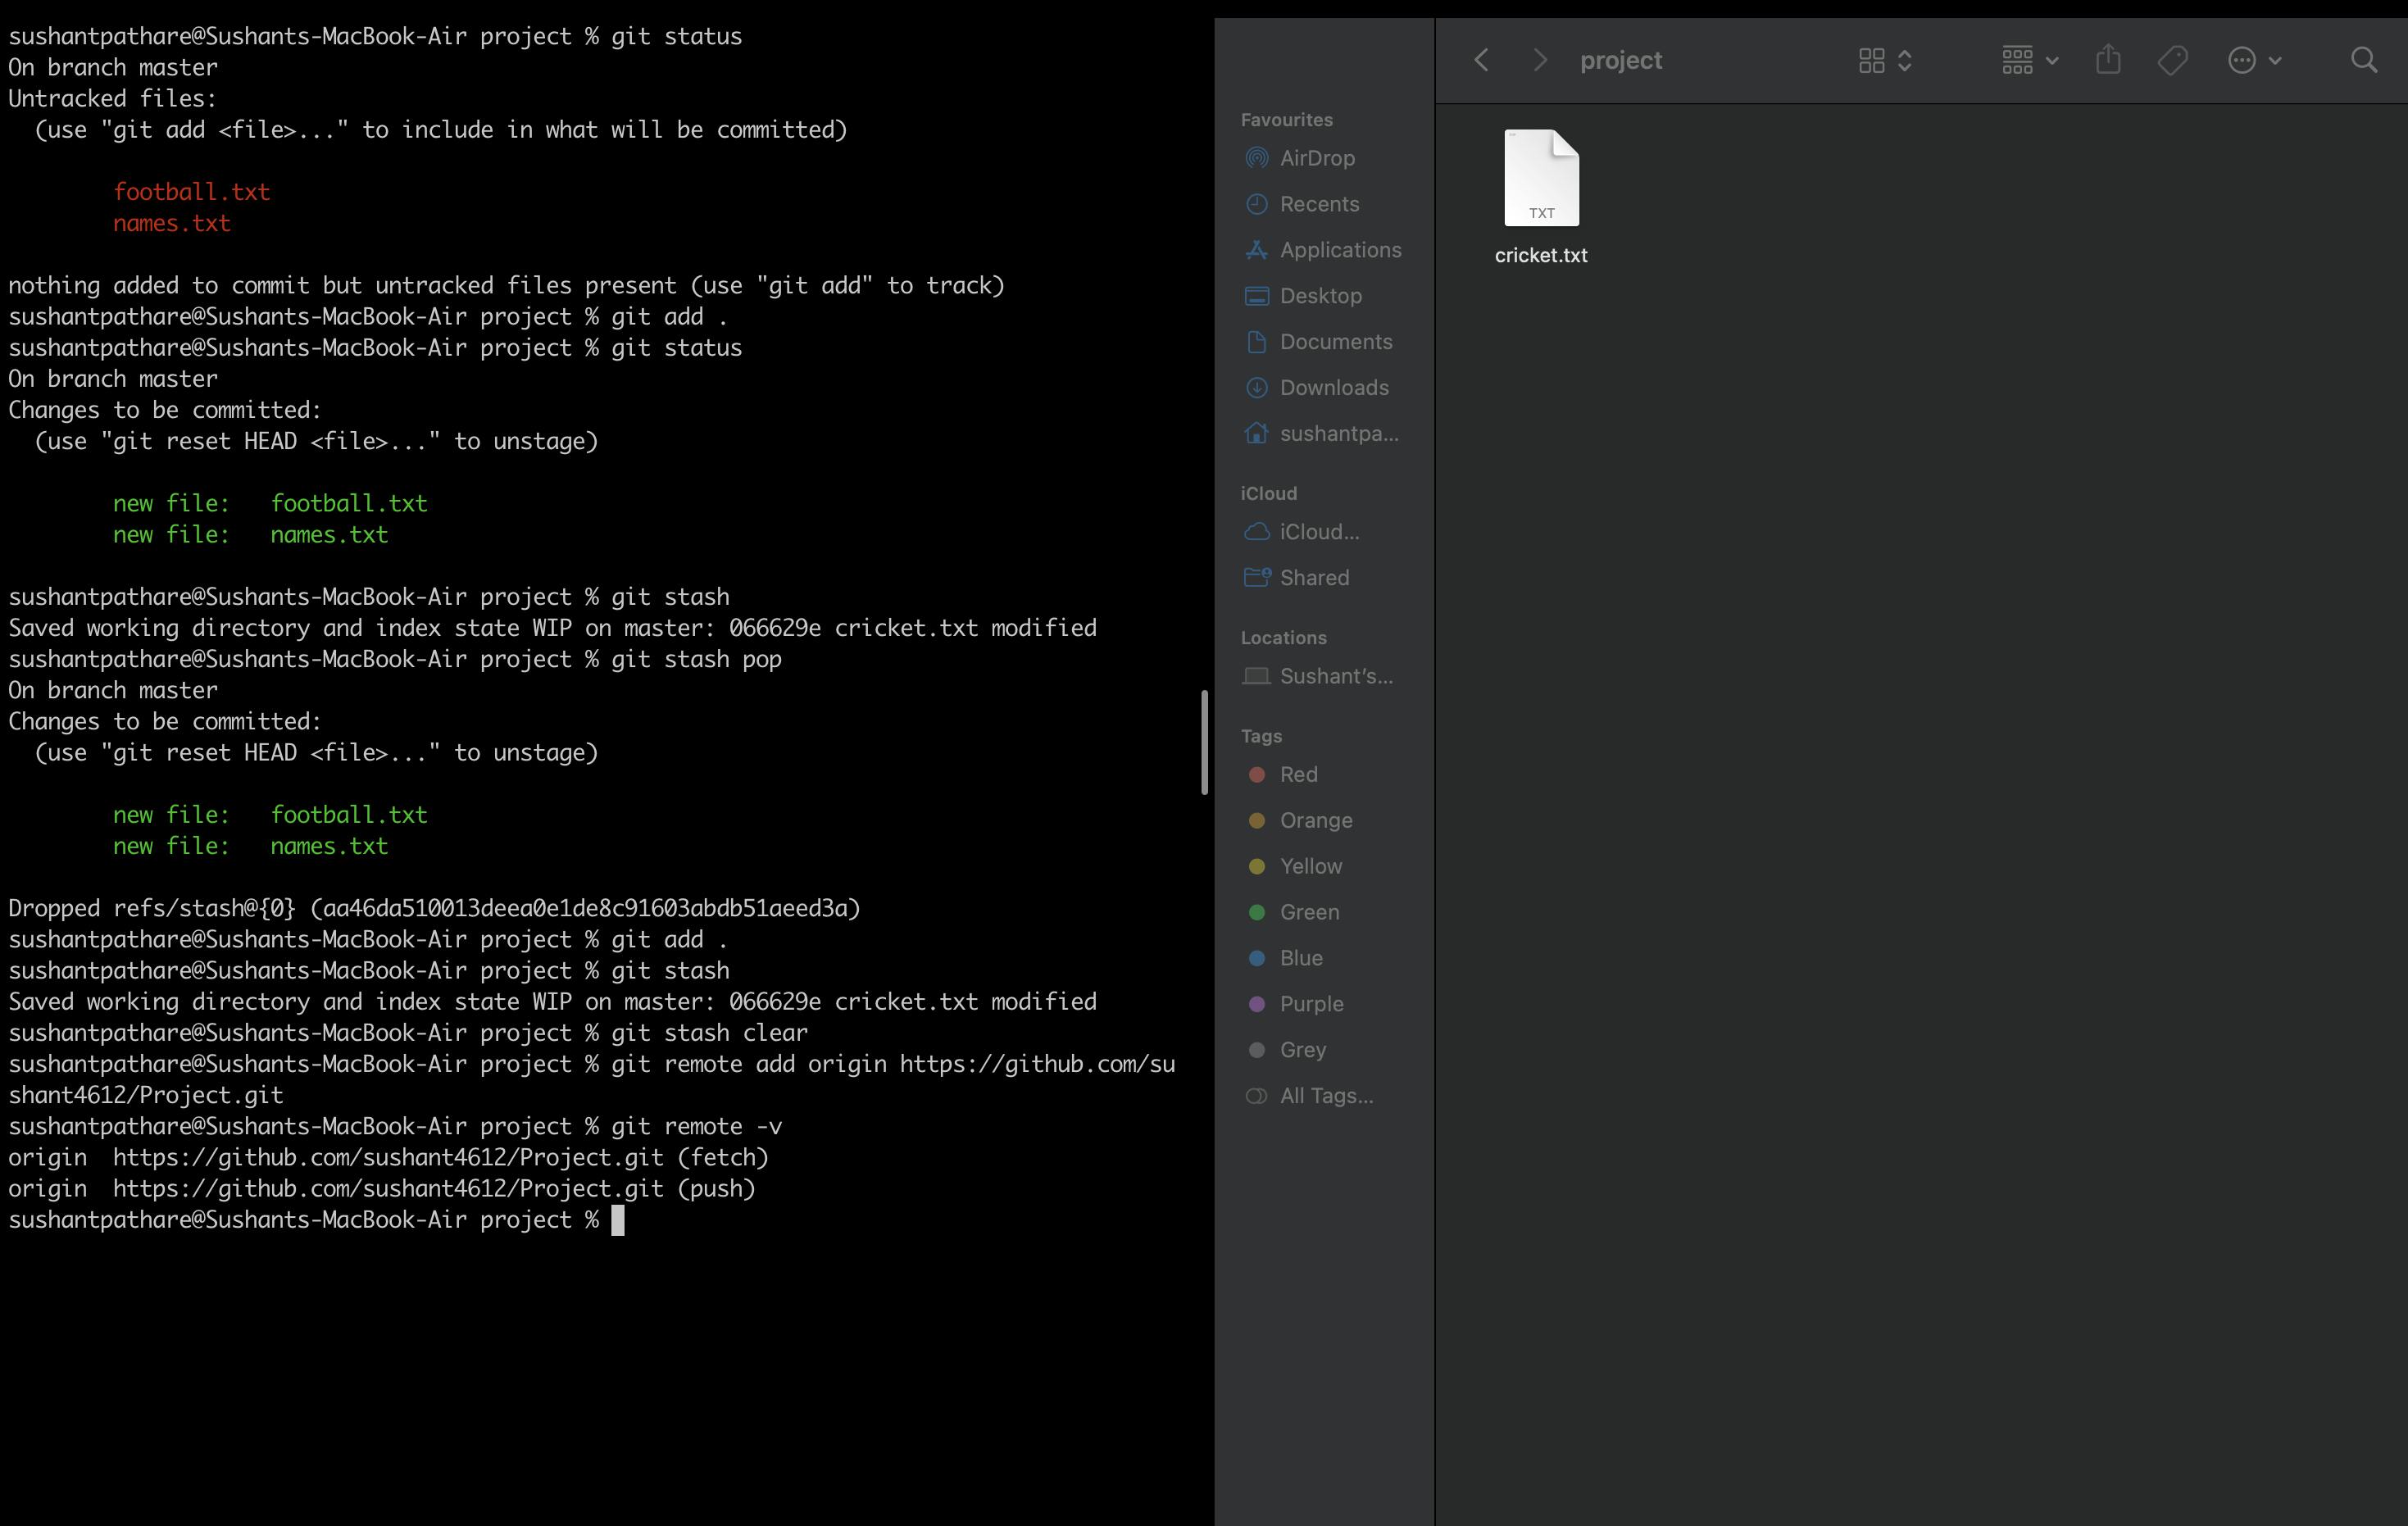
Now, we see that our URL is attached. However, when you check GitHub, you'll notice that our project is still empty. To upload our project to GitHub, use the command git push origin main/master.
git push origin main/master is a command used in Git to send your local code changes to a remote repository on GitHub. The "origin" refers to the remote repository's name, and "main" represents the branch where you want to push your changes. By using this command, you make your local code available and visible on the GitHub repository.
Now, when you refresh your GitHub, you will see that your project is now uploaded."

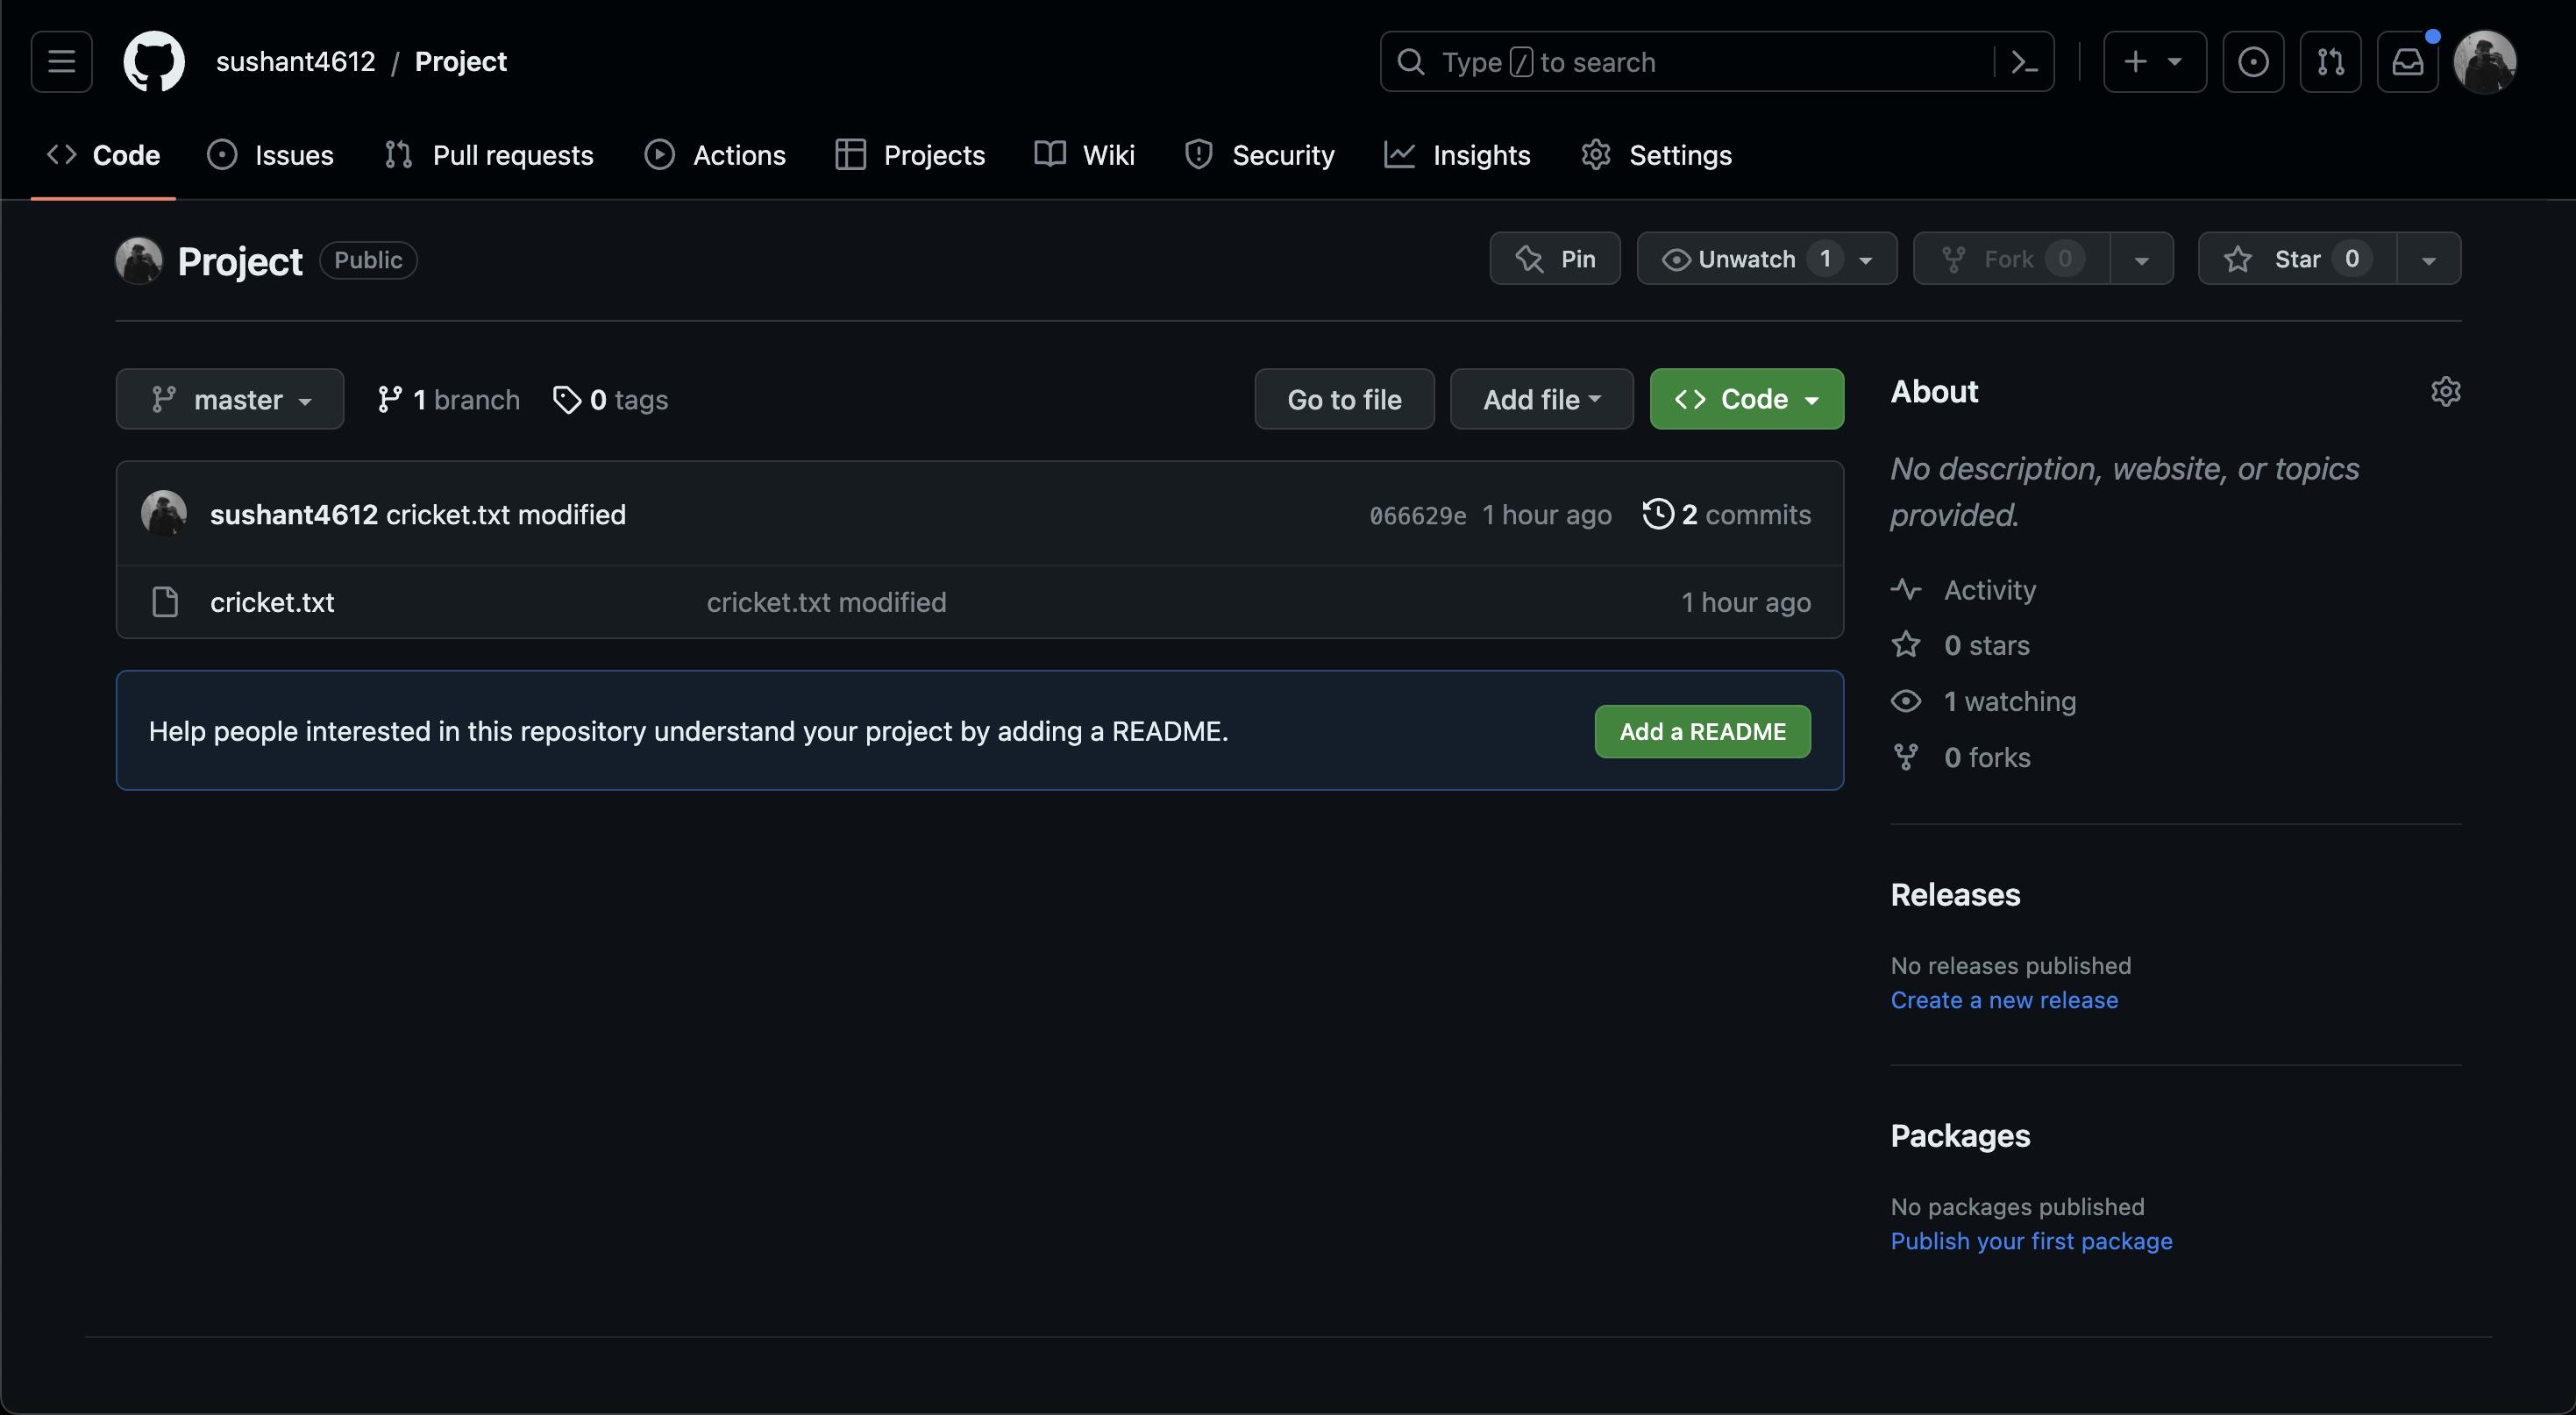
Congratulations! You just created your first repository on GitHub. There are so many concepts still to be covered, like cloning repositories and branches, which I will be covering in my next blog. To get notified, follow me on my socials. In case of any doubts, you can ask me there. Thanks for reading my blog, and if you like it, please leave a comment. If you don't, then please give me suggestions in the comment section.